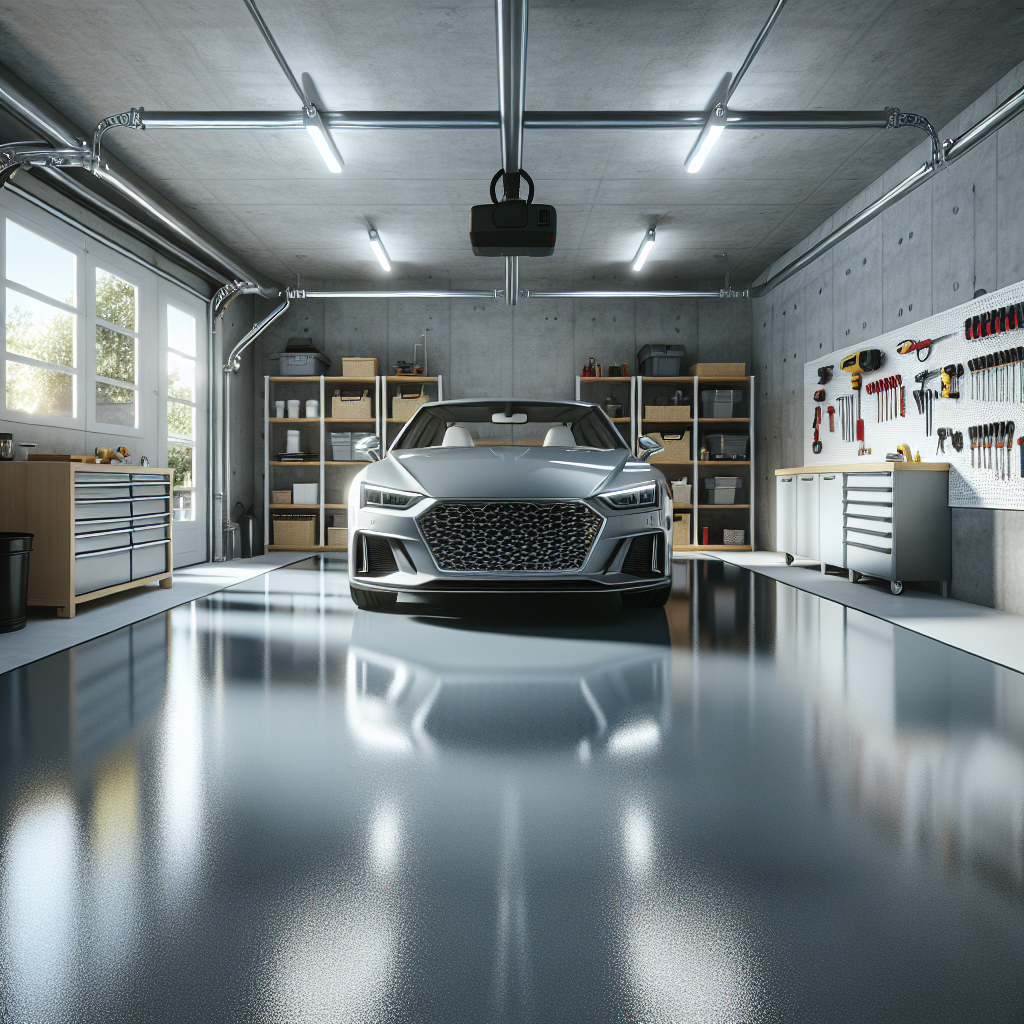
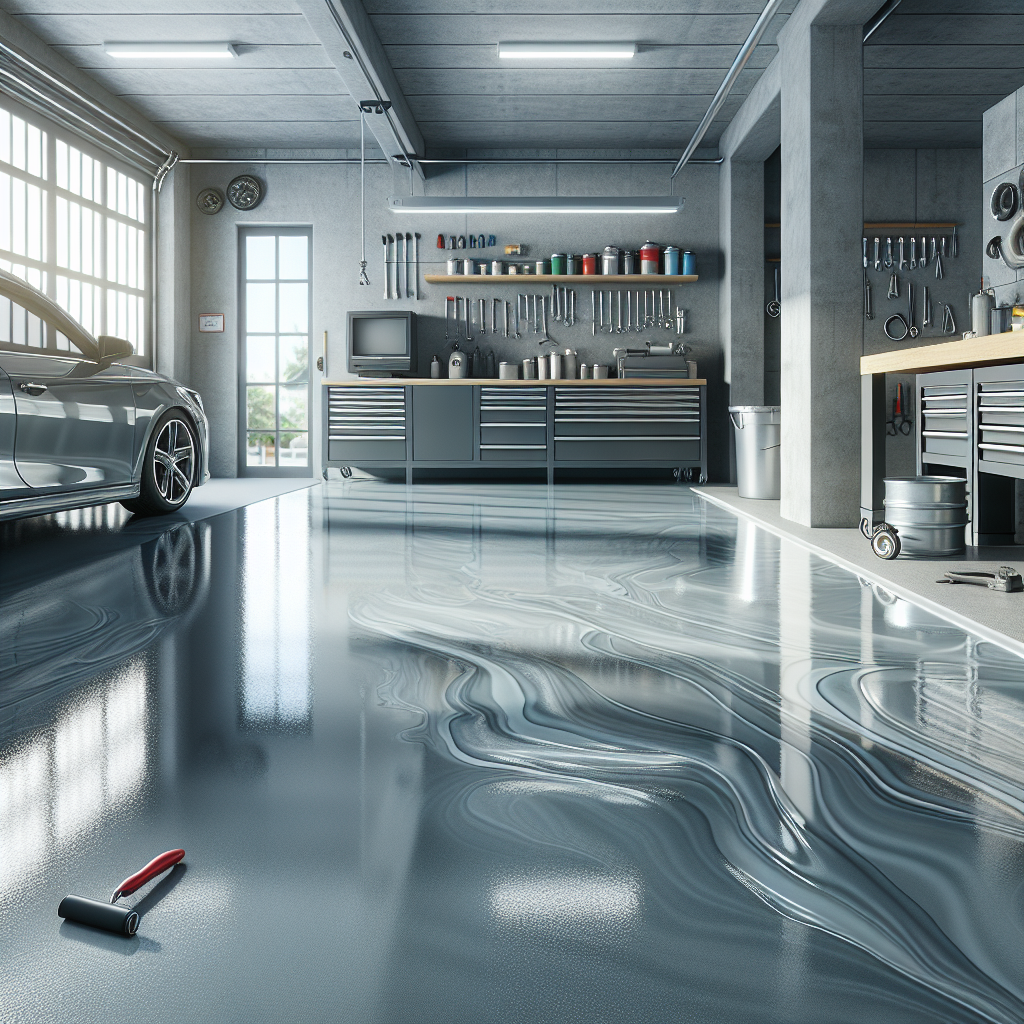
When it comes to enhancing the durability and aesthetics of your garage floor, epoxy flooring stands out as a top choice. Epoxy garage floors are not only visually appealing but also offer unmatched strength and resistance to spills, stains, and heavy impact. Whether you’re a homeowner looking to elevate your garage’s look or a business owner aiming for a polished, professional space, learning how to professionally epoxy a garage floor can be incredibly beneficial.
Epoxy is a thermosetting resin that is applied as a coating to concrete floors. Once cured, it forms a hard, durable surface that can withstand significant wear and tear. This makes it an excellent option for garages, workshops, and other high-traffic areas. However, achieving a professional finish requires careful preparation, application, and attention to detail.
In this guide, we’ll walk you through the steps to professionally epoxy a garage floor, from initial prep work to the final topcoat. By the end, you’ll have the knowledge and confidence to transform your garage into a space that is both functional and stylish.
Ready to get started? Call Us Today for a Free Quote and let our experts help you achieve the perfect epoxy garage floor.
Essential Tools and Materials
Before you embark on your journey to professionally epoxy a garage floor, it’s crucial to gather all the necessary tools and materials. Having everything on hand will ensure a smooth and efficient process. Here’s a comprehensive list of what you’ll need:
- Epoxy Resin and Hardener: The core components of your epoxy flooring system. Make sure to get a high-quality product suitable for garage floors.
- Concrete Cleaner/Degreaser: Essential for removing any oil, grease, or dirt from the concrete surface.
- Etching Solution: This helps open up the pores of the concrete, ensuring better adhesion of the epoxy.
- Concrete Patch Compound: For repairing any cracks or imperfections in the concrete surface.
- Painter’s Tape: Useful for marking off areas and ensuring clean edges.
- Plastic Sheeting: To protect walls and other surfaces from accidental spills and splashes.
- Paint Rollers and Brushes: High-quality rollers and brushes will help you apply the epoxy evenly.
- Mixing Buckets and Stir Sticks: For properly mixing the epoxy resin and hardener.
- Protective Gear: Gloves, safety goggles, and a respirator mask are essential for your safety.
- Squeegees: Useful for spreading the epoxy evenly across the floor.
- Spike Shoes: These allow you to walk on the wet epoxy without leaving marks.
- Non-Slip Additives: If you want to add texture to your floor for extra traction, these are a must.
Having these tools and materials ready will set the stage for a successful epoxy application, helping you achieve a professional and durable finish for your garage floor.
Preparing the Garage Floor Surface
Proper preparation is the key to a successful epoxy floor application. Ensuring that your garage floor surface is adequately prepared will not only enhance the bond of the epoxy but also prolong its durability. Here’s a step-by-step guide to preparing your garage floor surface:
- Clear the Area: Start by removing all items from the garage. This includes cars, tools, and any other stored items. A completely empty space will allow you to work more efficiently.
- Thorough Cleaning: Sweep and vacuum the floor to remove dirt, dust, and debris. Follow this by scrubbing the floor with a concrete cleaner or degreaser to eliminate any oil stains or grease. Rinse thoroughly and let it dry completely.
- Inspect for Damage: Check the floor for any cracks, holes, or uneven spots. Use a concrete patch compound to repair these imperfections. Allow the patched areas to cure as per the manufacturer’s instructions.
- Etching the Concrete: Apply an etching solution to the floor to open up the concrete’s pores. This step is crucial for enhancing the epoxy’s adhesion. Follow the instructions on the etching solution’s label carefully. Rinse the floor thoroughly after etching and let it dry completely.
- Moisture Test: Perform a moisture test to ensure that the concrete is dry. Tape a plastic sheet to the floor and leave it for 24 hours. If there is moisture under the plastic, the floor needs more time to dry or may require a moisture barrier.
- Final Clean: Give the floor one last vacuum to ensure it is free of dust and debris. This will help the epoxy adhere better and result in a smoother finish.
By meticulously preparing your garage floor surface, you lay a strong foundation for the epoxy coating, ensuring a professional and long-lasting finish.
Applying the Epoxy Coating
With the garage floor surface properly prepared, it’s time to move on to applying the epoxy coating. This process requires attention to detail and precise execution to achieve a professional-grade finish. Follow these steps to ensure a successful application:
- Mixing the Epoxy: Epoxy typically comes in two parts: resin and hardener. Follow the manufacturer’s instructions for mixing these components. Use a paddle mixer attached to a drill for thorough blending. Be mindful of the pot life, which is the time you have to apply the epoxy before it starts to harden.
- Cutting In: Start by applying the epoxy along the edges of the floor using a brush. This technique, known as cutting in, ensures that all areas, including corners and edges, are covered.
- Rolling the Epoxy: Pour the mixed epoxy onto the floor in small sections. Use a lint-free roller to spread the epoxy evenly across the surface. Work in small sections to maintain a wet edge, which helps prevent lap marks. Roll in a ‘W’ pattern for even coverage.
- Applying a Second Coat: Depending on the manufacturer’s recommendations and the desired thickness, you may need to apply a second coat of epoxy. Ensure the first coat is completely dry before applying the second. This usually takes about 12 to 24 hours.
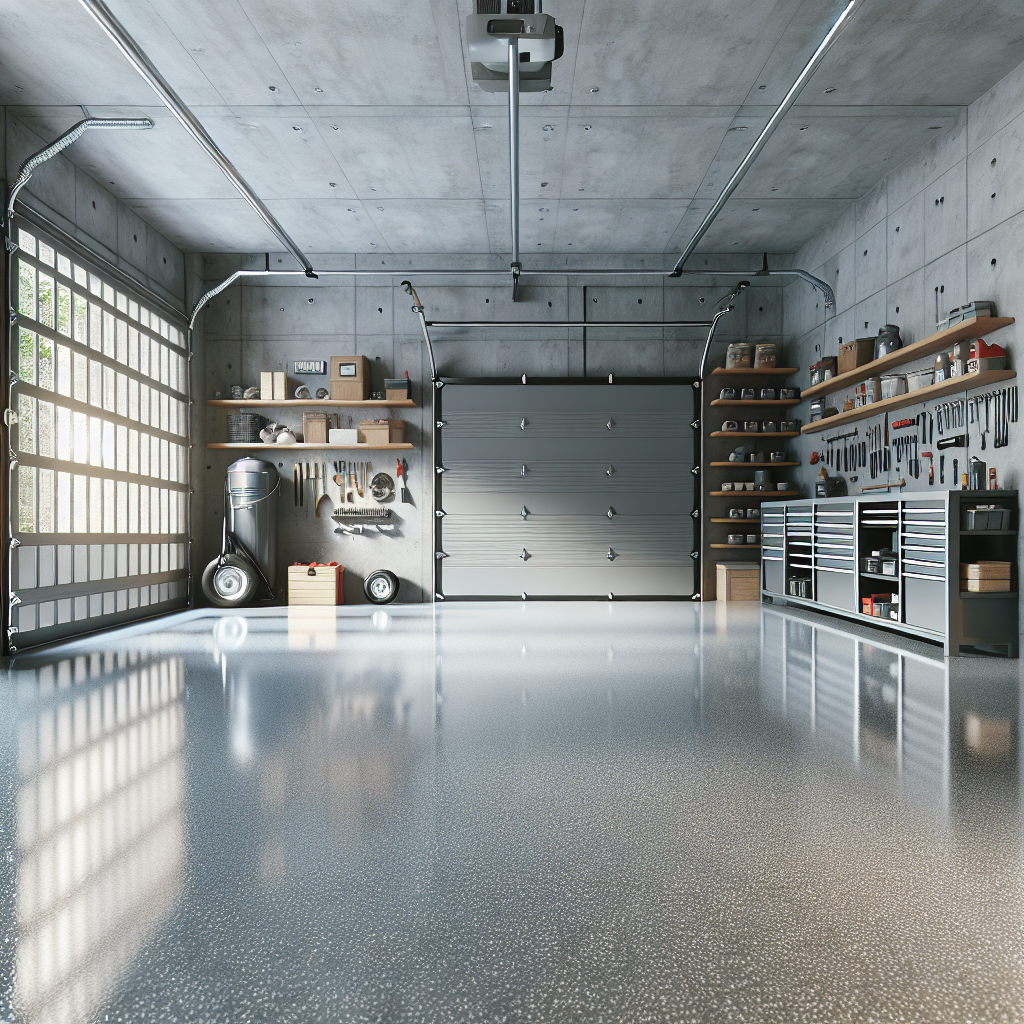
- Adding Decorative Flakes: If you want to add decorative flakes to your floor, sprinkle them onto the wet epoxy immediately after rolling. This will help the flakes adhere properly. Distribute them evenly for a consistent look.
- Allowing to Cure: After the final coat is applied, allow the epoxy to cure. This process can take from 24 to 72 hours, depending on the product and environmental conditions. Avoid walking on the floor until it is fully cured to prevent damage.
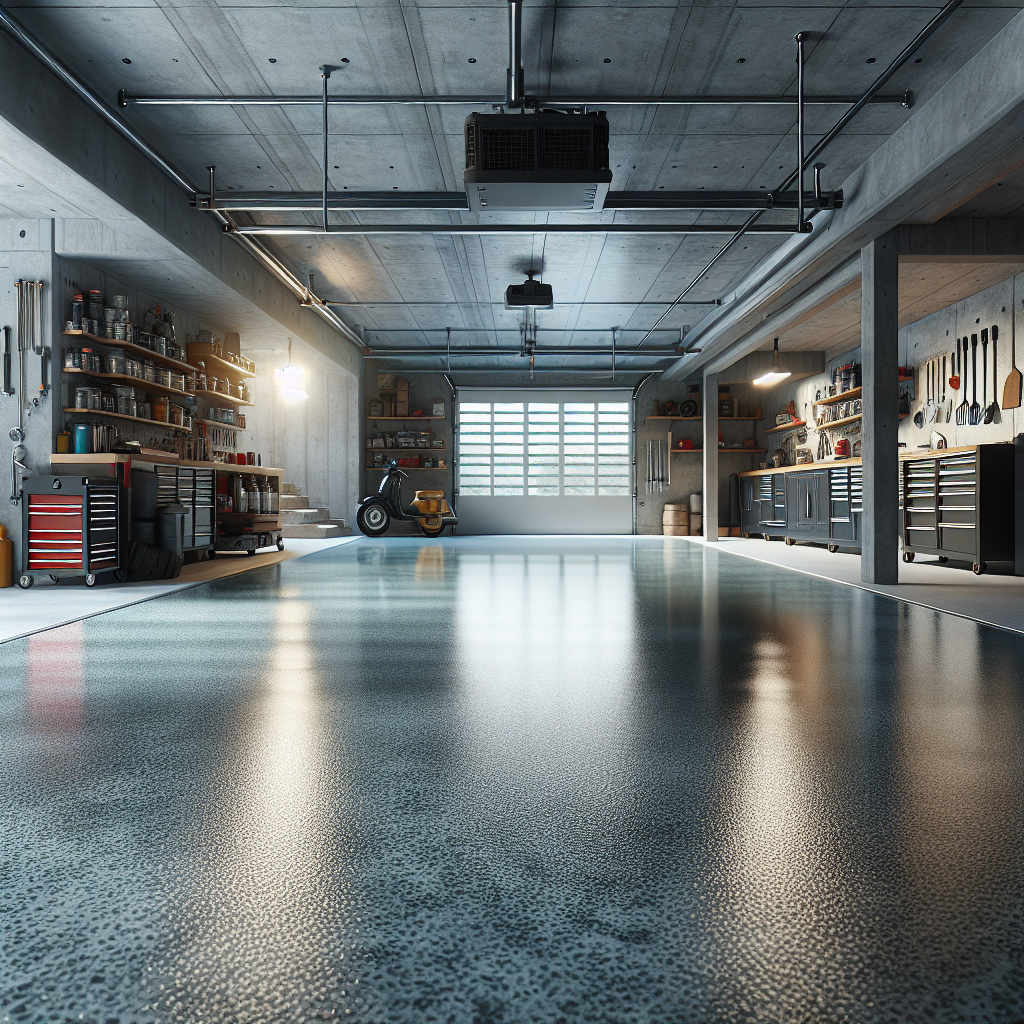
Applying the epoxy coating with precision will result in a durable, visually appealing finish that enhances both the functionality and aesthetic of your garage floor.
Curing and Finishing the Epoxy Floor
Once the epoxy coating has been applied, the next critical step is curing and finishing the floor. Proper curing ensures that the epoxy achieves its maximum durability and longevity. Here are the steps to follow:
- Initial Curing Phase: After applying the final coat of epoxy, allow it to cure undisturbed. This initial phase typically lasts between 12 to 24 hours. During this time, avoid any foot traffic on the surface to prevent imperfections.
- Full Cure Time: For the epoxy to reach its full strength, it must cure completely. This process can take up to 72 hours, depending on the product specifications and environmental conditions such as temperature and humidity. It’s crucial to keep the area ventilated and maintain a stable temperature for optimal curing.
- Post-Cure Inspection: Once the epoxy has fully cured, inspect the surface for any imperfections or areas that may need touch-ups. Small bubbles or uneven spots can be sanded down and re-coated if necessary. A thorough inspection ensures a flawless finish.
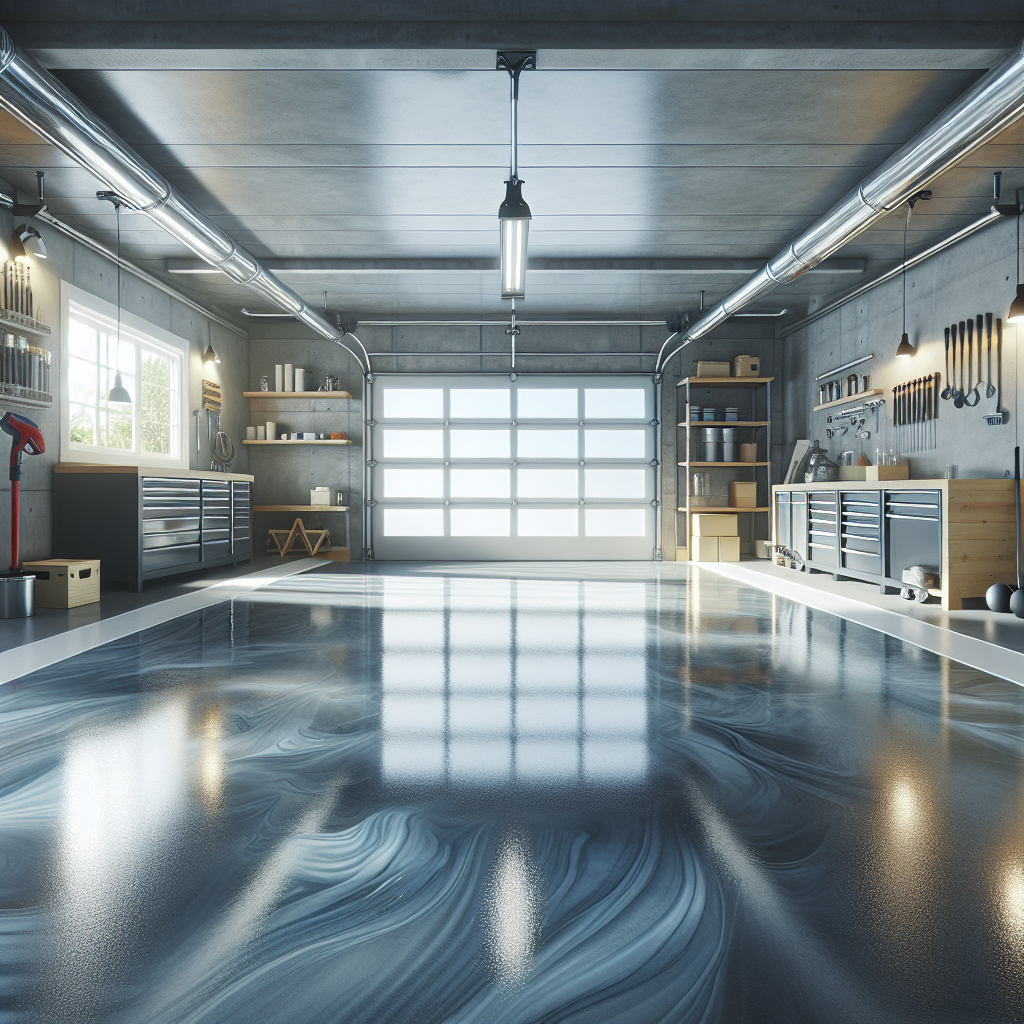
- Applying a Topcoat: For added protection and a glossy finish, consider applying a clear topcoat. This additional layer can enhance the durability of the epoxy and protect it from UV rays, stains, and abrasions. Follow the manufacturer’s instructions for the topcoat application.
- Maintenance Tips: After the curing process is complete, maintaining your epoxy floor is essential for its longevity. Regularly sweep and mop the floor to keep it clean. Avoid using harsh chemicals or abrasive cleaning tools that can damage the epoxy surface. Placing mats at entry points can also help minimize dirt and debris.
By following these steps, you can ensure that your epoxy floor not only looks great but also stands up to the wear and tear of daily use. A properly cured and finished epoxy floor will provide years of low-maintenance, high-performance service.
Maintenance Tips for Epoxy Floors
Maintaining your newly installed epoxy floor is crucial to ensure its longevity and pristine appearance. While epoxy floors are incredibly durable and resistant to many common forms of damage, they still require regular care to stay in top condition. Here are some essential maintenance tips:
- Regular Cleaning: Sweep or vacuum the floor regularly to remove dirt and debris. Use a soft-bristle broom or a dust mop to prevent scratching the surface. For a deeper clean, use a mop with a mild detergent mixed with water.
- Avoid Harsh Chemicals: Epoxy floors are resistant to many chemicals, but harsh or abrasive cleaning agents can still damage the surface. Stick to pH-neutral cleaners and avoid products containing bleach or ammonia.
- Protective Measures: Place mats at entry points to trap dirt and moisture before it gets onto the epoxy floor. Use furniture pads under heavy objects to prevent scratches and dents. For areas with high traffic or heavy loads, consider adding extra layers of protection, such as a clear topcoat.
- Spill Management: Clean up spills immediately to prevent staining and maintain the floor’s appearance. While epoxy is resistant to many liquids, prolonged exposure can still cause damage.
- Periodic Inspection: Regularly inspect the floor for signs of wear or damage. Address small issues promptly to prevent them from becoming larger problems. Touch up minor scratches or chips with an epoxy repair kit.
- Reapplication: Depending on the amount of traffic your epoxy floor endures, you may need to reapply the topcoat every few years to maintain its protective qualities. Follow the manufacturer’s recommendations for reapplication intervals.
By following these maintenance tips, you can keep your epoxy floor looking like new for years to come. Proper care and attention will ensure that the floor remains a durable and attractive feature in your space.
Call Us Today for a Free Quote and let Americas Industrial Coatings help you achieve a professional and long-lasting epoxy floor!