
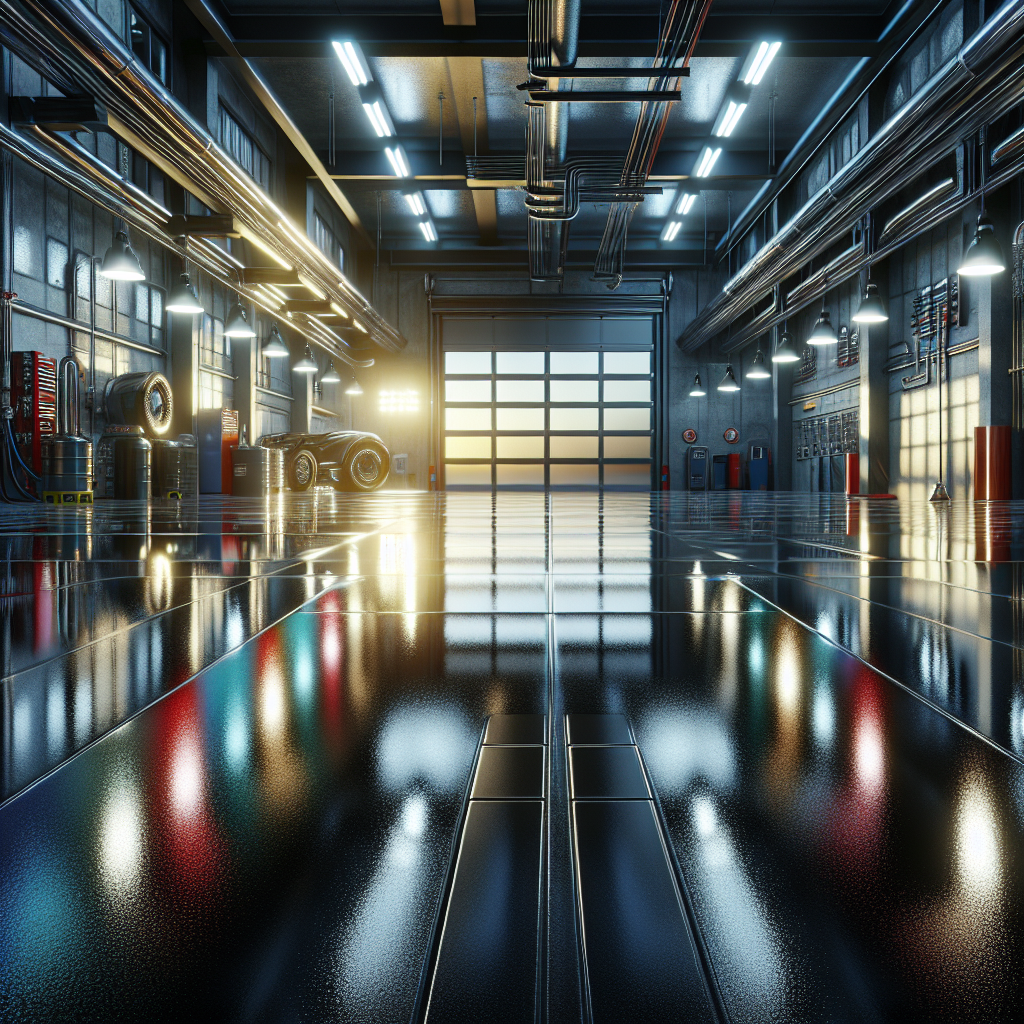
Epoxy garage floors are a popular choice among homeowners due to their **durability**, **high-gloss finish**, and **resistance to stains and chemicals**. Derived from a mixture of resins and hardeners, epoxy creates a rigid plastic material that bonds exceptionally well to its substrate, providing a protective and aesthetically pleasing surface. This flooring solution is particularly favored in garages, where it can withstand the weight of vehicles and resist oil stains and other automotive fluids.
The installation process of epoxy flooring involves multiple steps, including surface preparation, priming, and the application of the epoxy coating. Once cured, the result is a seamless and smooth surface that can significantly enhance the look of your garage. Additionally, epoxy floors come in various colors and patterns, allowing homeowners to customize their space according to their preferences.
However, while epoxy floors are incredibly robust, they are not entirely impervious to damage. Over time, **scratches, dings, and even small chips** can occur, especially in high-traffic areas. Understanding the composition and characteristics of epoxy flooring can help you make informed decisions about maintenance and touch-up processes. With proper care, your floor can maintain its beauty and functionality for years.
If you’re considering upgrading or maintaining your garage floor, call us today for a free quote. Let our expertise guide you in achieving a perfect epoxy floor in Broward County, Florida.
Reasons for Epoxy Floor Touch Up
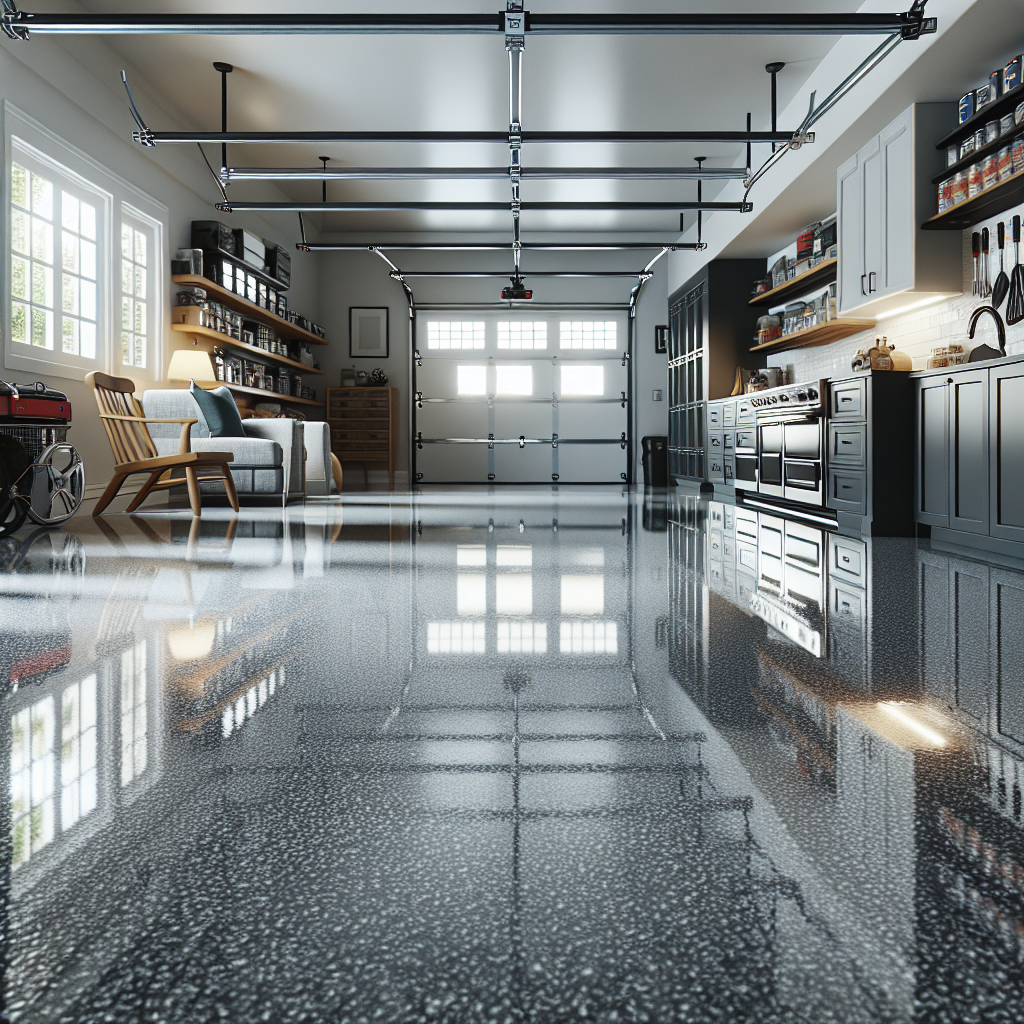
Even the most resilient surfaces can show signs of wear and tear over time, and epoxy garage floors are no exception. **Regular use and exposure** to various elements can lead to the need for touch-ups. One common reason for touching up an epoxy floor is the presence of **scratches and scuffs**. These can occur from dragging heavy items across the floor or simply from the daily movement of vehicles and tools. While these marks may not significantly impact the floor’s performance, they can detract from its visual appeal.
Another reason to consider a touch-up is the occurrence of **chips or cracks**. Though epoxy flooring is renowned for its durability, dropping heavy objects or the natural settling of a building can cause small chips or cracks to develop. Addressing these issues promptly not only restores the floor’s appearance but also prevents further damage that could compromise the floor’s integrity.
In addition, **fading or discoloration** can happen over time, especially if the floor is exposed to direct sunlight or harsh chemical spills. This can lead to uneven coloring, which might make the floor look older and less maintained than it actually is. Touching up these areas can rejuvenate the floor’s vibrant look and maintain its original charm.
Ultimately, regular maintenance and timely touch-ups ensure that your epoxy floor remains not only visually appealing but also extends its lifespan. Being proactive about these issues can save you from more extensive repairs in the future and keep your garage looking pristine.
Materials Needed for Epoxy Repair

Undertaking an epoxy floor repair requires specific materials to ensure the job is done effectively and efficiently. Having the right tools and substances on hand will make the process smoother and lead to a more durable and aesthetically pleasing finish. Here’s a list of essential materials you’ll need for a successful epoxy floor touch-up:
- Epoxy Resin and Hardener: The foundation of any epoxy repair, these two components must be mixed precisely to achieve a strong and reliable bond.
- Patch Kit: Ideal for filling in chips and cracks, a patch kit often includes a pre-mixed epoxy compound designed for easy application.
- Paint Roller and Brushes: These tools are crucial for applying the epoxy evenly across the floor, ensuring a consistent finish.
- Sandpaper or Grinder: Before applying new epoxy, it’s important to smooth out any rough edges around the damaged area. A sander or grinder helps in preparing the surface.
- Protective Gear: Safety should always be a priority, so don’t forget gloves, goggles, and a mask to protect yourself from fumes and dust.
- Solvent Cleaner: Clean the area thoroughly before applying new epoxy. A solvent cleaner will remove grease, oil, and other contaminants that could affect adhesion.
Equipping yourself with these materials not only ensures that you are prepared for the repair but also contributes to the overall quality and durability of the touch-up. By investing in these items, you can maintain the pristine look and functionality of your epoxy garage floor.
Step-by-Step Epoxy Touch Up Process
Tackling the task of touching up an epoxy garage floor can seem daunting, but by following a structured process, you can achieve a professional-looking result. Here’s a detailed step-by-step guide to help you through the touch-up procedure:
- Prepare the Area: Start by cleaning the damaged area with a solvent cleaner to remove any dirt, oil, or grease. This ensures that the new epoxy adheres properly.
- Sand the Surface: Use sandpaper or a grinder to smooth out any rough edges around the damaged spot. This step is crucial for creating a seamless transition between the old and new epoxy layers.
- Mix the Epoxy: Combine the epoxy resin and hardener according to the manufacturer’s instructions. It’s important to get the ratios right to ensure the mixture cures effectively.
- Apply the Epoxy: Using a brush or roller, apply the mixed epoxy to the prepared area. Ensure that you spread it evenly to match the surrounding floor.
- Level and Smooth: Use a trowel or a similar tool to level the epoxy, ensuring it blends seamlessly with the existing floor coating.
- Cure and Inspect: Allow the epoxy to cure as per the product instructions, usually around 24 hours. Once cured, inspect the area for any imperfections and make additional touch-ups if necessary.
By adhering to these steps, you can restore the integrity and appearance of your epoxy garage floor, ensuring it remains a durable and visually appealing surface in your space.
Common Mistakes to Avoid in Epoxy Repair
While touching up an epoxy garage floor, certain pitfalls can compromise the durability and appearance of your surface. Avoid these common mistakes to ensure a successful repair:
- Inadequate Surface Preparation: Skipping or rushing the cleaning and sanding process can lead to poor adhesion. Always ensure the area is thoroughly cleaned and sanded to create a suitable surface for the epoxy to bond.
- Incorrect Mixing Ratios: The balance between the epoxy resin and hardener is crucial. Too much of either component can result in a sticky finish or an incomplete cure, compromising the repair’s effectiveness.
- Applying in Adverse Conditions: Temperature and humidity play a significant role in how well epoxy cures. Aim to work in conditions recommended by the manufacturer, typically between 60-90°F and low humidity.
- Ignoring Cure Times: Rushing the curing process by walking on or using the floor too soon can mar the surface. Always adhere to the full curing time to ensure a hard and durable finish.
- Neglecting to Blend Properly: Failing to blend the new epoxy with the existing floor can create visible patchwork. Use careful application techniques to ensure a seamless transition.
Steering clear of these mistakes will help you maintain the aesthetic and functional qualities of your epoxy garage floor, extending its lifespan and keeping it looking pristine.
Maintaining Your Epoxy Garage Floor
Maintaining your epoxy garage floor is essential to preserve its **durability and appearance** over time. Regular care can prevent wear and tear, keeping your floor looking as good as new. Here are some tips to help you maintain your epoxy floor:
- Regular Cleaning: Sweep or vacuum the floor frequently to remove dirt and debris that can cause scratches. For deeper cleaning, use a mild soap and water solution, avoiding harsh chemicals that might damage the epoxy.
- Spill Management: Clean up spills promptly to prevent stains. Epoxy floors are generally resistant to stains, but prolonged exposure to certain substances can cause discoloration.
- Protective Mats: Place mats or rugs at entry points or under vehicles to catch dirt and moisture. This simple measure can minimize abrasion and prolong the life of your floor.
- Inspect Regularly: Conduct regular inspections for cracks or damage. Early detection allows for timely repairs, preventing small issues from becoming bigger problems.
- Reapply Coatings: Depending on usage, consider reapplying a topcoat every few years to refresh the floor’s appearance and enhance protection.
By following these maintenance tips, you can ensure that your epoxy garage floor remains an attractive and functional part of your home for years to come. Call Us Today for a Free Quote to learn more about professional maintenance services or to address any specific concerns you might have. Visit our website for more information.