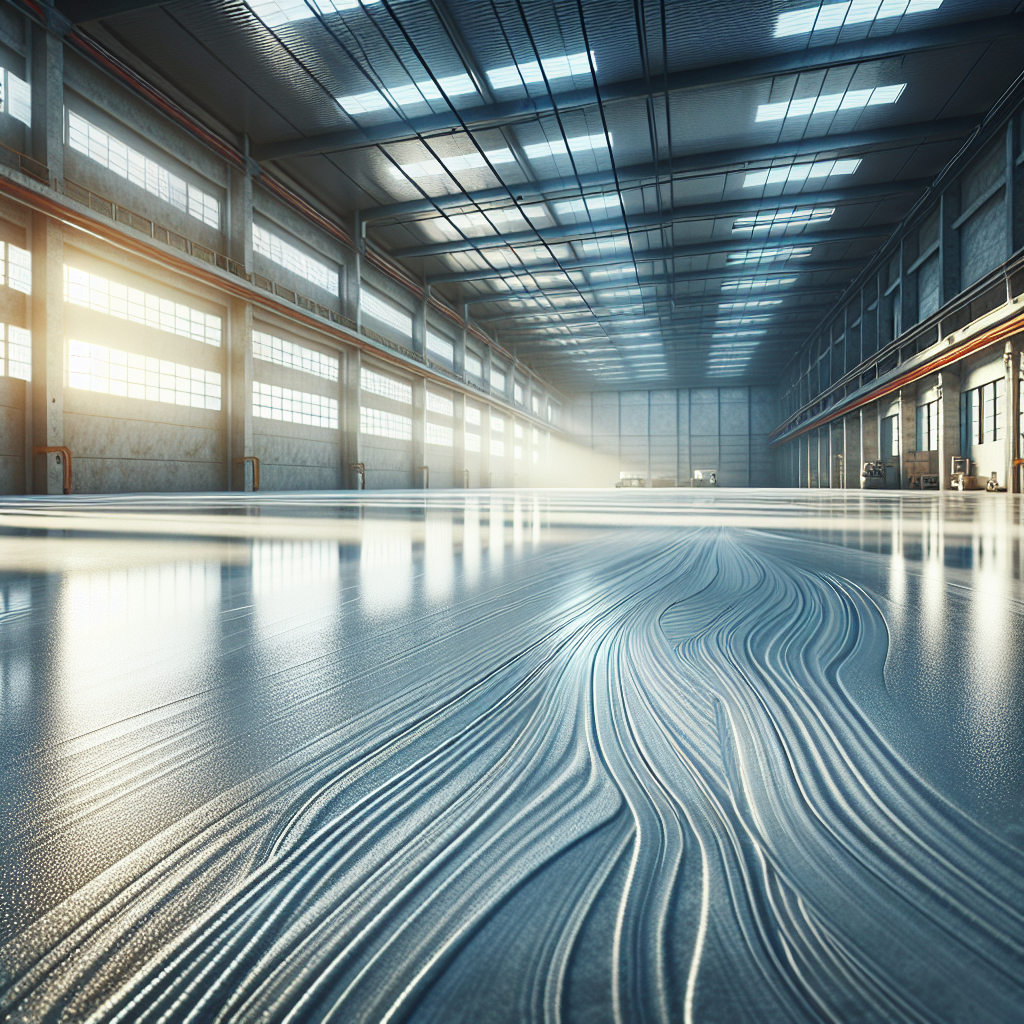
When it comes to enhancing the durability and aesthetics of your floors, epoxy coatings are among the top choices for both residential and commercial properties. However, the success of an epoxy floor installation significantly depends on how well the surface is prepared beforehand. Without proper preparation, even the best epoxy products may not adhere correctly, leading to peeling, chipping, and an overall unsatisfactory finish.
In this guide, we’ll walk you through the essential steps to ensure your floor is properly prepared for an epoxy coating. This includes cleaning the surface thoroughly, repairing any damages, and ensuring the floor is smooth and free of contaminants. By following these steps, you can achieve a perfect finish that not only looks great but also stands the test of time.
Whether you’re a DIY enthusiast or a business owner looking to enhance your workspace, understanding how to prepare your floor for epoxy coating is crucial. It ensures that the application process goes smoothly and that the final result meets your expectations. With the right preparation, your epoxy floor can offer long-lasting protection and an attractive appearance that enhances any space.
Call Us Today for a Free Quote to take the first step toward a beautifully finished floor. Visit Americas Industrial Coatings in Fort Lauderdale for expert advice and guidance tailored to your specific needs.
Assessing the Condition of Your Floor
Before embarking on the epoxy coating process, it’s crucial to assess the current condition of your floor. This initial step will help identify any potential issues that need to be addressed prior to applying the epoxy, ensuring a smooth and lasting finish.
Start by examining the surface for any visible damage such as cracks, chips, or spalling. These imperfections can disrupt the adhesion of the epoxy, leading to poor results. Use a flashlight to detect smaller, less noticeable cracks or irregularities in the surface.
Next, check for any existing coatings or sealers that may interfere with the epoxy’s ability to bond with the floor. You can perform a simple water test: pour a small amount of water onto the floor and observe if it beads up or is absorbed. Beading indicates that a coating is present and will need to be removed before proceeding.
It’s also essential to consider the level of moisture in your flooring. Excess moisture can prevent epoxy from curing properly, leading to bubbles or peeling. Use a moisture meter to measure the moisture content, and ensure it is within acceptable limits for epoxy application. If high levels of moisture are detected, it may be necessary to address this with a vapor barrier or additional drying time.
By thoroughly assessing your floor’s condition, you can address any underlying issues and create an optimal surface for applying epoxy coating. This step is fundamental in ensuring the longevity and performance of your newly coated floor.
Necessary Tools and Materials for Preparation
Preparing your floor for an epoxy coating involves gathering the right tools and materials to ensure an efficient and successful process. Having everything on hand before you start will make the preparation smoother and more effective.
Firstly, you will need cleaning supplies, including a broom, mop, and a heavy-duty degreaser. These are essential for removing dirt, dust, and grease from the surface, which can hinder the epoxy from adhering properly.
For more stubborn stains and residues, consider using a pressure washer. This tool is particularly useful for outdoor spaces or large areas where manual cleaning would be inefficient. If your floor has old coating or paint, a floor grinder or a sander with diamond grinding cups can help strip the surface to bare concrete.
Next, repair tools are necessary for fixing any cracks or imperfections. A concrete patching compound can fill in cracks, while a putty knife or trowel is useful for applying these materials evenly. Make sure to have a vacuum or dust collector on hand to keep the area clean and free of debris during the repair process.
Finally, don’t forget personal protective equipment (PPE) like gloves, goggles, and a dust mask. These will protect you from dust, debris, and chemical exposure during preparation. A sturdy pair of knee pads is also advisable, especially for larger projects that require extensive work on your hands and knees.
Equipped with the right tools and materials, you’ll be well-prepared to tackle the next steps in applying your epoxy coating, ensuring a high-quality and durable finish.
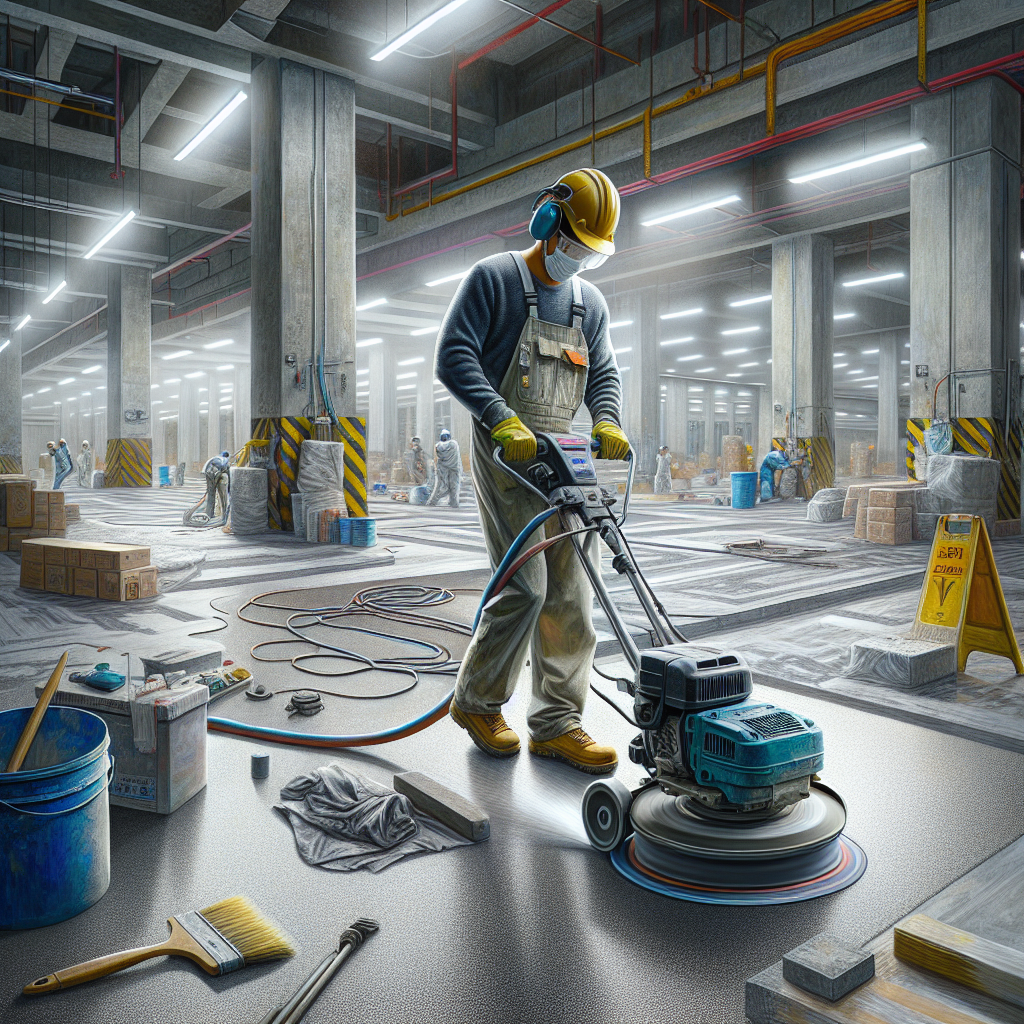
Cleaning and Degreasing the Floor Surface
Once you’ve gathered the necessary tools and materials, the next crucial step is cleaning and degreasing the floor surface. This process is essential to ensure that the epoxy coating adheres properly and lasts for years to come.
Start by sweeping the floor thoroughly with a broom to remove loose dust and debris. This initial step clears the way for more intensive cleaning. Following the sweeping, use a mop and a bucket of warm water to eliminate any remaining fine dust particles. For areas with heavy dirt accumulation, a vacuum can be particularly effective.
Next, tackle any grease or oil stains that could prevent the epoxy from bonding. Apply a heavy-duty degreaser to these areas, allowing it to sit for the recommended time specified by the product instructions. This waiting period enables the degreaser to break down stubborn residues, making them easier to remove. Use a stiff-bristled brush to scrub the surface, ensuring you reach into every crevice where grease may have settled.
Once scrubbing is complete, rinse the floor thoroughly with clean water to remove any remaining cleaning agents. A pressure washer can be advantageous here, especially if you’re working on a large area, as it ensures a deep cleanse. Allow the floor to dry completely before proceeding to the next step. You may expedite this drying process with fans or a dehumidifier, particularly in humid environments.
Proper cleaning and degreasing are pivotal in the floor preparation process. Ensuring the surface is spotless and free of contaminants will lay the foundation for a successful epoxy application, leading to a resilient and visually appealing finish.
Repairing Cracks and Imperfections
After thoroughly cleaning and degreasing the floor, the next step is to address any cracks and imperfections in the surface. This step is vital to ensure that the epoxy coating is applied smoothly and evenly, which not only enhances the floor’s appearance but also its durability.
Begin by inspecting the floor for visible cracks, holes, or any uneven areas. These imperfections can disrupt the epoxy layer, leading to potential issues in the future. For minor cracks, use an epoxy crack filler. These fillers are specifically designed to bond well with the epoxy coating. Apply the filler with a putty knife, ensuring it penetrates the crack fully, and smooth out the surface for an even finish. Allow the filler to cure as per the manufacturer’s instructions before moving on.
For larger imperfections or damage, you may need to use a concrete patching compound. Mix the compound according to the instructions and apply it with a trowel, pressing it firmly into the damaged areas. Level the surface with the surrounding floor to create a seamless base. Again, allow the compound to dry completely.
Once these repairs are complete, sand the entire floor lightly. This step helps to level out any residual unevenness and provides a slightly rough surface for the epoxy to better adhere. Vacuum the floor to remove dust from sanding, ensuring the surface is pristine for the next phase of the epoxy application.
By meticulously repairing cracks and imperfections, you create a solid foundation that enhances both the aesthetic and functional qualities of the epoxy coating. This attention to detail helps prevent future issues and ensures a long-lasting, professional finish.
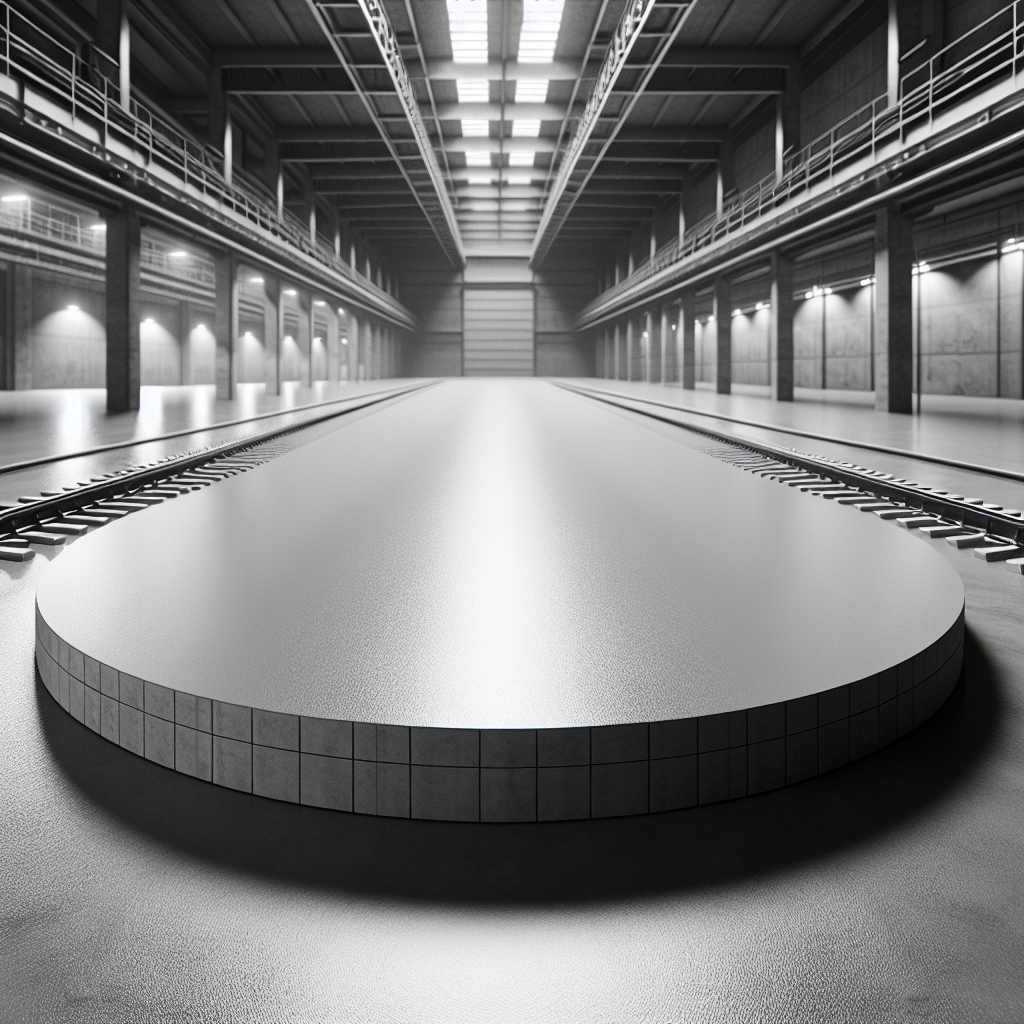
Ensuring Proper Floor Surface Roughness
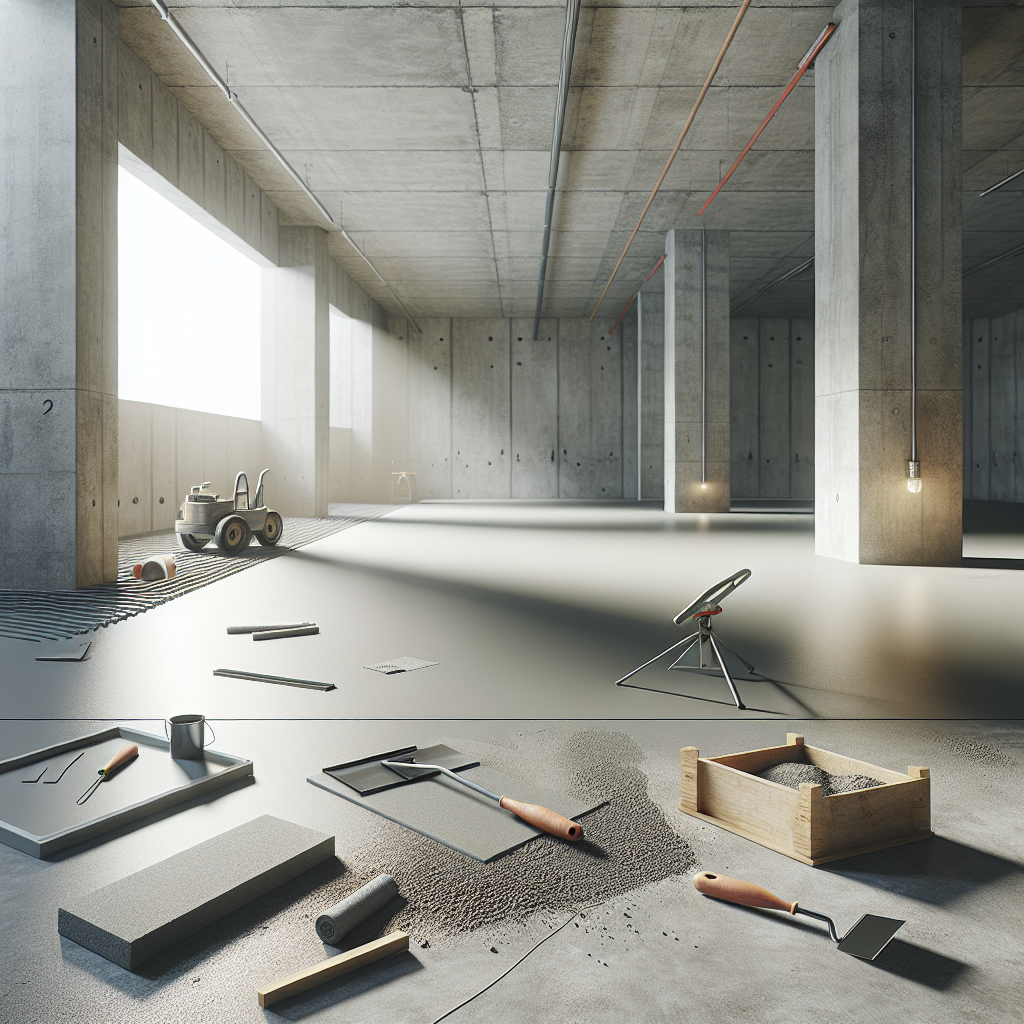
Achieving the correct **floor surface roughness** is crucial for the successful application of epoxy coatings. This texture provides the necessary grip for the epoxy to adhere effectively, ensuring a long-lasting and durable finish. Without this key step, the epoxy may not bond properly, leading to peeling or flaking over time.
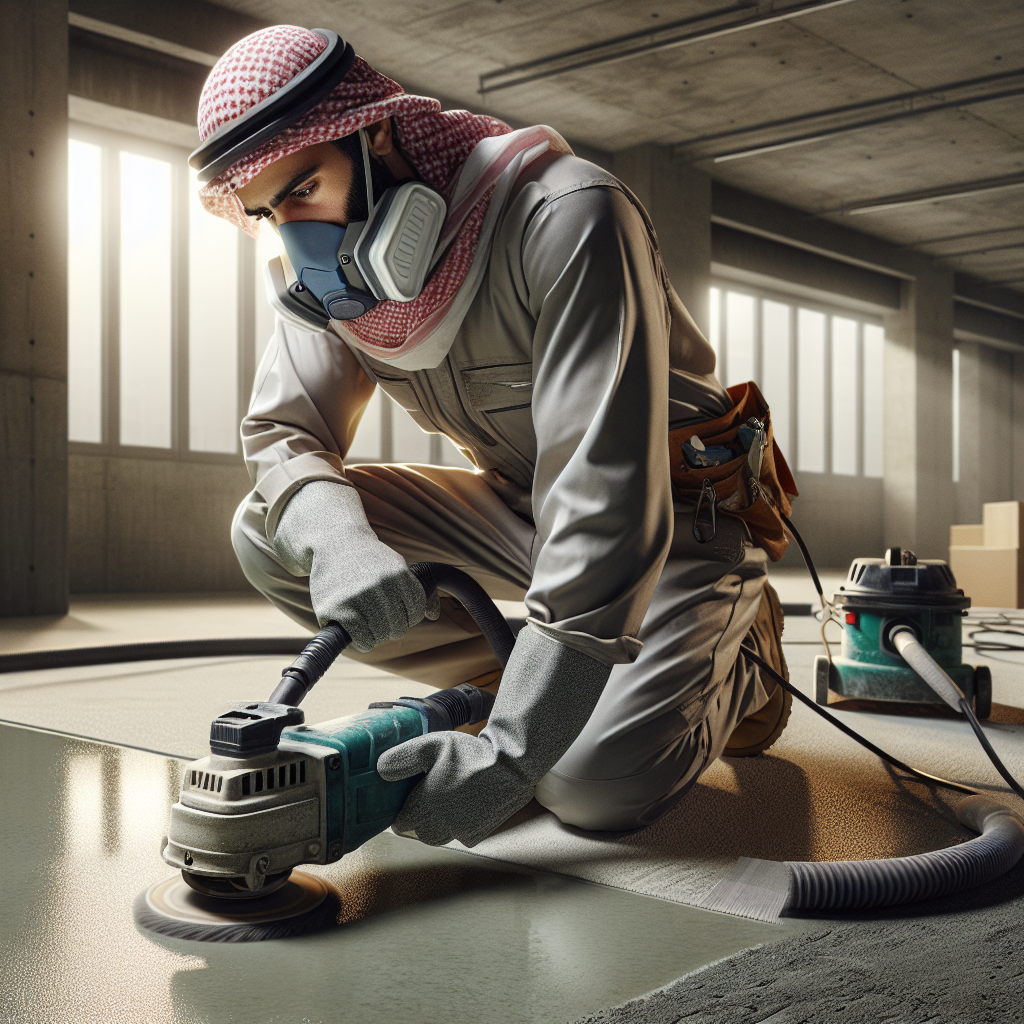
To ensure proper roughness, consider using a method called mechanical abrasion. This process involves using tools like a floor grinder or a shot blaster to create a slightly rough texture on the concrete surface. The goal is to open up the concrete pores, which enhances the epoxy’s ability to bond. Always follow the manufacturer’s guidelines on the depth and extent of roughness required for the epoxy product you are using.
For areas that are hard to reach with machinery, manual methods such as acid etching can be employed. This involves applying a dilute acid solution to the surface to create a rough texture. However, safety precautions are essential when using acids, including protective clothing and proper ventilation.
After achieving the desired roughness, it’s imperative to thoroughly clean the floor once more. Remove any dust, debris, or residue that could interfere with the epoxy application. A final vacuum or sweep followed by a damp mop can help ensure the surface is perfectly prepared.
By ensuring proper surface roughness, you set the stage for a flawless and enduring epoxy coating. For further guidance on preparing your floor for epoxy coating or to receive professional assistance, call us today for a free quote at Americas Industrial Coatings. Our experts are ready to help you achieve the perfect finish for your floors.