
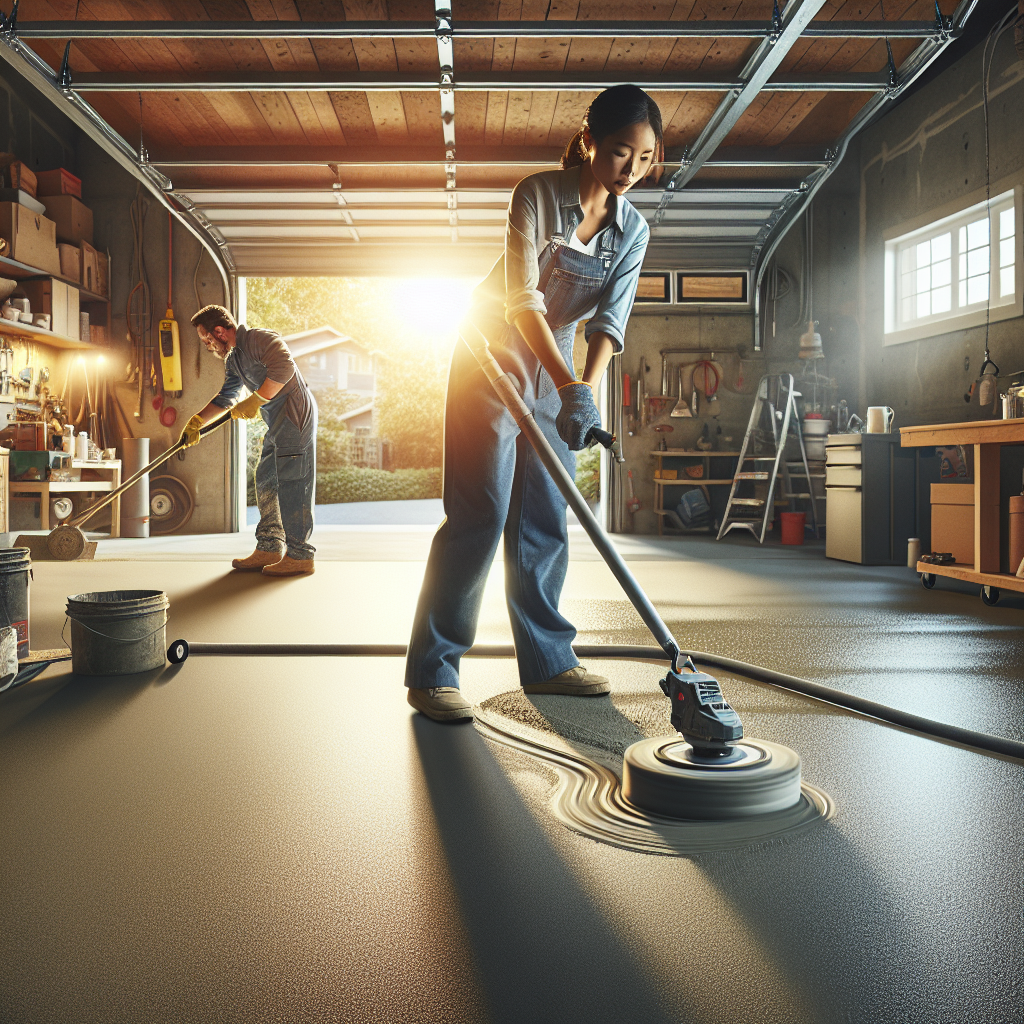
When considering a transformation for your garage, understanding the epoxy garage floor installation process is crucial. This process involves several key steps that ensure durability and aesthetic appeal. First, the existing floor must be thoroughly cleaned and repaired. This involves removing any oil stains, debris, and loose paint, as these can affect the adhesion of the epoxy.
Next, the surface is often ground or etched to create a rough texture, which helps the epoxy bond better. After preparing the surface, a primer coat is typically applied to enhance adhesion. Once the primer is dry, the epoxy resin is mixed and applied in layers. This step is vital as it determines the thickness and durability of the final surface. Typically, two to three coats of epoxy are applied, allowing each layer to cure fully before the next is added.
Finally, a topcoat may be added for additional protection and shine. This top layer can also include decorative flakes for a customized look. It is important to allow proper curing time before using the garage again.
By following these steps, you can achieve a stunning and functional garage floor that withstands heavy traffic and spills. If you’re considering an epoxy floor for your garage, call us today for a free quote and let our experts in Fort Lauderdale guide you through the installation process!
Benefits of Epoxy Flooring in Your Garage
Choosing epoxy flooring for your garage offers numerous advantages that can enhance both functionality and aesthetics. One of the most significant benefits is its durability. Epoxy floors are resistant to cracks, stains, and impacts, making them ideal for high-traffic areas like garages. This durability ensures that your floor will withstand the weight of vehicles and heavy equipment without damage.
Another advantage is the ease of maintenance. Epoxy flooring is non-porous, which means it resists the accumulation of dirt and grime. A simple mop and mild detergent are typically all that’s needed to keep the surface clean, saving you time and effort over the long term.
Additionally, epoxy provides a slip-resistant surface, enhancing safety in your garage, especially when wet. This feature is particularly beneficial in preventing accidents caused by slips or falls.
From an aesthetic standpoint, epoxy flooring comes in a range of colors and finishes, allowing homeowners to customize their garage to match their personal style. Whether you prefer a sleek, modern look or a more traditional aesthetic, epoxy can fulfill your design vision.
Lastly, installing epoxy flooring can significantly increase the value of your home. Potential buyers are often impressed by a well-finished garage, making it a wise investment for homeowners.
Necessary Tools and Materials for Epoxy Application
Successfully applying epoxy flooring in your garage requires a specific set of tools and materials. Having the right equipment on hand is essential for achieving a professional finish and ensuring the longevity of your floor.
First and foremost, you’ll need a high-quality epoxy resin kit, which typically includes the epoxy resin and hardener. Be sure to select a product that’s specifically designed for flooring applications to ensure durability and adhesion.
In addition to the epoxy itself, gather the following tools:
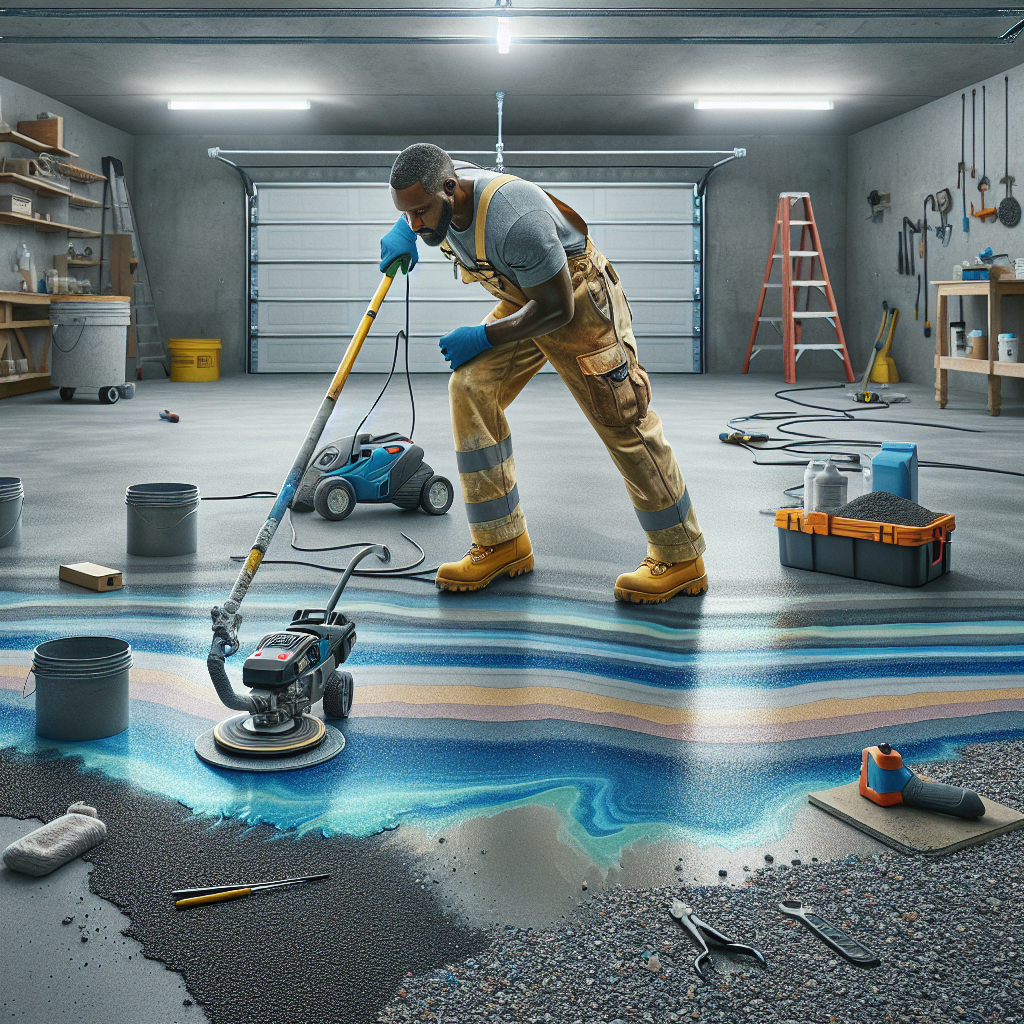
- Concrete grinder or floor sander: To prepare the surface by removing any existing coatings and creating a rough texture for better adhesion.
- Paint roller and extension pole: For applying the epoxy evenly across the floor surface.
- Paintbrush: Useful for detailed work around edges and corners where a roller may not reach.
- Notched squeegee: Ideal for spreading the epoxy evenly and ensuring a smooth finish.
- Protective gear: Safety goggles, gloves, and a respirator mask are vital for protecting yourself from fumes and skin contact with the epoxy.
Lastly, ensure you have masking tape to protect areas that you don’t want to coat, as well as drop cloths to catch any spills or drips during application. Having these tools and materials ready will streamline the entire process and help you achieve the best results possible.
Step-by-Step Guide to Epoxy Your Garage Floor

Once you have gathered all the necessary tools and materials, it’s time to dive into the step-by-step process of applying epoxy to your garage floor. Follow these guidelines to ensure a successful installation:
- Preparation: Begin by clearing the garage of all items, including furniture, tools, and vehicles. This will provide a clean workspace. Next, inspect the concrete for any cracks or damage and repair them using a concrete patching compound.
- Cleaning: Thoroughly clean the concrete surface using a power washer or a strong cleaning solution to remove dirt, grease, and oil stains. Allow the floor to dry completely before proceeding.
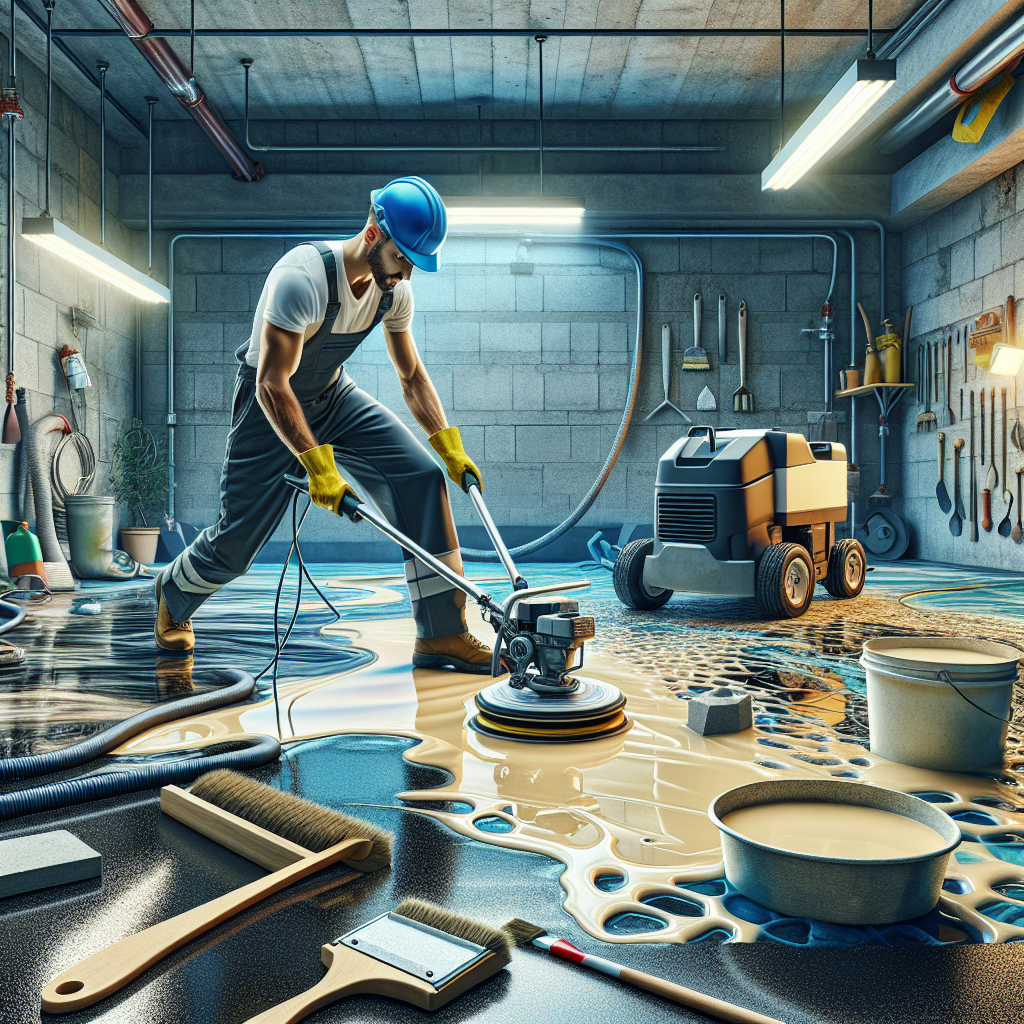
- Grinding: Use a concrete grinder or floor sander to create a rough texture on the surface. This step is crucial, as it allows the epoxy to adhere better to the concrete.
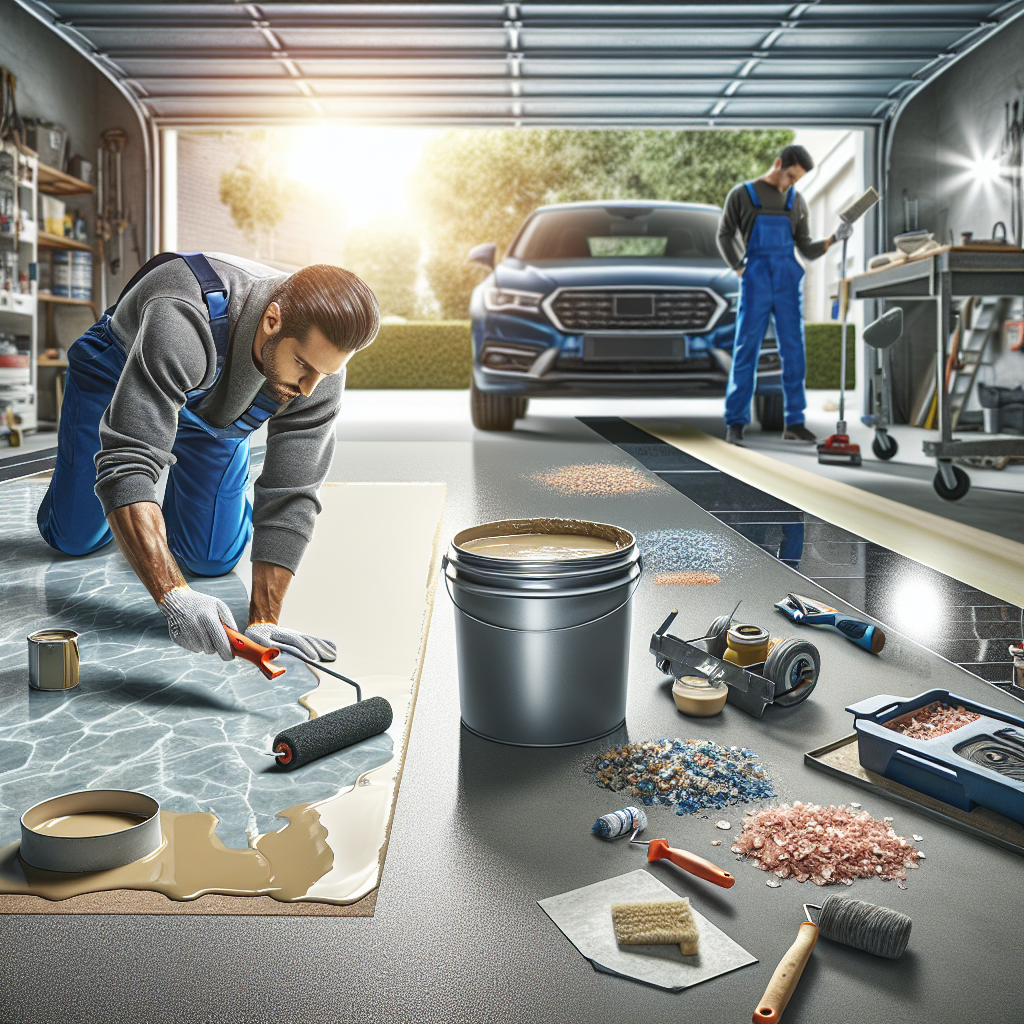
- Mixing the Epoxy: Follow the manufacturer’s instructions to mix the epoxy resin and hardener. Be sure to mix it thoroughly to activate the chemical reaction that makes it cure properly.
- Applying the Epoxy: Start by using a paintbrush to outline the edges and corners of the garage. Then, use a paint roller or notched squeegee to apply the epoxy to the larger areas, working in small sections to ensure an even coat.
- Finishing Touches: After the first coat is applied, allow it to cure according to the manufacturer’s instructions before applying a second coat if necessary. This step will enhance the durability and appearance of your floor.
- Curing: Once the final coat is applied, allow the epoxy to cure completely. This may take several days, depending on the product used and environmental conditions.
Following this detailed guide will help you achieve a stunning epoxy garage floor that not only enhances the look of your space but also provides long-lasting protection against wear and tear.
Common Mistakes to Avoid When Epoxy Flooring
While epoxy flooring can transform your garage into a durable and aesthetically pleasing space, there are several common mistakes that can hinder your project’s success. Avoiding these pitfalls will ensure that your installation is smooth and effective:
- Skipping Surface Preparation: One of the most critical steps is properly preparing the concrete surface. Neglecting to clean, repair, or grind the floor can lead to poor adhesion and a less durable finish.
- Poor Mixing: Failing to follow the manufacturer’s instructions for mixing the epoxy resin and hardener can result in a weak bond. Always ensure that you mix the components thoroughly and in the correct ratios.
- Ignoring Temperature and Humidity: Epoxy application is sensitive to environmental conditions. Applying epoxy in unsuitable temperatures or high humidity can cause improper curing and affect the final appearance.
- Rushing the Process: It’s important to take your time during each step, especially during curing. Rushing through the application or not allowing for adequate drying time between coats can compromise the integrity of the floor.
- Applying Too Thick of a Coat: Many DIYers make the mistake of applying a thick layer of epoxy in an attempt to achieve a better finish. This can lead to pooling and uneven surfaces. Instead, apply multiple thin coats for the best results.
- Neglecting Safety Precautions: Always wear appropriate personal protective equipment (PPE), such as gloves and a mask, while handling epoxy materials to avoid health risks.
By being aware of these common mistakes and taking the necessary precautions, you can achieve a flawless epoxy floor installation that stands the test of time.
When to Hire Professionals for Epoxy Installation
While many homeowners may consider tackling epoxy floor installation as a DIY project, there are certain situations where hiring a professional is the best choice. Understanding when to seek expert assistance can save you time, money, and potential headaches:
- Complex Installations: If your garage floor has significant cracks, uneven surfaces, or requires extensive repairs, professional installers have the expertise to assess and address these issues correctly.
- Limited Experience: If you are unfamiliar with epoxy application or have never worked with concrete, the learning curve can be steep. Professionals possess the necessary skills and experience to ensure a high-quality finish.
- Time Constraints: If you have a busy schedule, hiring professionals can save you valuable time. They can complete the job efficiently while you focus on other priorities.
- Desire for Customization: Professionals can offer a range of design options, including colors, patterns, and textures that can enhance the aesthetic appeal of your garage floor.
- Ensuring Long-Term Durability: A professional installation often comes with a warranty, giving you peace of mind that your investment is protected against defects and premature wear.
Ultimately, if you find yourself hesitating or feeling overwhelmed by the thought of installing an epoxy floor, don’t hesitate to reach out for expert help. Call Us Today for a Free Quote at Americas Industrial Coatings and let our skilled team in Fort Lauderdale ensure your epoxy floor is installed with precision and care.