Epoxy flooring is becoming increasingly popular for garage spaces due to its durability and aesthetic appeal. Understanding the epoxy garage floor process is essential to achieving the best results, whether you decide to tackle the project yourself or hire a professional.
The process begins with the preparation of your garage floor. This step involves cleaning the surface thoroughly to remove any dirt, grease, or previous coatings. It’s crucial that the concrete is free of contaminants, as these can prevent the epoxy from adhering properly.
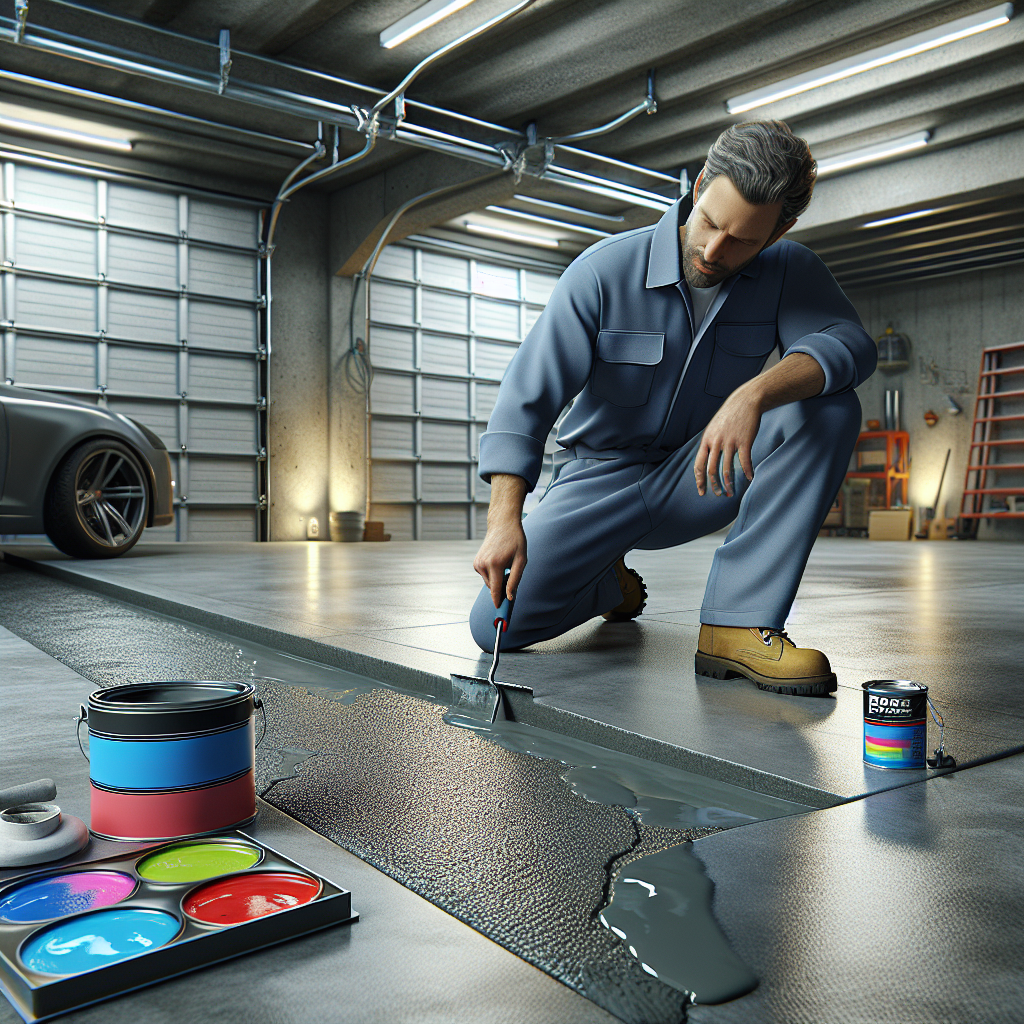
Next, you will need to repair any cracks or imperfections in the concrete. This can involve filling in cracks with a concrete patching compound and allowing it to cure fully before moving on. Once the floor is prepared, the actual epoxy application can begin.
During the application, the epoxy is typically mixed with a hardener and then applied in thin layers. This step requires precision, as uneven application can lead to a subpar finish. It’s also important to consider the curing time of the epoxy, which is essential for achieving a hard, durable surface.
While the DIY approach can save money, many homeowners find that hiring a professional ensures a smoother, more efficient process. If you’re wondering how hard it is to epoxy your garage floor, it may be worth consulting with experts who can provide you with advice tailored to your specific situation. Call Us Today for a Free Quote to explore your options and get started on transforming your garage floor!
Evaluating Your Garage Floor Condition

Before embarking on the journey to epoxy your garage floor, it’s vital to evaluate the condition of your existing flooring. This evaluation will help you determine whether your garage floor is suitable for an epoxy coating and what preparations may be necessary.
Start by examining the surface for cracks and damage. Small cracks can often be filled, but larger cracks may require more extensive repairs. Look for signs of moisture damage as well; a damp floor can lead to poor adhesion of the epoxy. Conduct a simple moisture test by taping a piece of plastic or duct tape to the floor and leaving it for 24 hours. If condensation forms under the plastic, it indicates moisture issues that need to be addressed.
Next, consider the overall texture of your floor. A smooth surface may require etching or grinding to create a profile that allows for better adhesion of the epoxy. On the other hand, a rough surface may be more suitable for coating without additional preparation.
Additionally, assess the type of concrete you have. If it’s new concrete, ensure it has cured for at least 28 days before applying epoxy. If your garage has previously been coated with paint or sealer, these will need to be completely removed to avoid complications during the epoxy application.
By thoroughly evaluating these factors, you can make informed decisions on how to proceed with your epoxy flooring project, ensuring a long-lasting and aesthetically pleasing finish.
Essential Tools and Materials Required
Preparing to epoxy your garage floor requires a selection of essential tools and materials to ensure a successful and durable application. Having the right equipment on hand not only simplifies the process but also enhances the overall quality of the finished product.
Start with the following key tools:
- Concrete Grinder or Etcher: This is necessary for preparing the surface by creating a profile for better adhesion.
- Shop Vacuum: A powerful vacuum will help you remove dust and debris from the floor after grinding or etching.
- Paint Roller and Roller Frame: Choose a roller specifically designed for epoxy coatings for even application.
- Brushes: Use brushes to reach edges and corners where a roller may not fit.
- Mixing Buckets: Quality buckets are essential for mixing the epoxy resin and hardener thoroughly.
- Safety Gear: Don’t forget gloves, goggles, and a respirator to protect yourself during the application process.
In addition to tools, you will need to gather materials, including:
- Epoxy Floor Kit: Make sure to select a high-quality epoxy kit that includes both resin and hardener.
- Concrete Patch or Filler: Use this to repair cracks or damaged areas before applying epoxy.
- Primer: A primer may be required for better adhesion, depending on your specific floor condition.
- Optional Decorative Flakes or Color Chips: These can be added to enhance the aesthetic appeal of your garage floor.
By gathering these tools and materials in advance, you will be well-prepared to tackle the epoxy application process with confidence and efficiency.
Step-by-Step Guide to Epoxy Application

Applying epoxy to your garage floor can seem daunting, but following a step-by-step guide can simplify the process and lead to impressive results. Below is a comprehensive outline to help you navigate through each stage effectively.
1. Prepare the Garage Floor: Start by clearing the garage of any items. Remove oil stains and dirt by cleaning the floor with a degreaser. If necessary, grind or etch the concrete surface to create a profile for better adhesion.
2. Repair Any Cracks: Inspect the floor for cracks and use a concrete patch or filler to repair them. Allow sufficient drying time as recommended by the product instructions.
3. Clean Thoroughly: Once repairs are dry, vacuum the floor to remove dust and debris. A clean surface is crucial for optimal epoxy adhesion.
4. Mix the Epoxy: Following the manufacturer’s instructions, mix the epoxy resin and hardener in a clean bucket. Ensure the mixture is thoroughly combined to avoid inconsistencies during application.
5. Apply the Primer: If required, apply a primer to the floor using a roller or brush. This step enhances adhesion and prepares the surface for the epoxy.
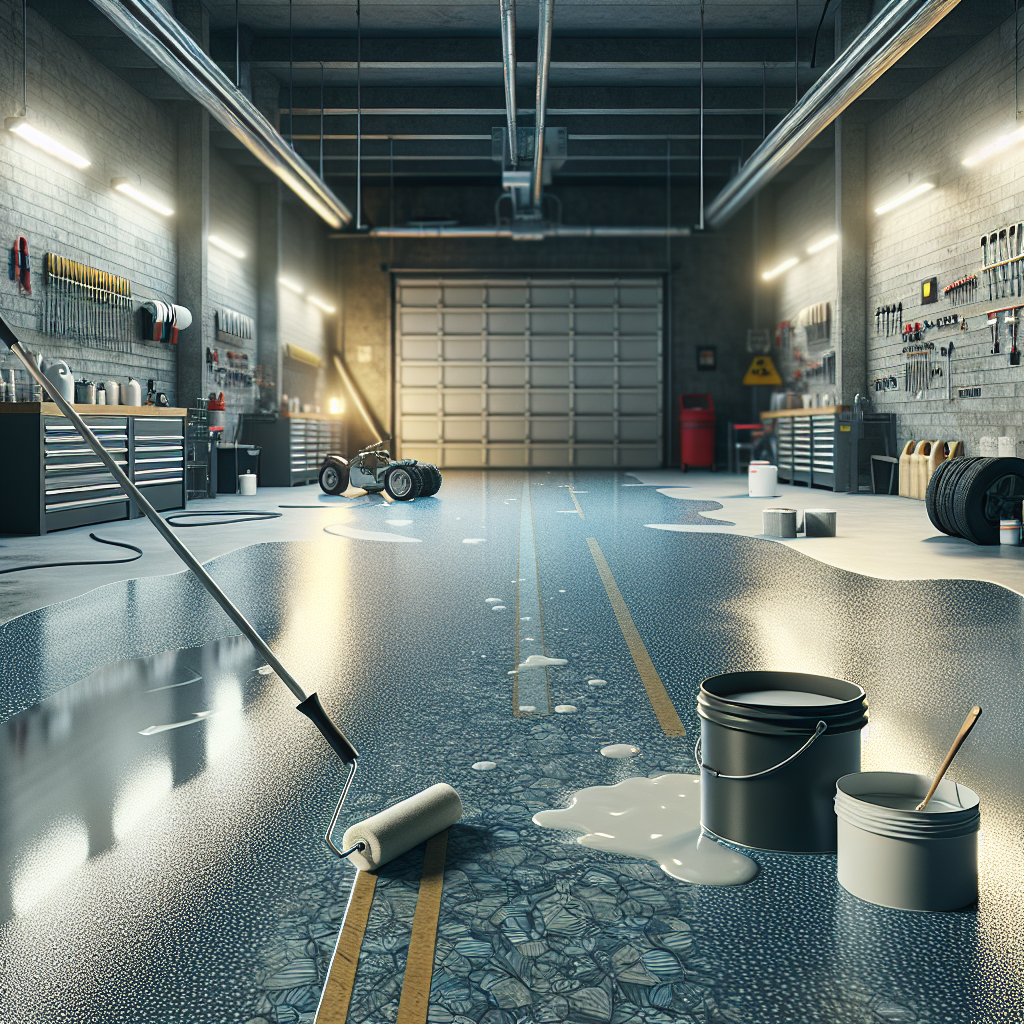
6. Start Epoxy Application: Pour the mixed epoxy onto the floor and use a roller to spread it evenly. Work in manageable sections, and apply a second coat if necessary after the first has cured.
7. Add Decorative Flakes: If you wish to enhance the floor’s appearance, sprinkle decorative flakes or color chips onto the wet epoxy.
8. Allow to Cure: Follow the manufacturer’s guidelines for curing time. Avoid walking on the floor until it is fully cured to ensure durability.
By adhering to this guide, you can achieve a professional-looking epoxy floor finish that will enhance your garage’s functionality and appearance.
Common Challenges and Solutions

While applying epoxy to your garage floor can yield stunning results, various common challenges may arise during the process. Understanding these challenges and knowing how to address them can make your epoxy installation smoother and more successful.
1. Poor Surface Preparation: One of the most significant factors affecting epoxy adhesion is inadequate surface preparation. If the floor is not thoroughly cleaned and prepped, the epoxy may peel or bubble. Solution: Make sure to properly clean the concrete using a degreaser and etch the surface if necessary to create a strong bond.
2. Humidity and Temperature Issues: Epoxy application is sensitive to environmental conditions. High humidity and low temperatures can hinder the curing process, leading to a weaker finish. Solution: Check the weather forecast and try to plan your application during a period of stable, moderate conditions. Aim for a temperature range between 60°F and 85°F for optimal results.
3. Bubbles and Fisheyes: Bubbles may form in the epoxy due to trapped air or moisture, while fisheyes occur when the surface is contaminated. Solution: To avoid this, ensure the floor is completely dry and free of contaminants before mixing and applying the epoxy. Use a roller with a 1/4-inch nap to minimize air entrapment during application.
4. Inconsistent Color: Variations in the epoxy color can arise from improper mixing or application techniques. Solution: Always follow the manufacturer’s instructions for mixing and apply the epoxy in consistent, thin layers to ensure a uniform finish.
Addressing these challenges proactively can help you achieve a stunning epoxy floor that stands the test of time and enhances your garage’s overall appeal.
When to Consider Professional Installation

Deciding whether to undertake an epoxy floor installation yourself or hire a professional can be a daunting task. While many homeowners are tempted to save money with a DIY approach, there are specific scenarios where professional installation becomes a wise investment.
1. Lack of Experience: If you are unfamiliar with epoxy application techniques or have never worked with concrete surfaces before, you may struggle with the process. Hiring a professional ensures that the job is done correctly, minimizing the risk of costly mistakes.
2. Time Constraints: Epoxy installation can be a time-consuming process. If you have a busy schedule or simply want to avoid the hassle, a professional service can complete the job efficiently and with minimal disruption to your daily routine.
3. Complex Designs: If you are considering intricate designs, patterns, or multiple colors for your epoxy floor, a professional can provide the expertise and tools necessary to achieve a flawless finish. Their experience allows for more creative and customized options that might be challenging for a DIY enthusiast.
4. Large Areas: For larger garage spaces or commercial areas, the scale of the project may make it impractical for a DIY approach. Professionals have the equipment and manpower to handle extensive installations quickly and effectively.
5. Warranty and Guarantees: Many professional installers offer warranties on their work, providing you with peace of mind. If any issues arise post-installation, you’ll have the support you need to resolve them.
In conclusion, while DIY epoxy installation can be rewarding, there are clear benefits to hiring professionals. If you’re considering a project for your garage floor, Call Us Today for a Free Quote and let our experts help you achieve the best results!

