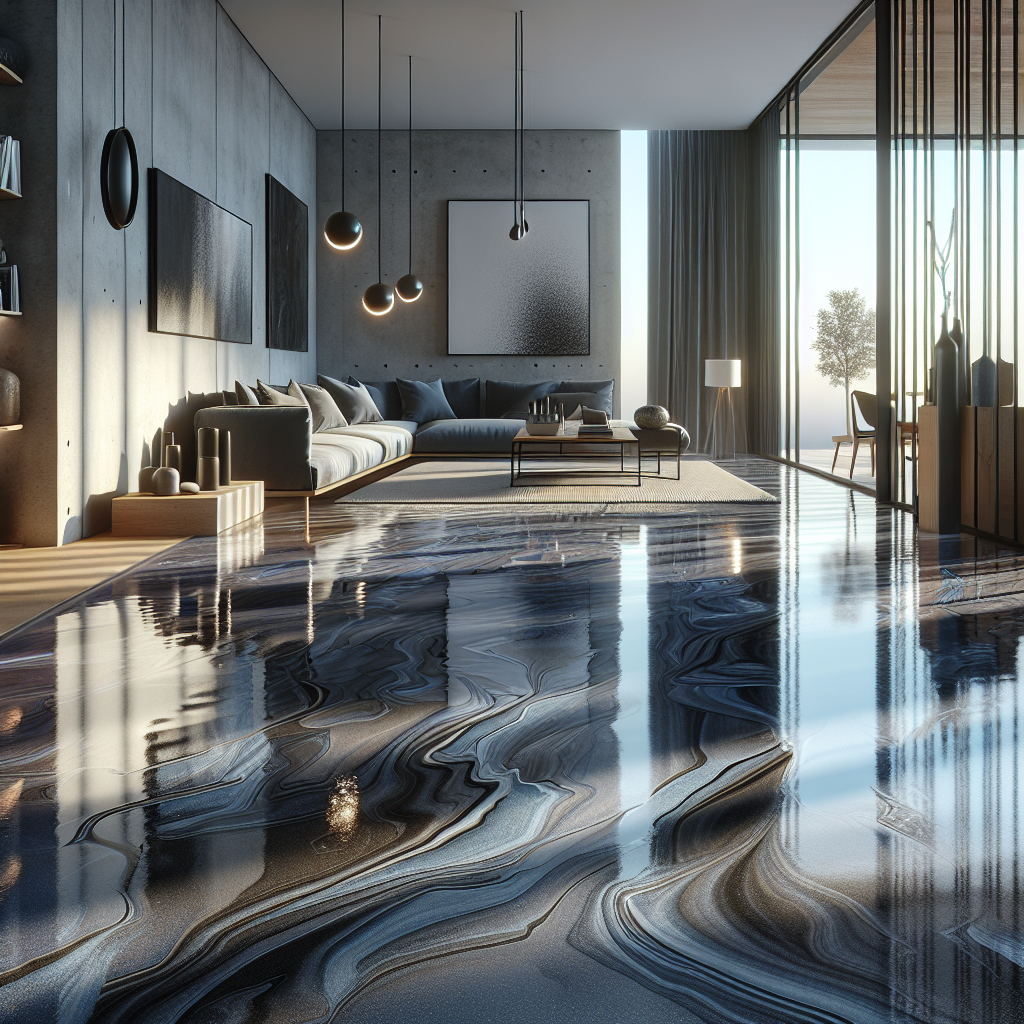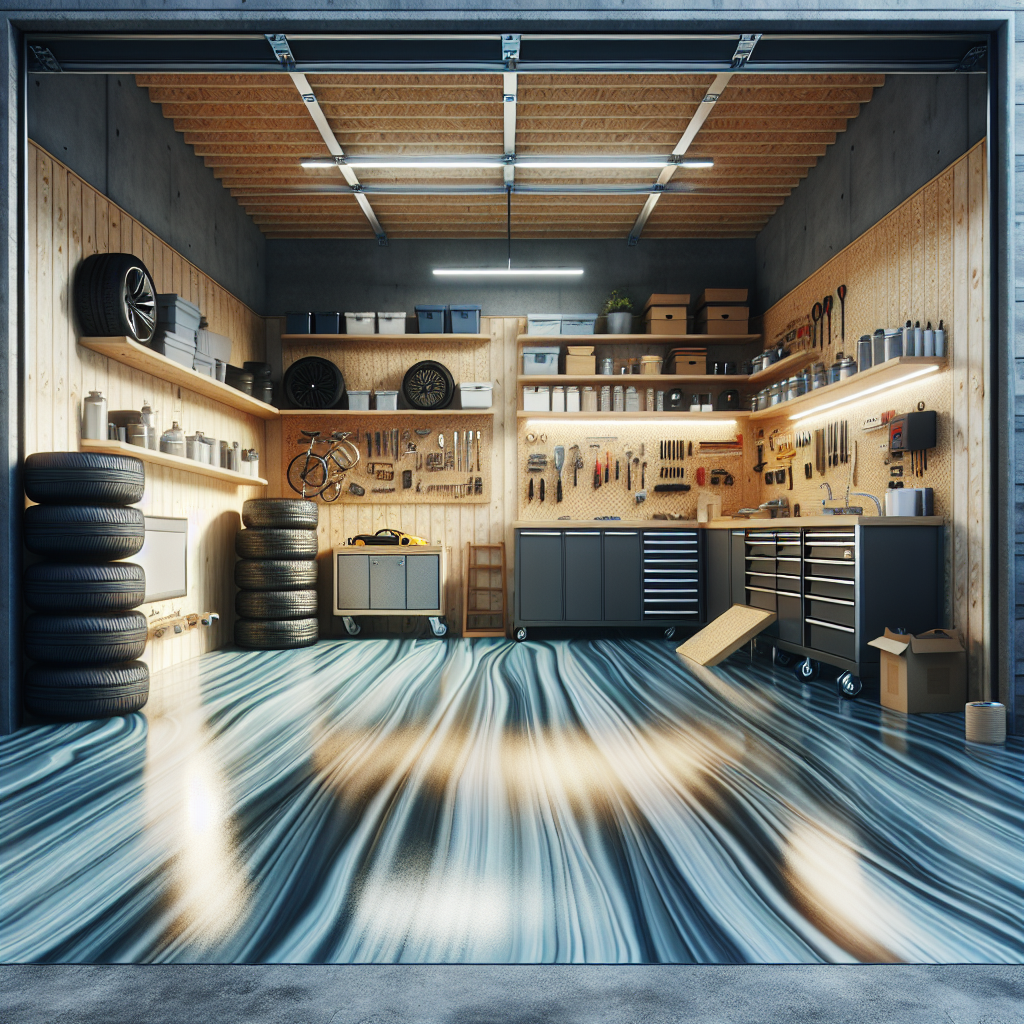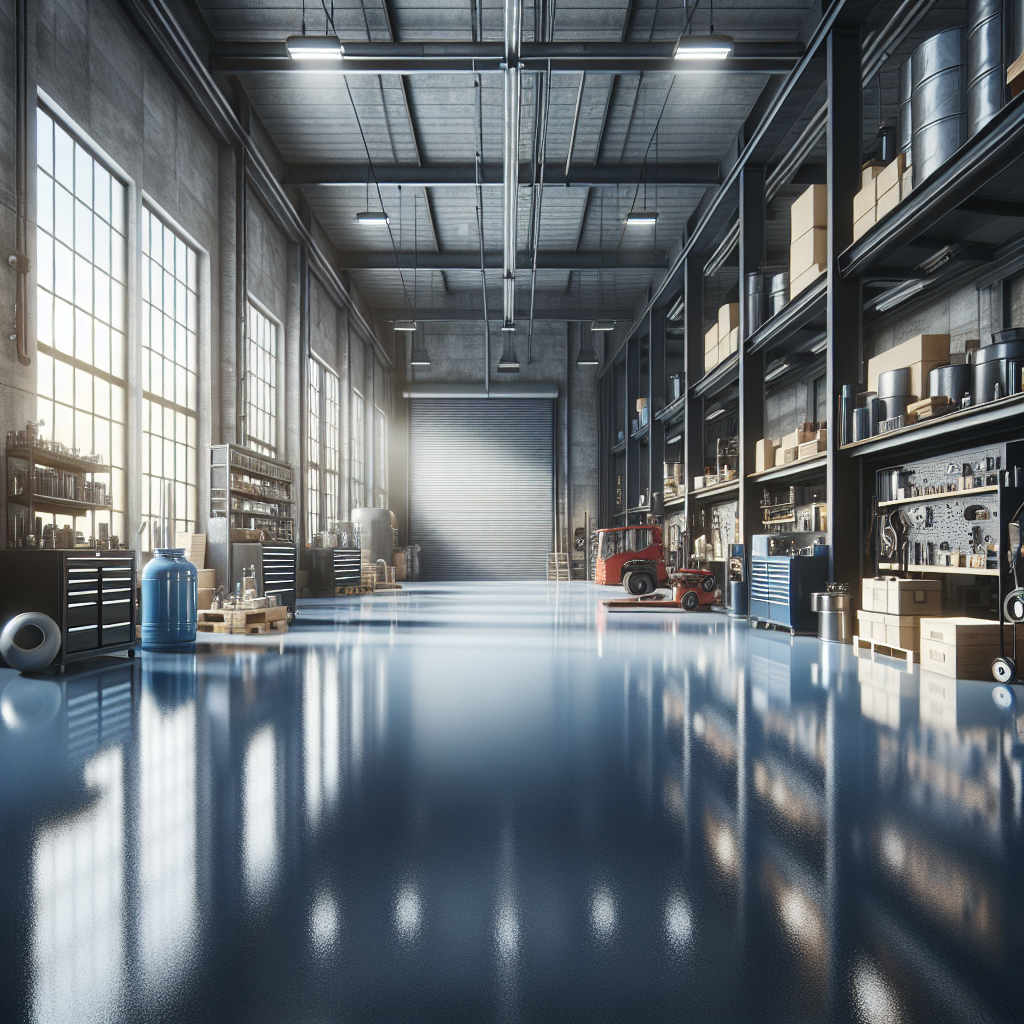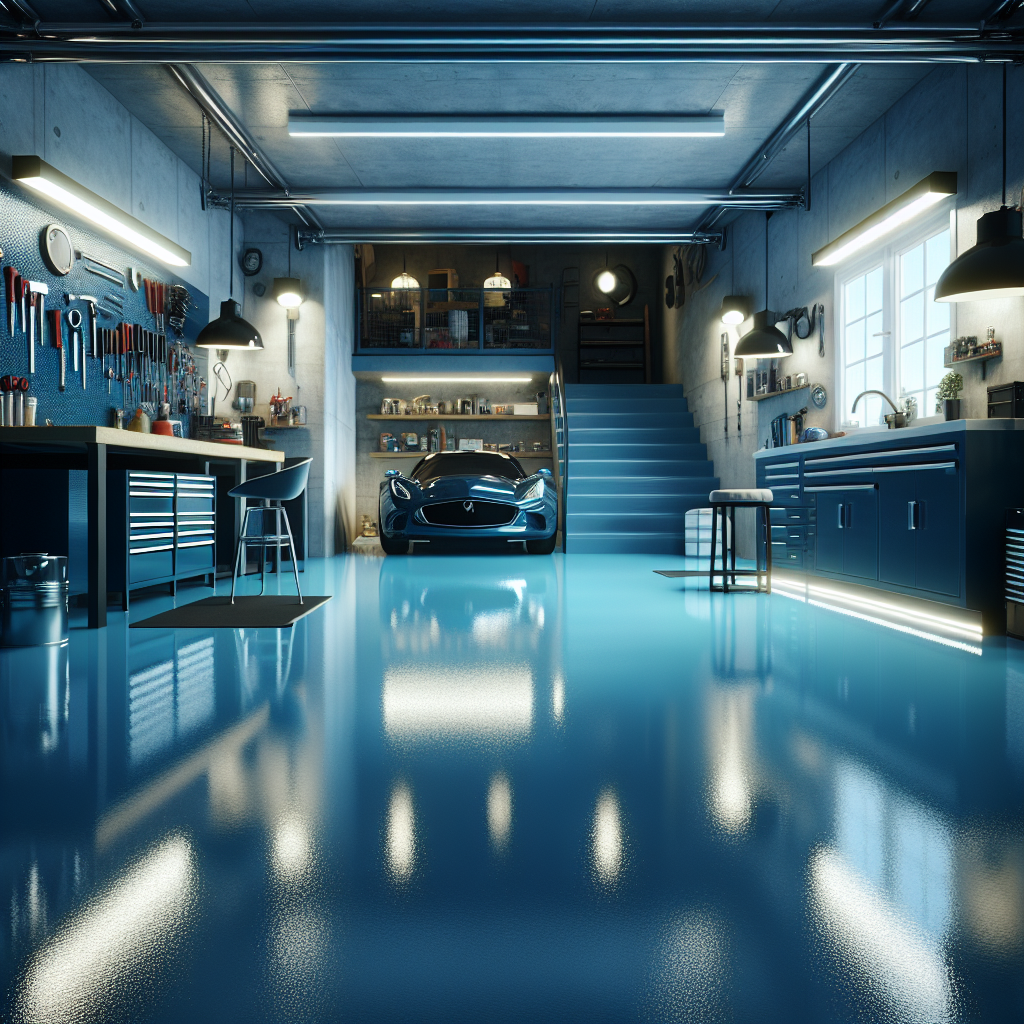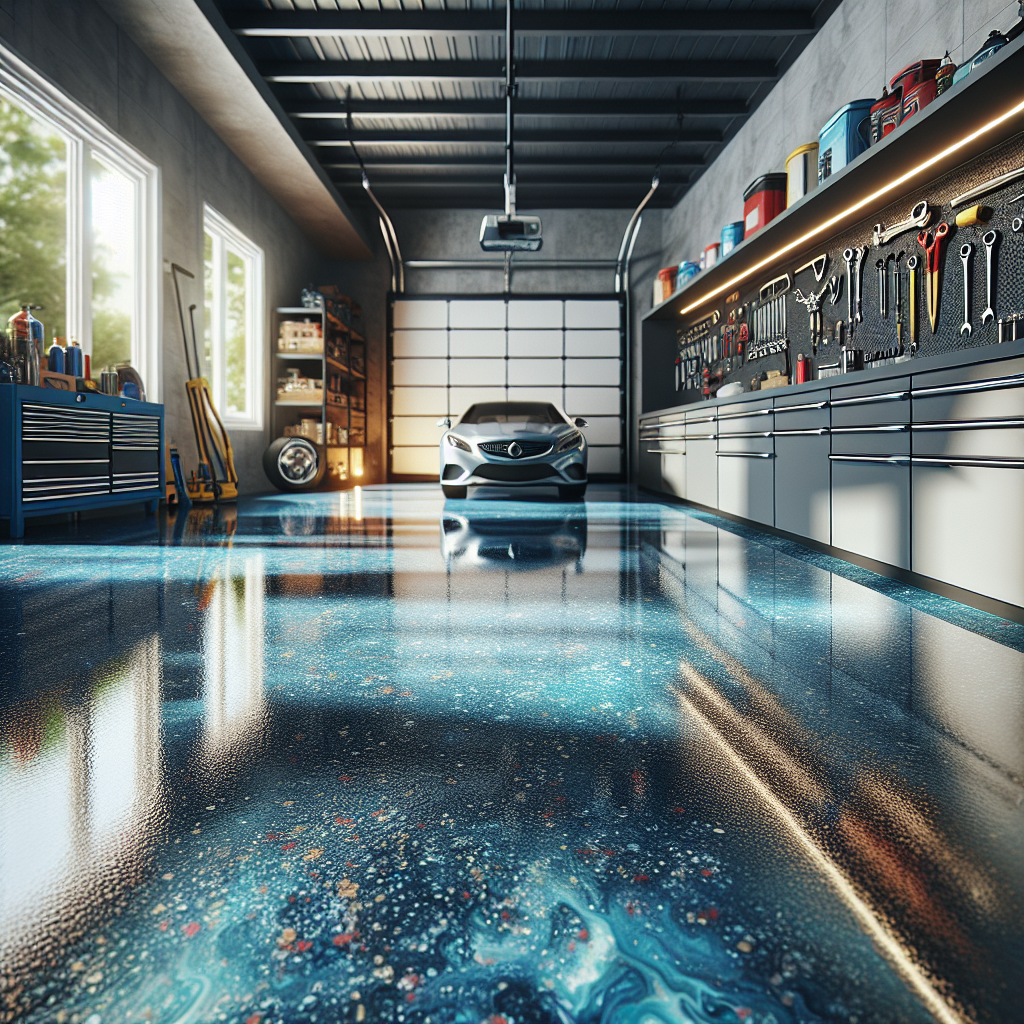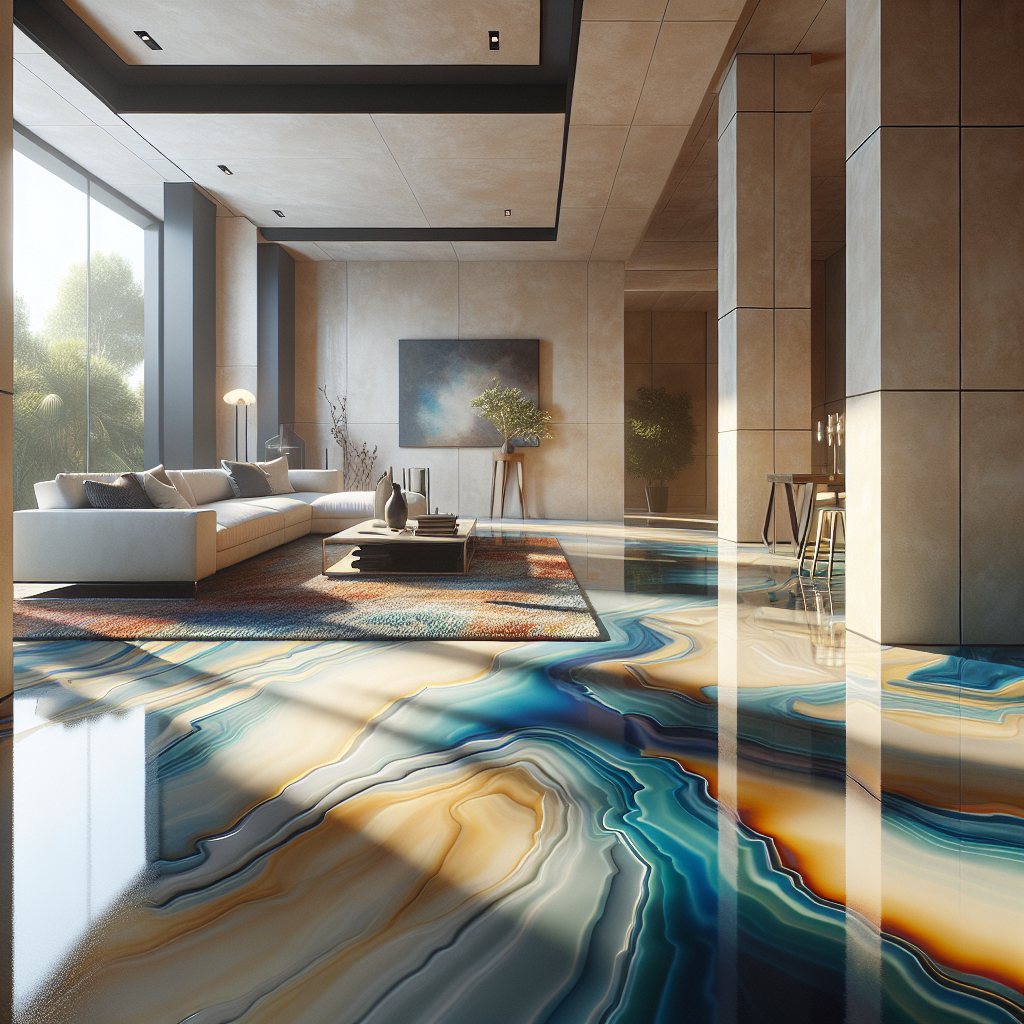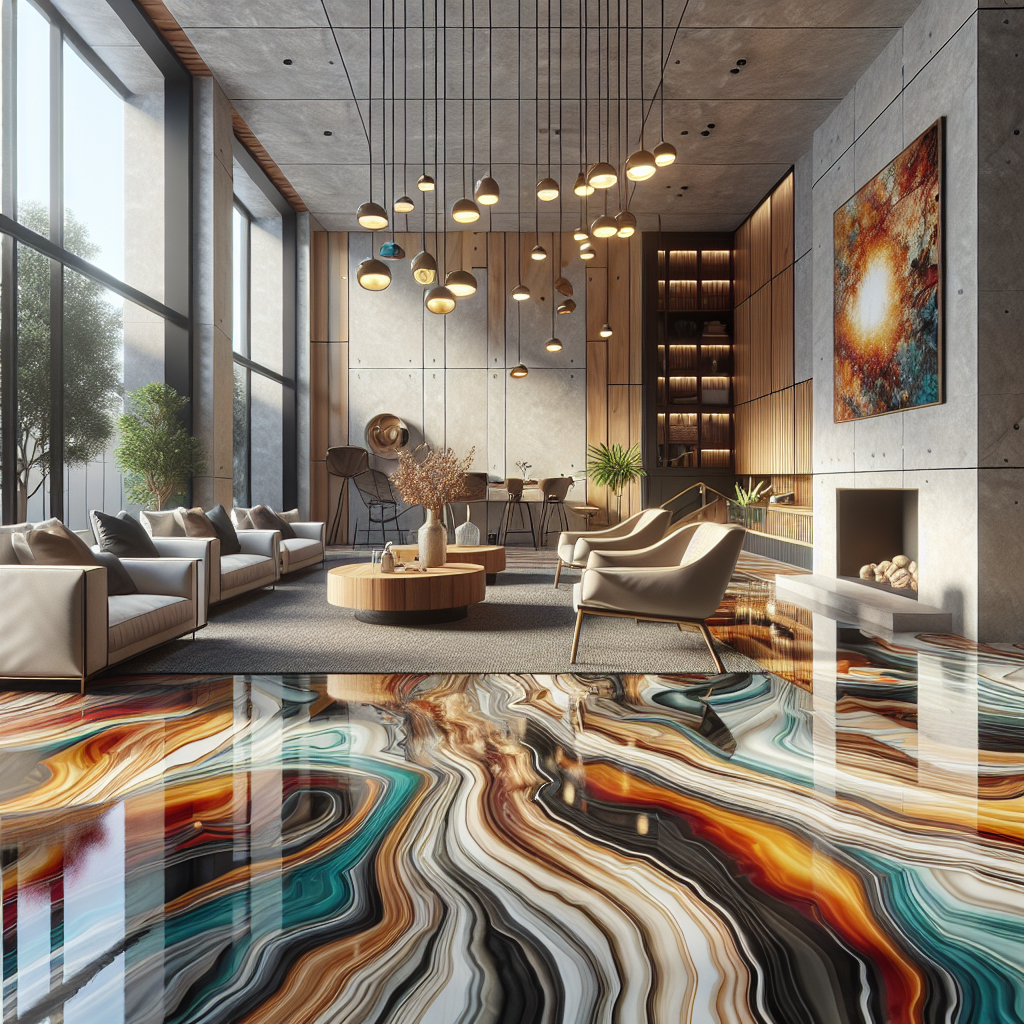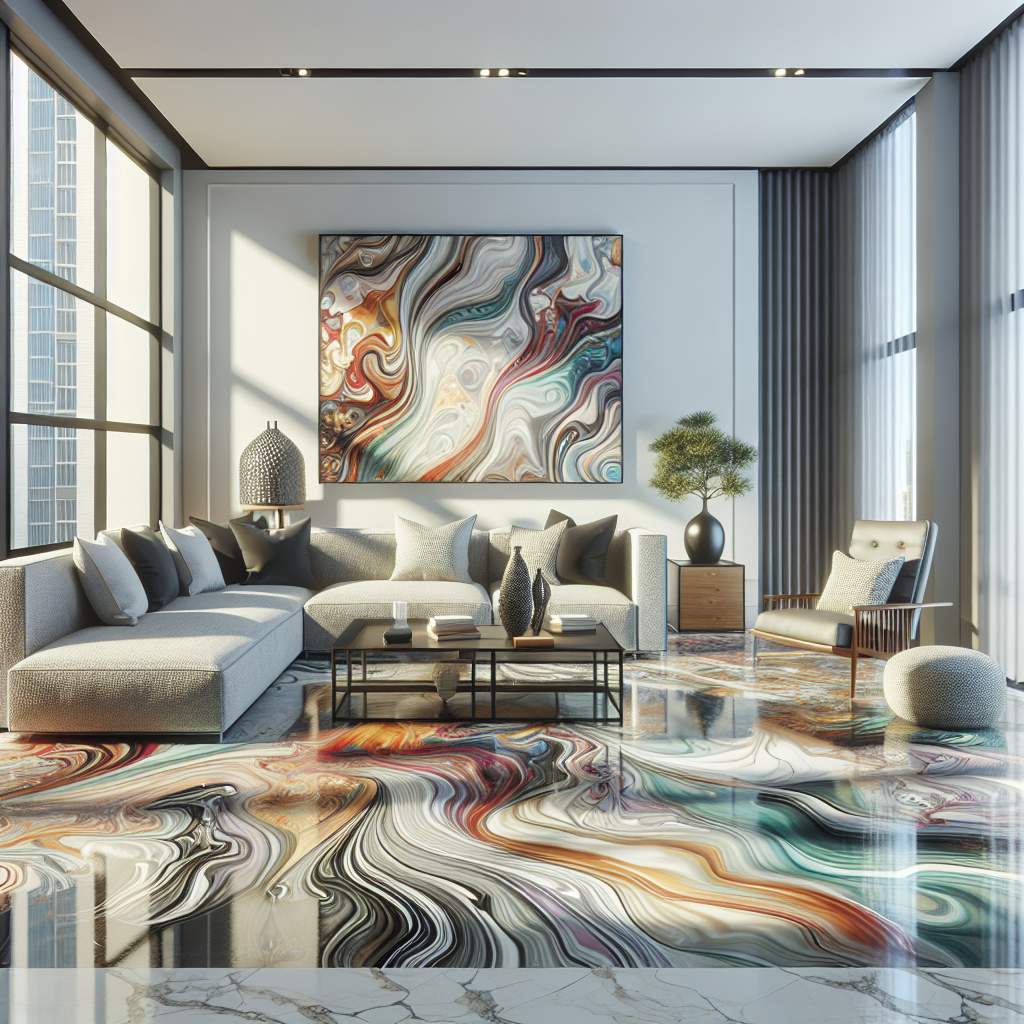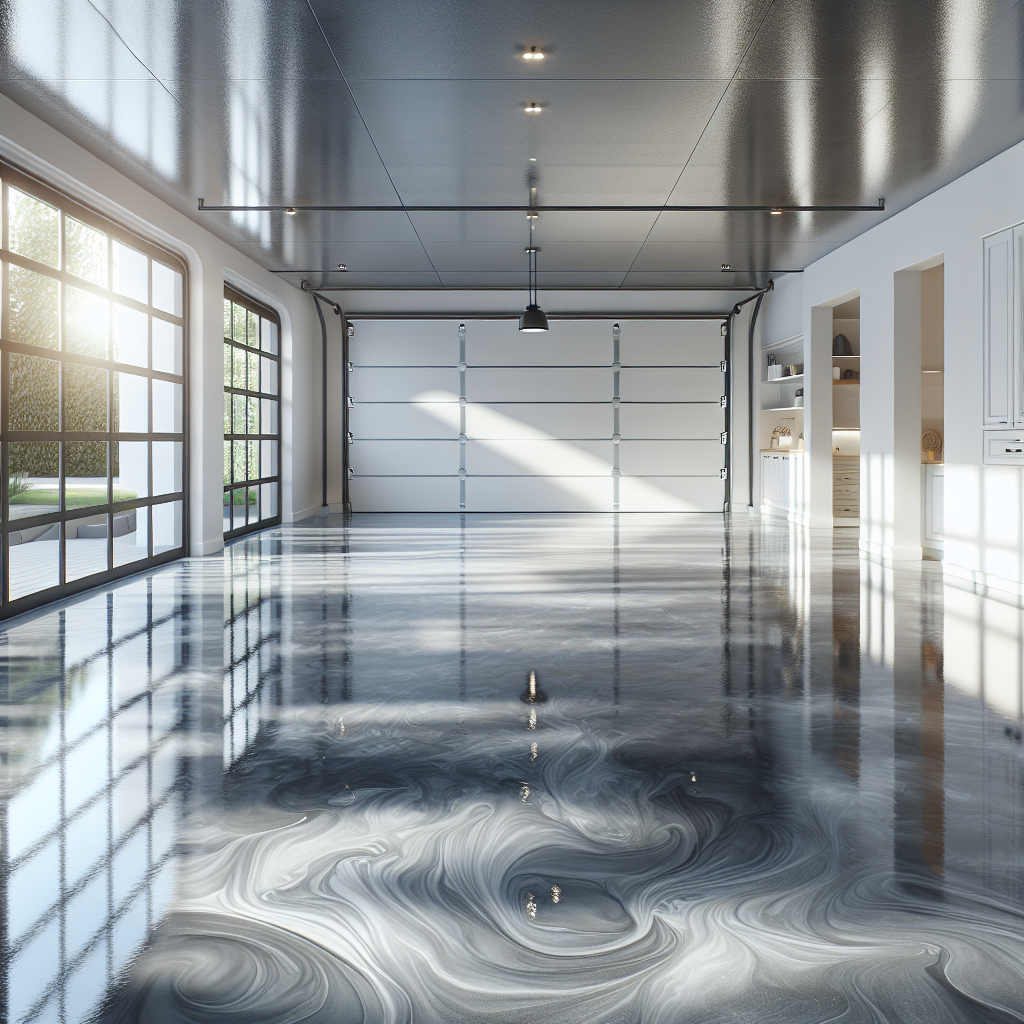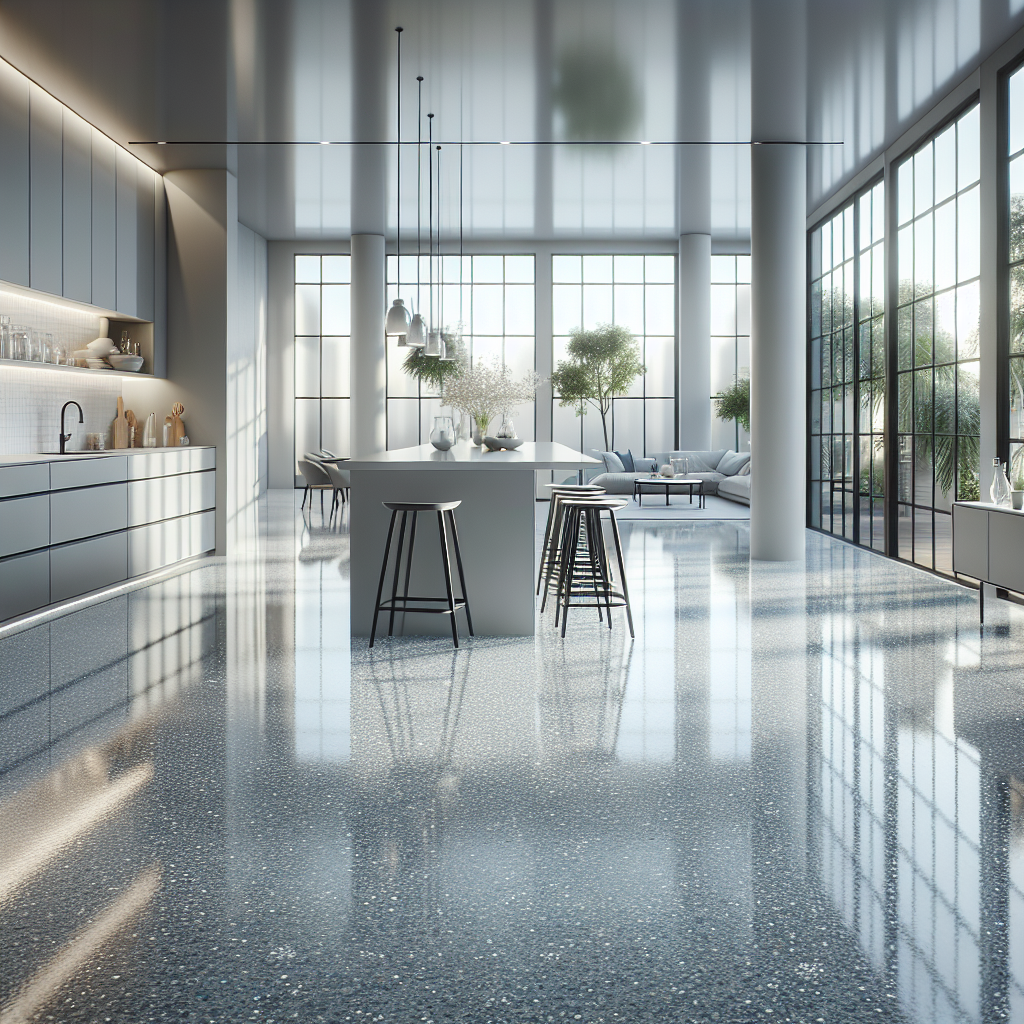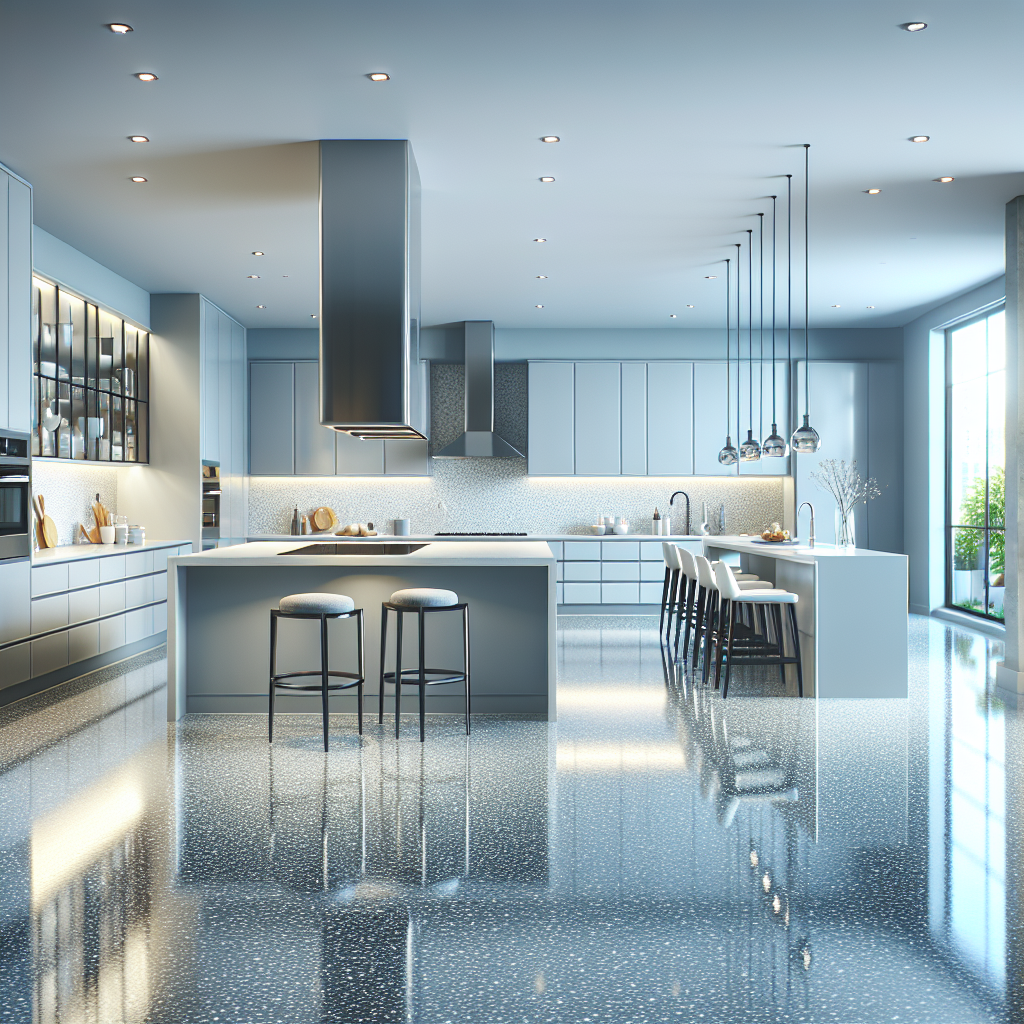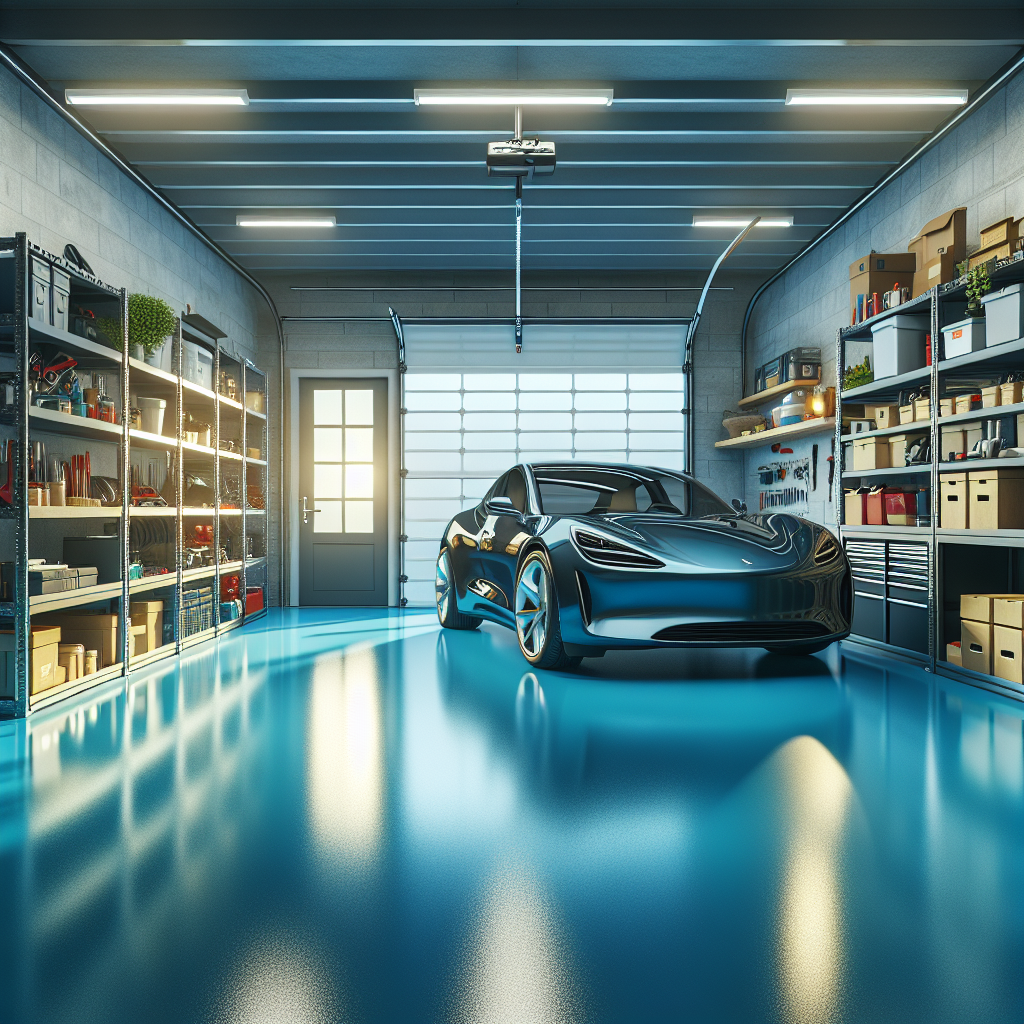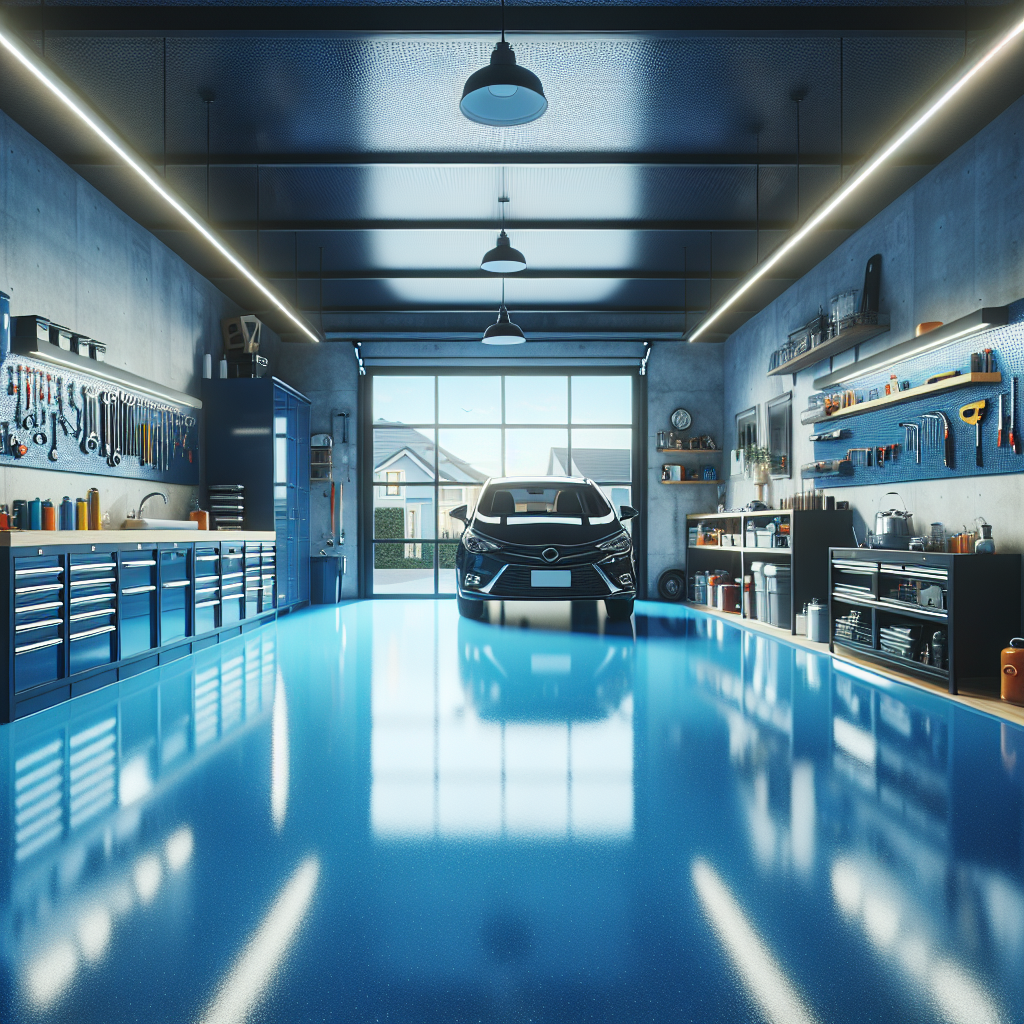

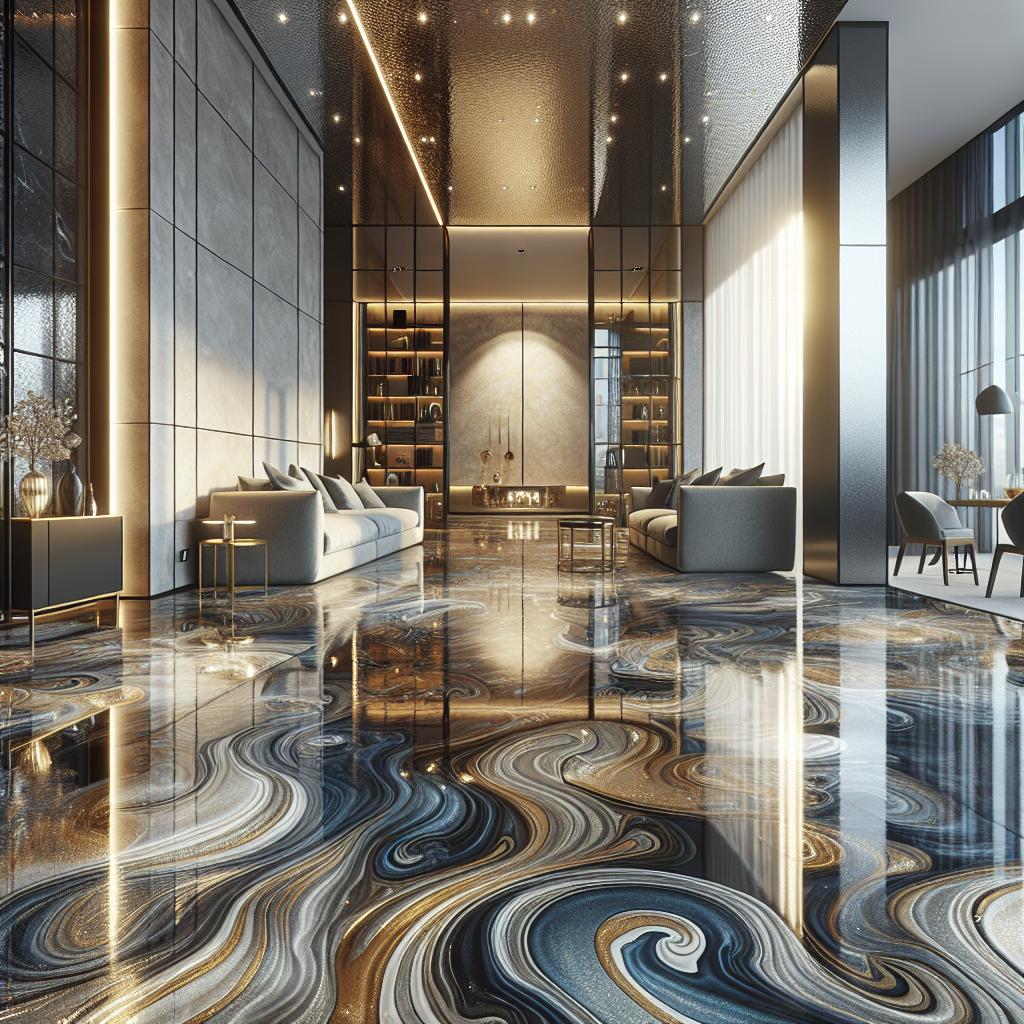
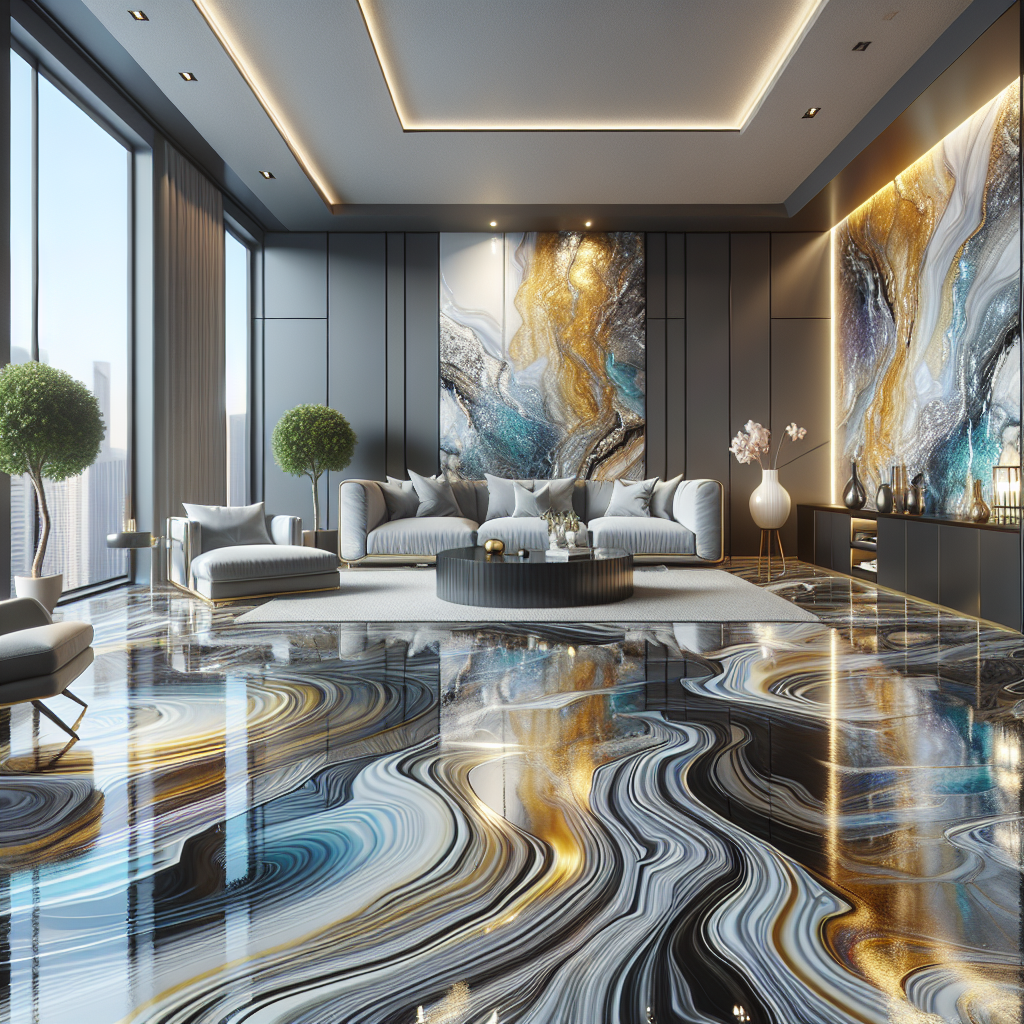
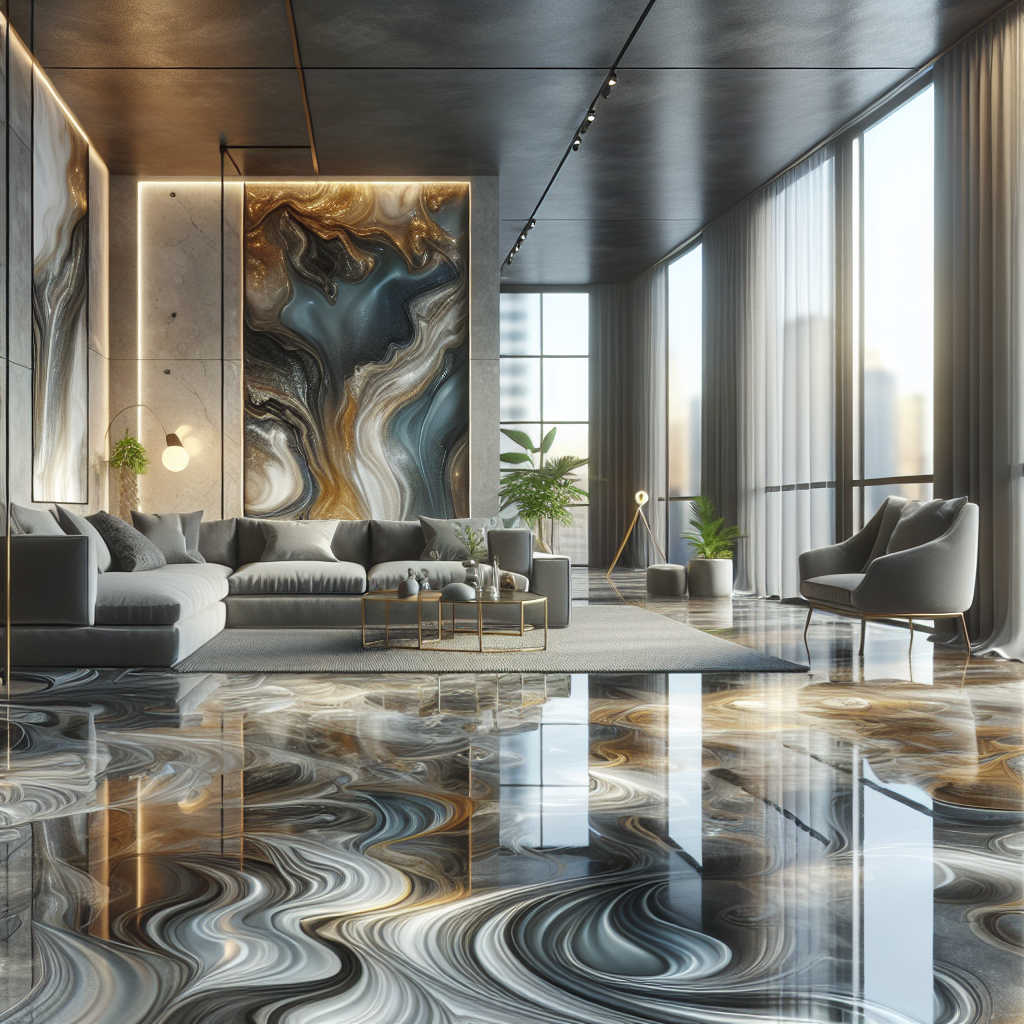
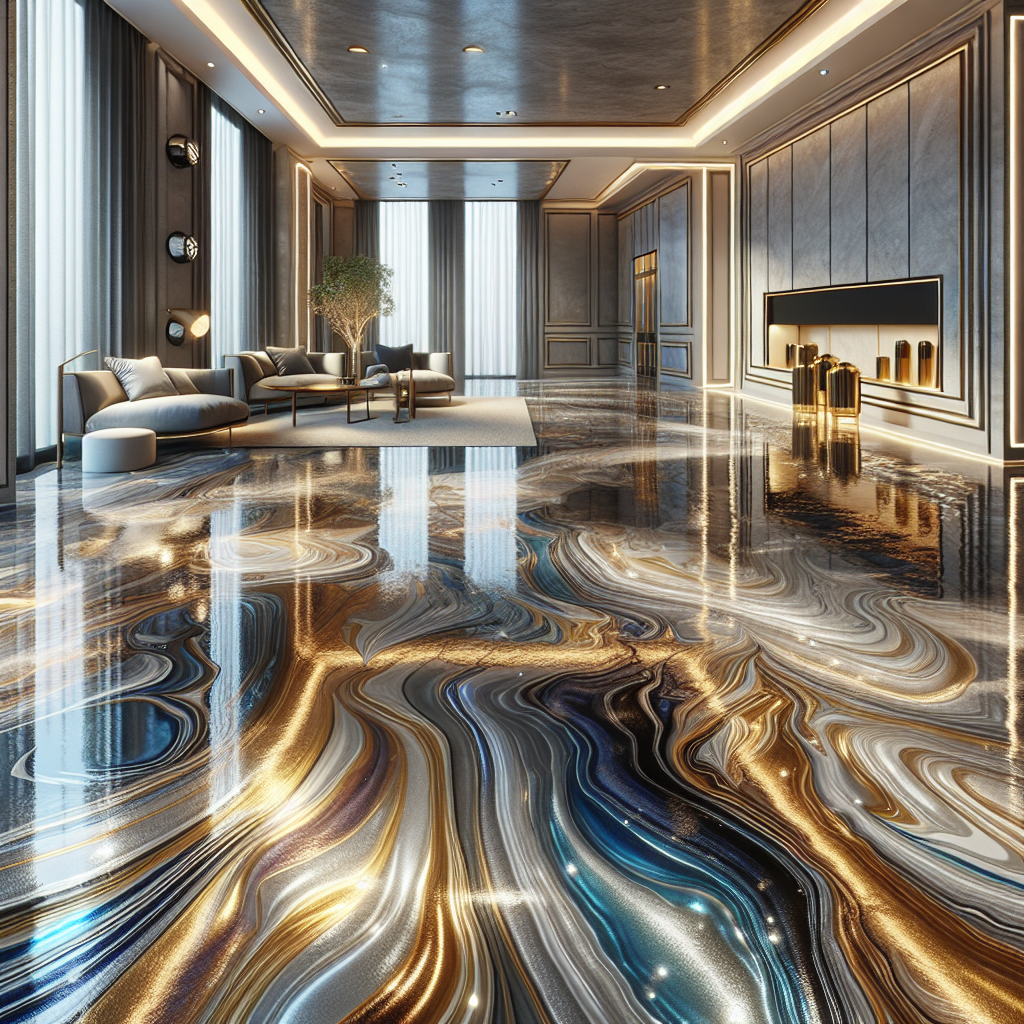
Metallic epoxy flooring is a unique and visually striking option for both residential and commercial spaces. It combines traditional epoxy with metallic pigments, resulting in a stunning, three-dimensional appearance that can mimic the look of marble, granite, or other natural stone surfaces. This innovative flooring solution not only enhances the aesthetics of any room but also offers exceptional durability and resistance to damage.
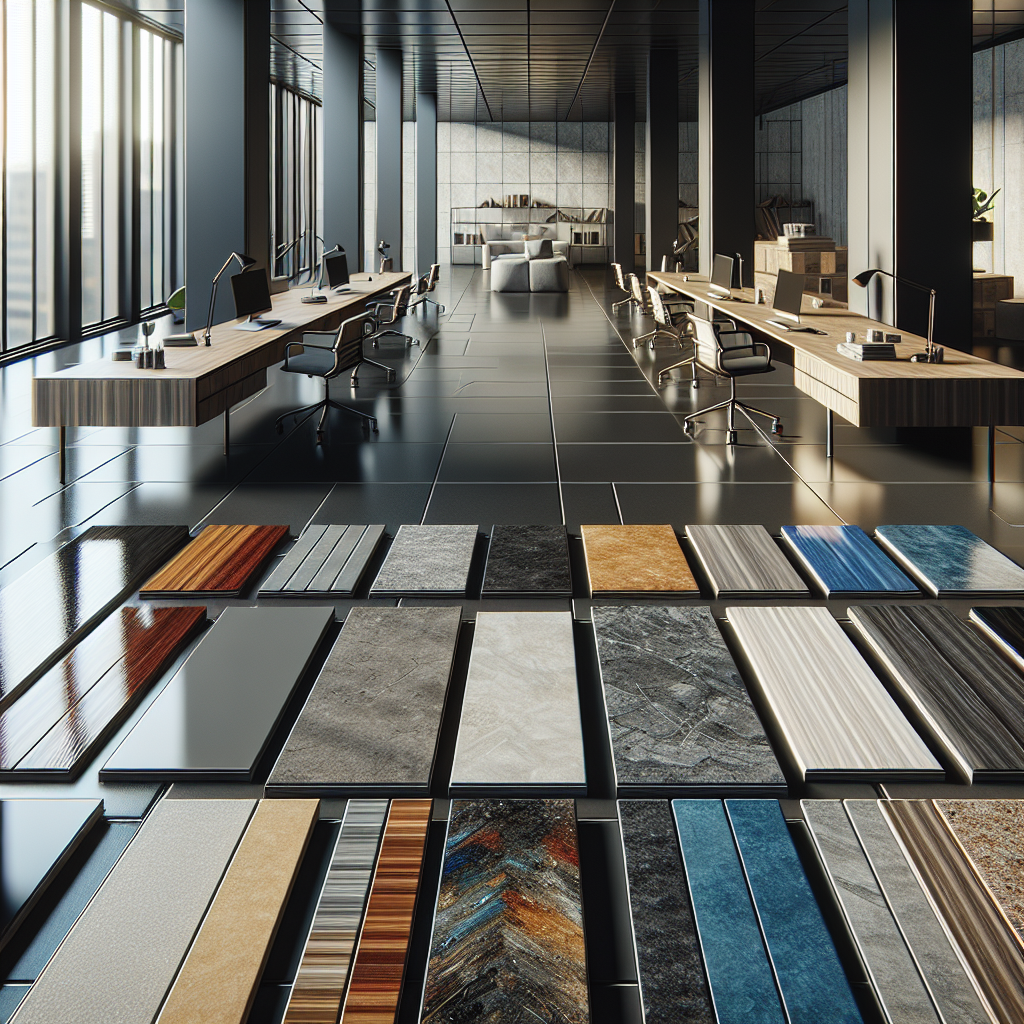
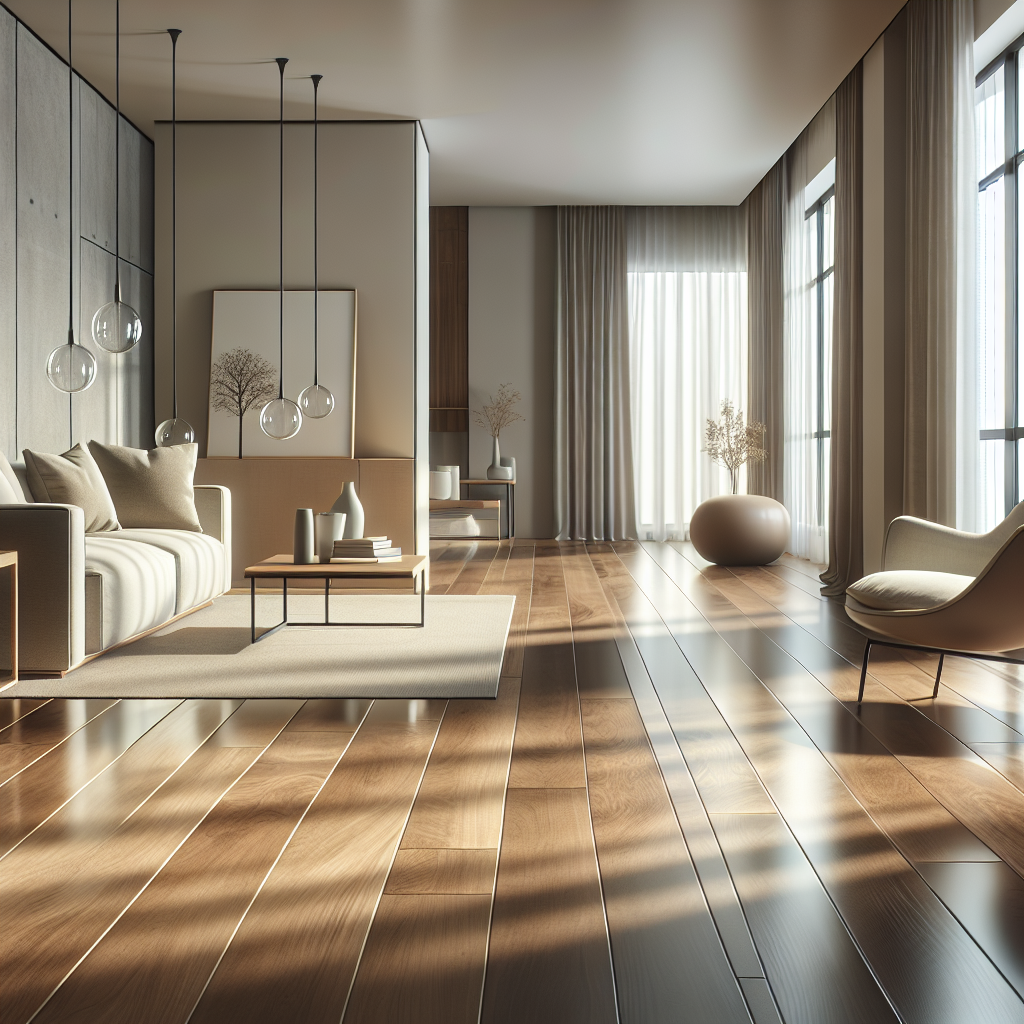
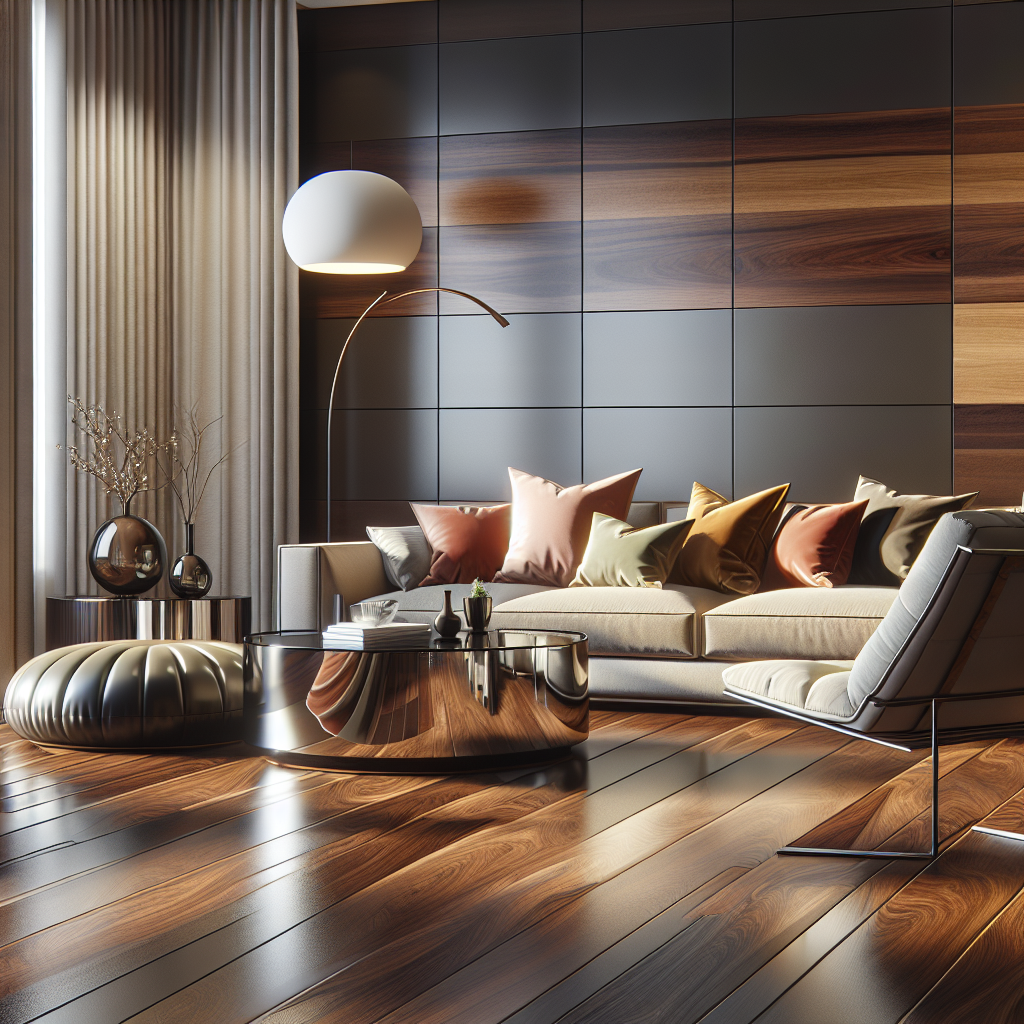
One of the most appealing aspects of metallic epoxy flooring is its versatility. The application process allows for a wide range of colors and finishes, enabling homeowners and business owners to customize their floors to match their specific design preferences. The reflective quality of metallic epoxy can also help brighten up spaces, making them appear larger and more inviting.
However, it is crucial to understand the metallic epoxy flooring pros and cons before making a decision. While the benefits include easy maintenance, durability, and a unique look, potential drawbacks may involve the application complexity and the need for professional installation to achieve the desired results. To ensure you make an informed choice for your flooring needs, consider consulting with experts in the field.
Call Us Today for a Free Quote to explore how metallic epoxy flooring can transform your space!
Key Advantages of Metallic Epoxy Flooring
Choosing metallic epoxy flooring comes with a myriad of benefits that set it apart from traditional flooring options. Here are some key advantages:
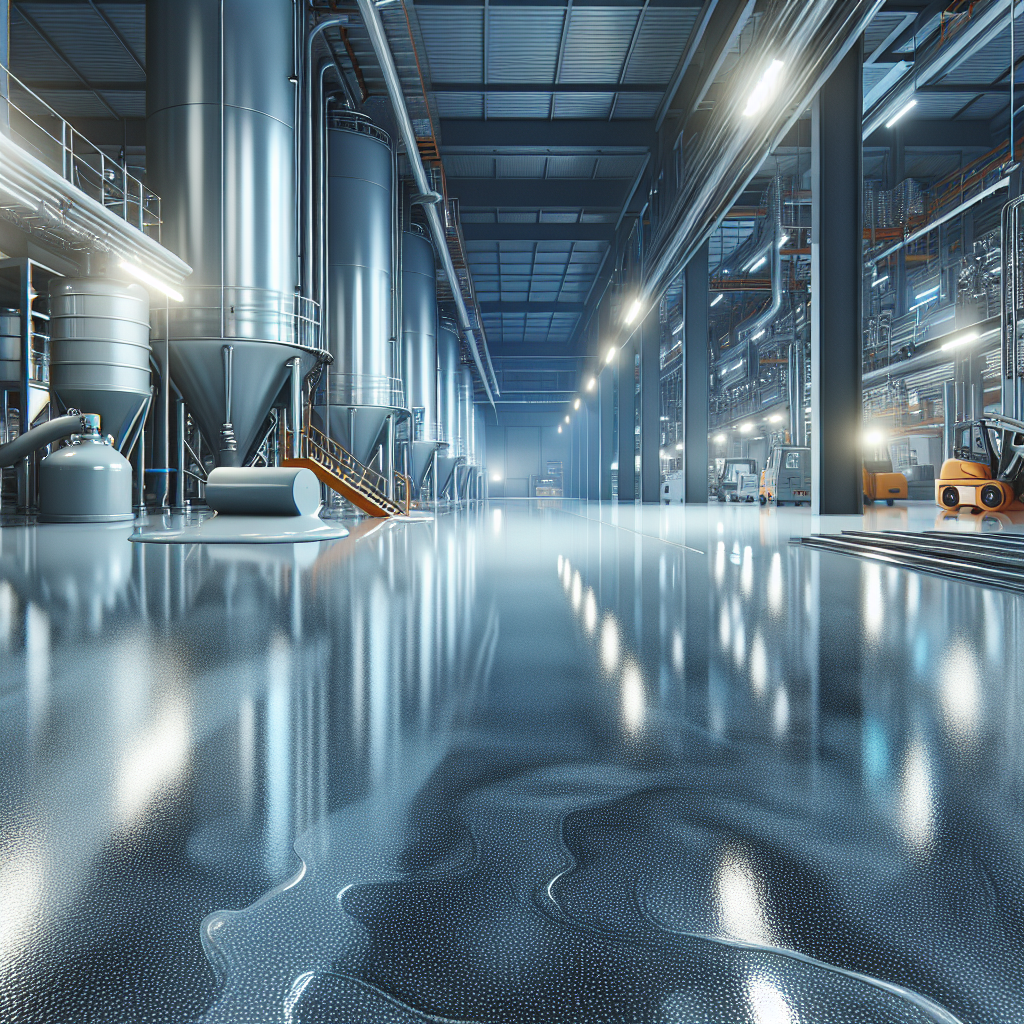
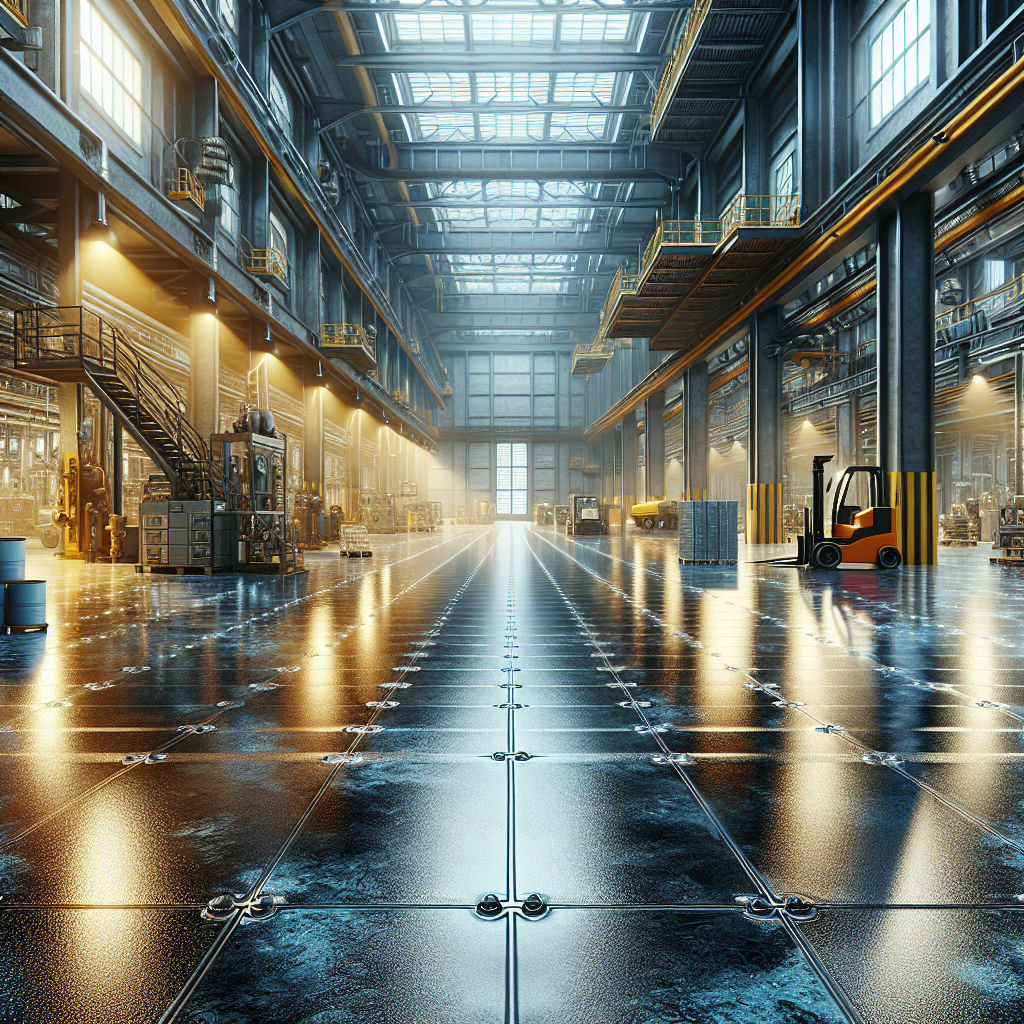
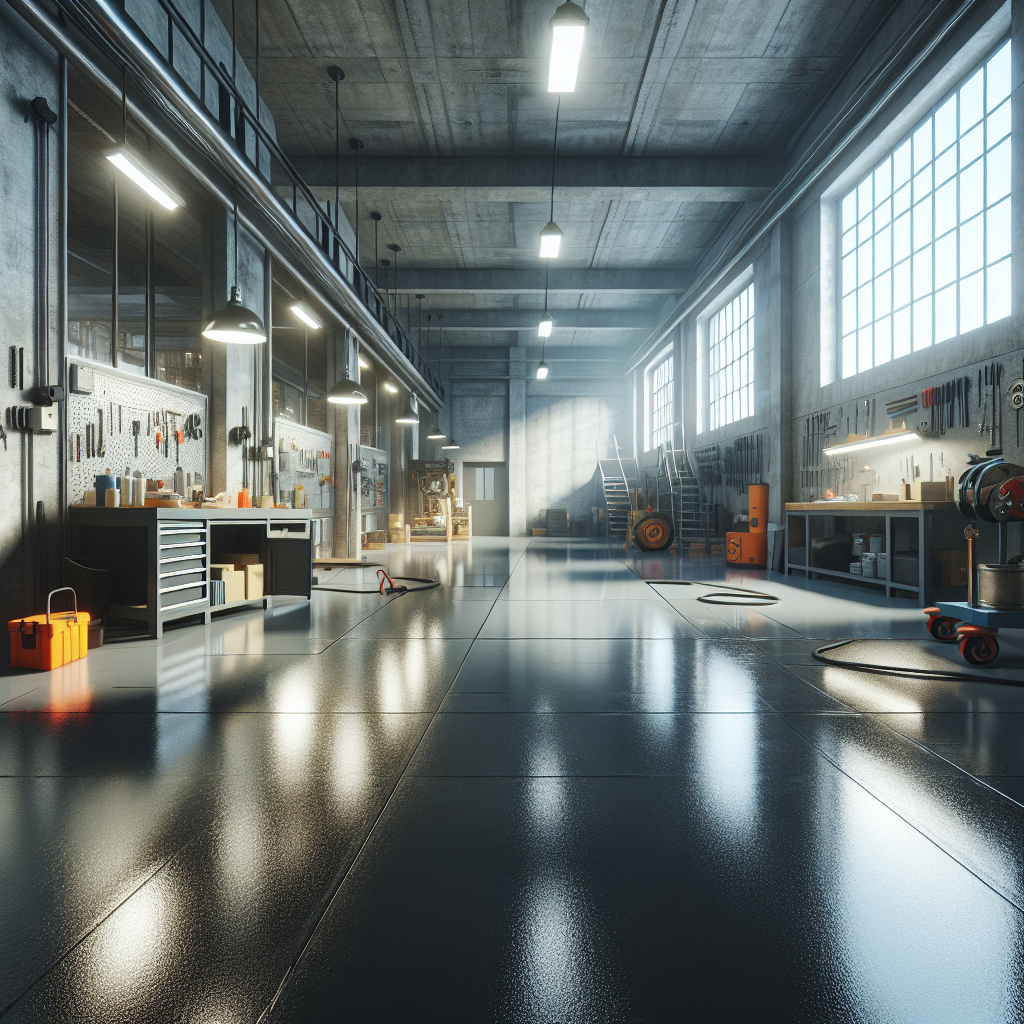
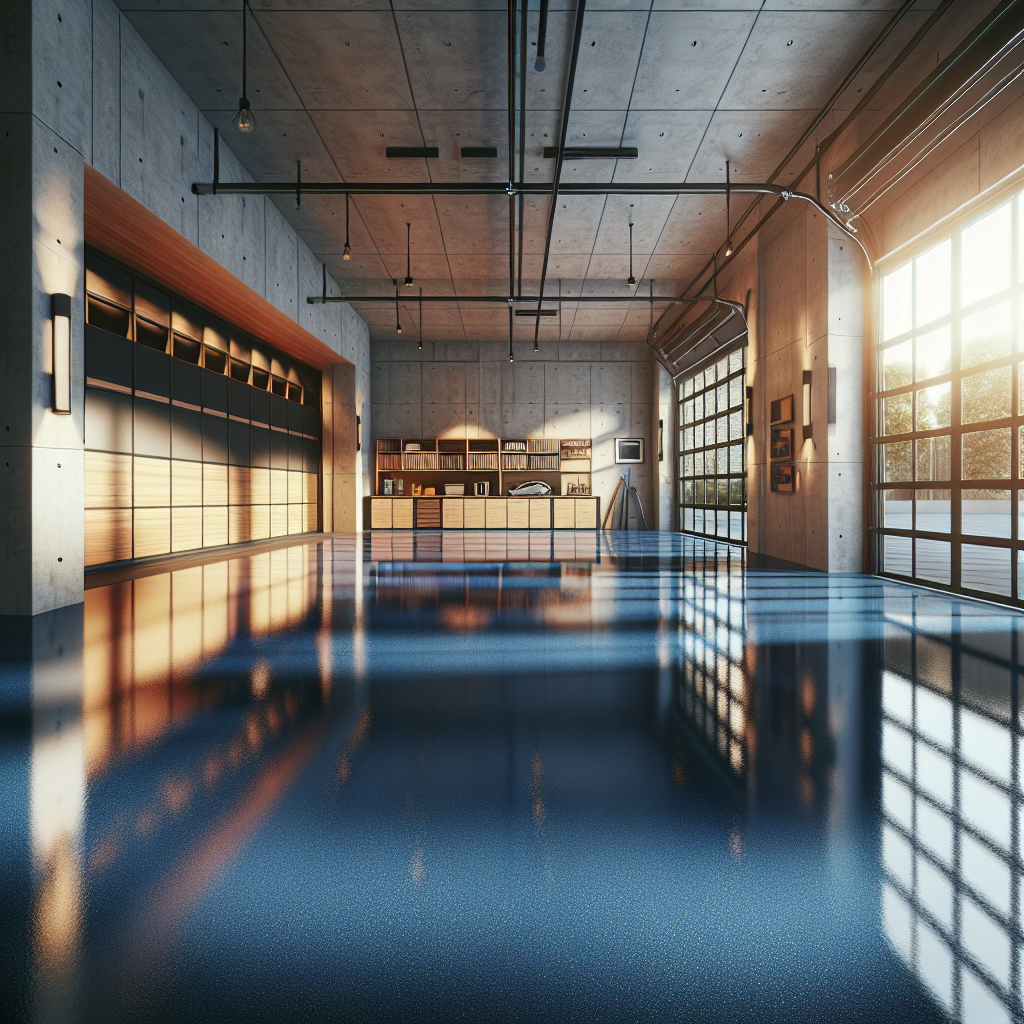
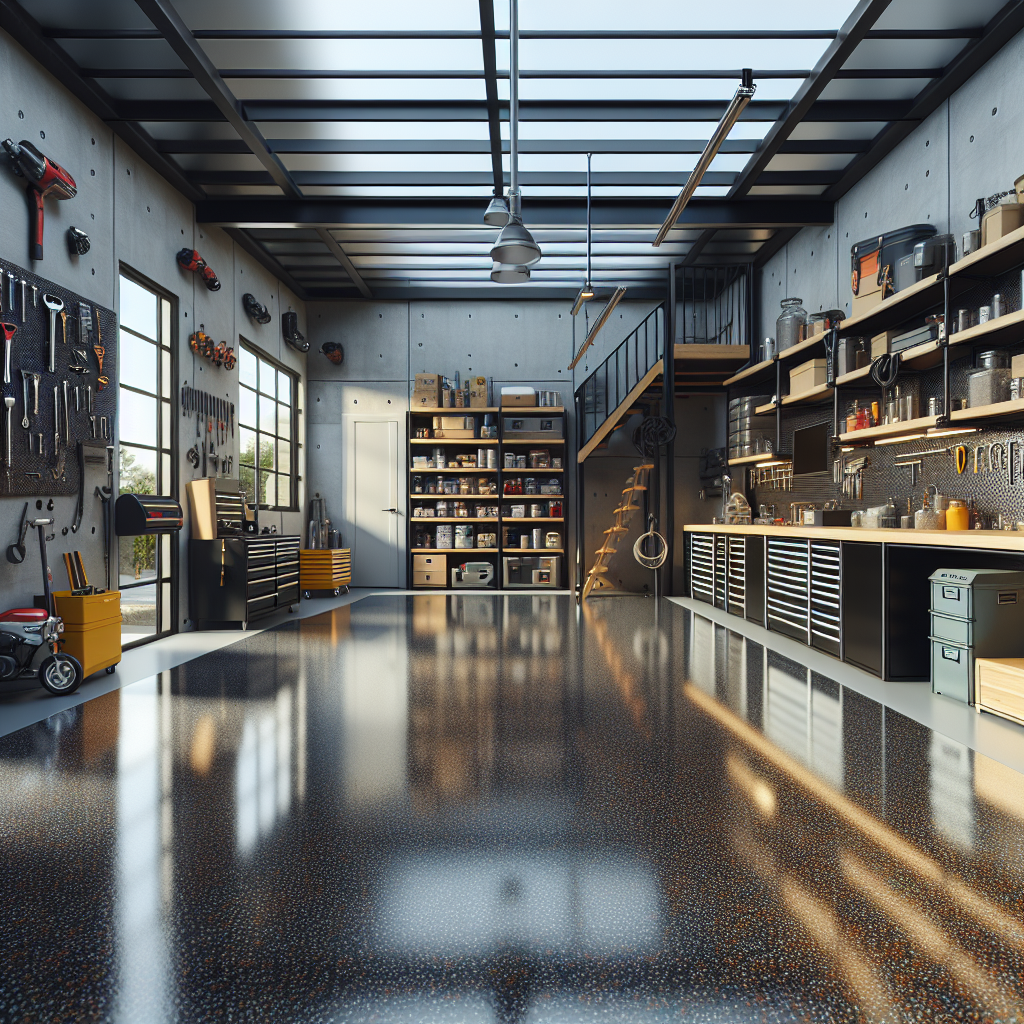
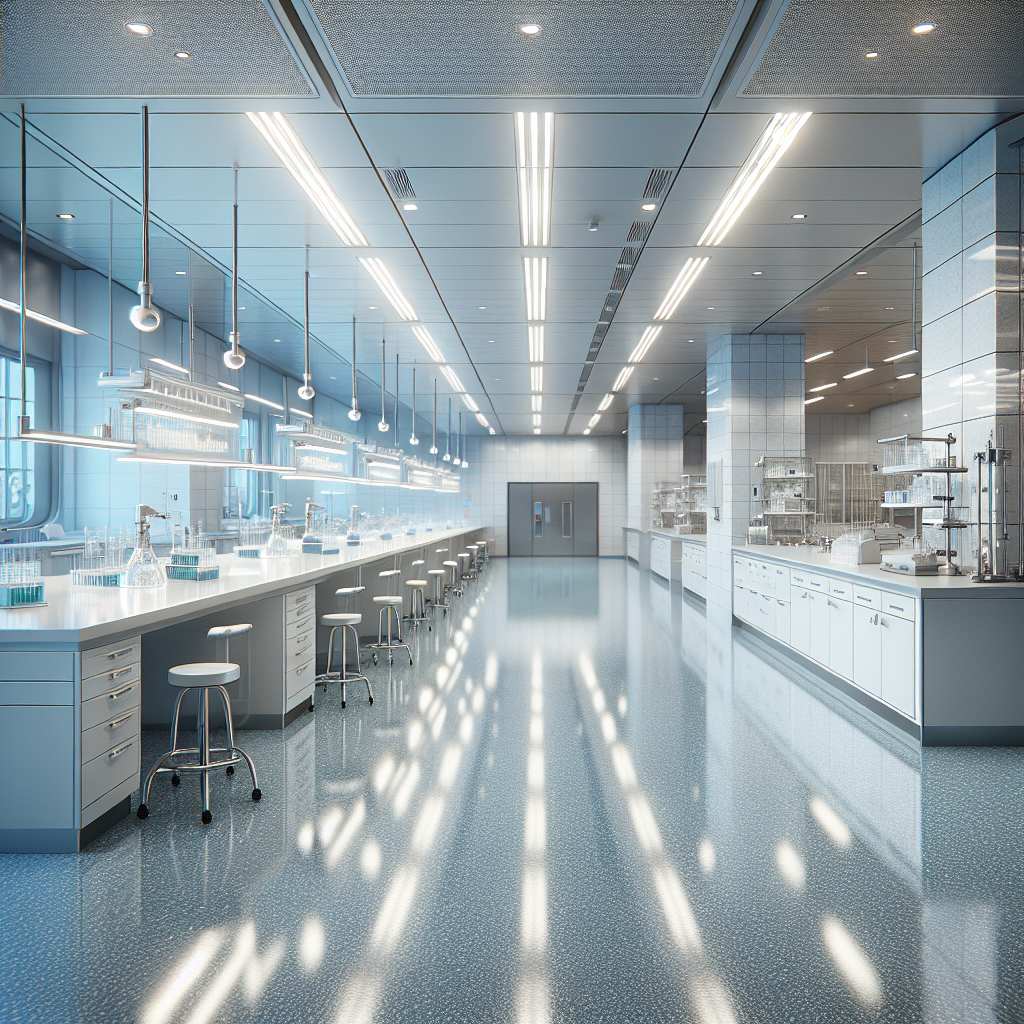
- Durability: Metallic epoxy floors are highly resistant to scratches, stains, and chemicals, making them ideal for high-traffic areas, garages, and commercial spaces.
- Aesthetic Appeal: The unique, vibrant colors and shiny finish of metallic epoxy flooring create a visually appealing surface that can enhance the overall ambiance of any space.
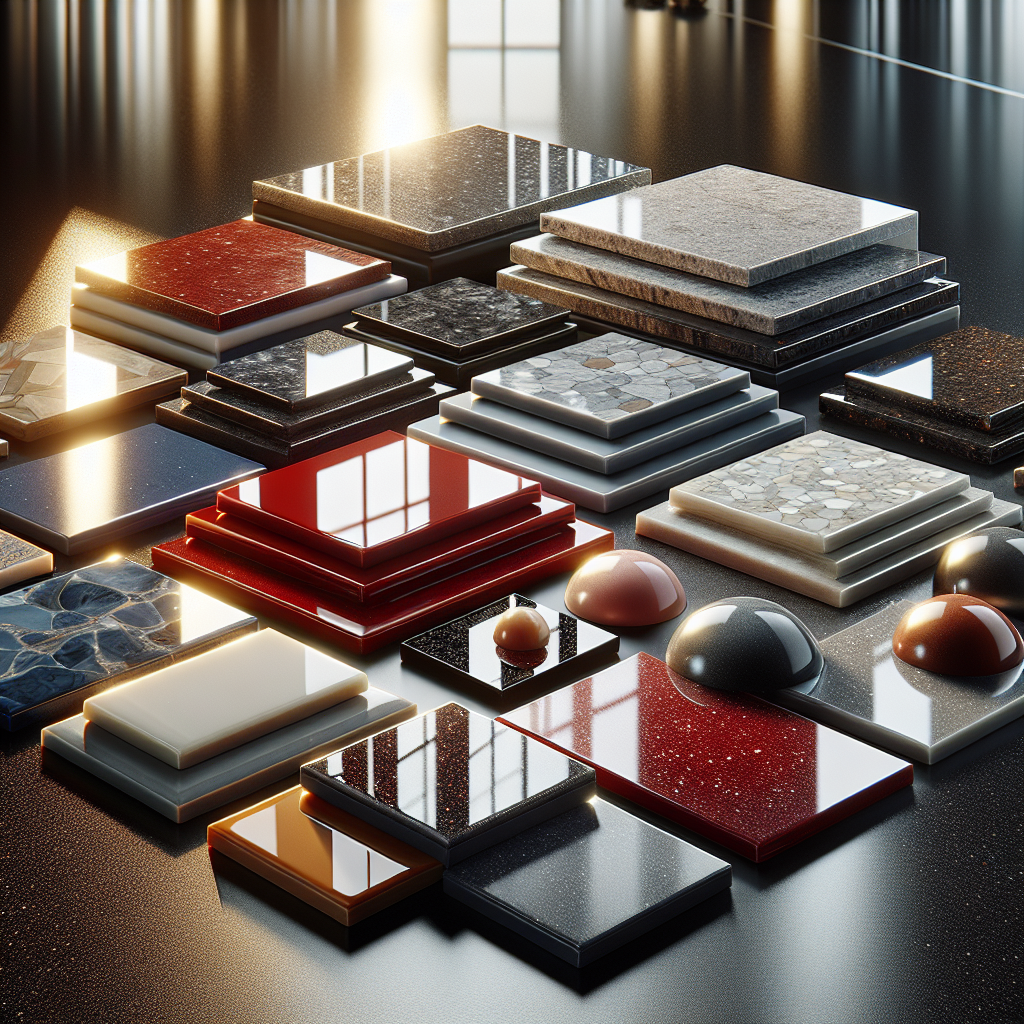
- Customizable Options: With an array of colors and patterns available, you can easily customize your flooring to fit your style and preferences, allowing for an individualized look.
- Easy Maintenance: Cleaning metallic epoxy floors is simple and straightforward, requiring only regular sweeping and occasional mopping to keep them looking pristine.
- Seamless Installation: Metallic epoxy flooring is applied as a continuous surface, eliminating seams and joints where dirt and bacteria can accumulate, promoting a cleaner environment.
- Cost-Effective: While the initial investment may be higher than some other flooring options, the long-term durability and low maintenance needs can lead to significant cost savings over time.
These advantages make metallic epoxy flooring a popular choice for many homeowners and businesses looking to combine style with functionality.
Potential Drawbacks of Metallic Epoxy Flooring
While metallic epoxy flooring offers numerous benefits, it’s essential to consider some potential drawbacks before making a decision:
- Initial Cost: The upfront cost of metallic epoxy flooring can be higher compared to traditional flooring options, which may deter some homeowners on a budget.
- Slippery Surface: When wet, metallic epoxy floors can become slippery, posing a safety risk, especially in high-moisture areas like bathrooms or kitchens.
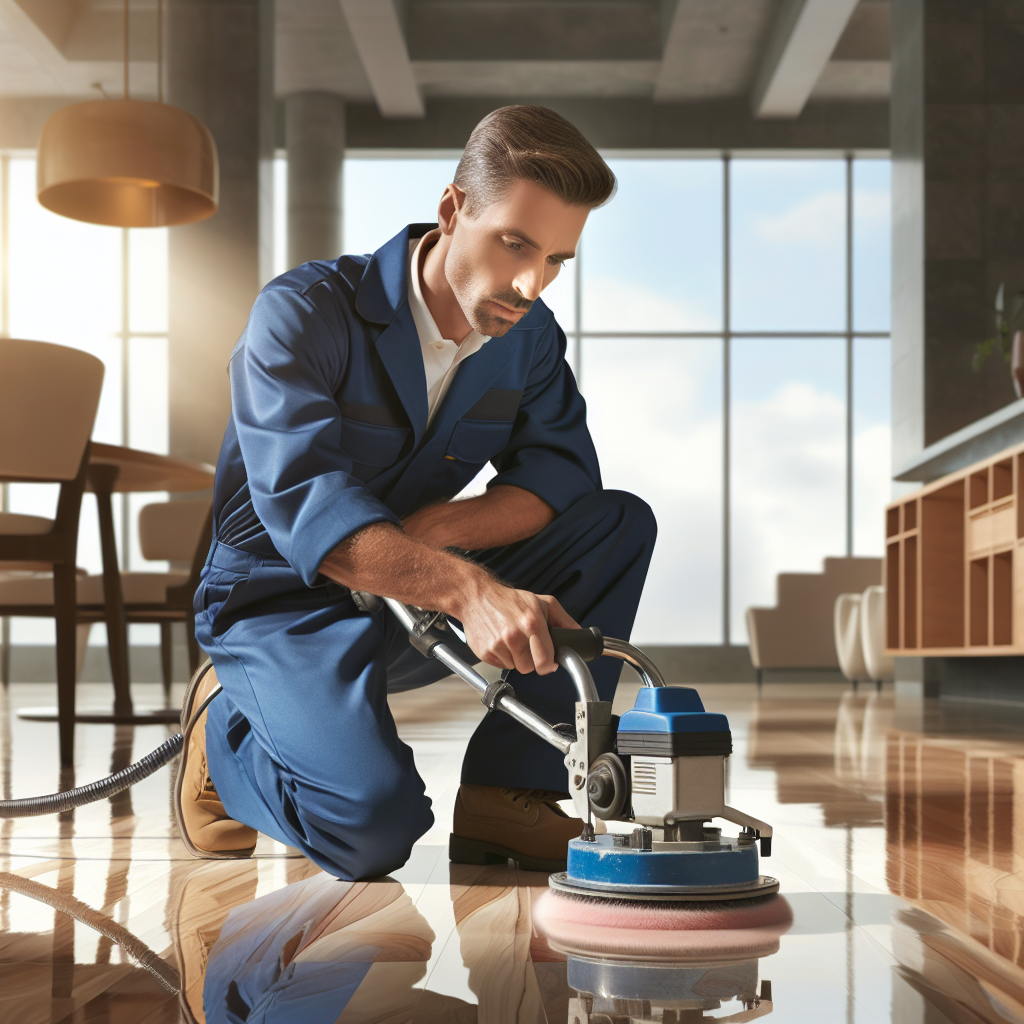
- Installation Complexity: Achieving a flawless finish requires professional installation, as the application process can be complex and time-consuming. DIY attempts may lead to unsatisfactory results.
- Temperature Sensitivity: Metallic epoxy is sensitive to temperature and humidity during installation. Extreme conditions can affect the curing process, potentially leading to defects in the finish.
- Limited Repair Options: While durable, if the floor does become damaged, repairs can be challenging and may require reapplication of the entire surface.
Understanding these potential drawbacks allows you to make an informed decision about whether metallic epoxy flooring is the right choice for your specific needs and environment.
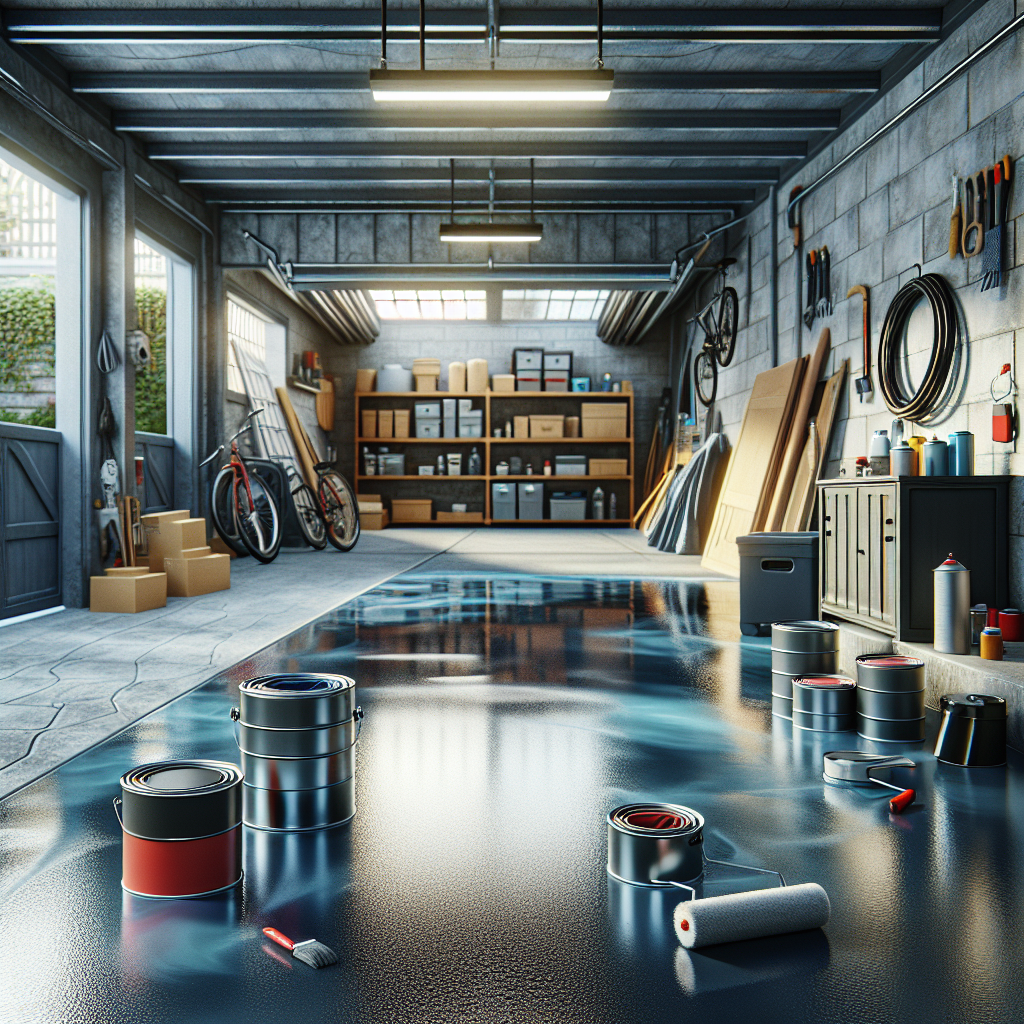
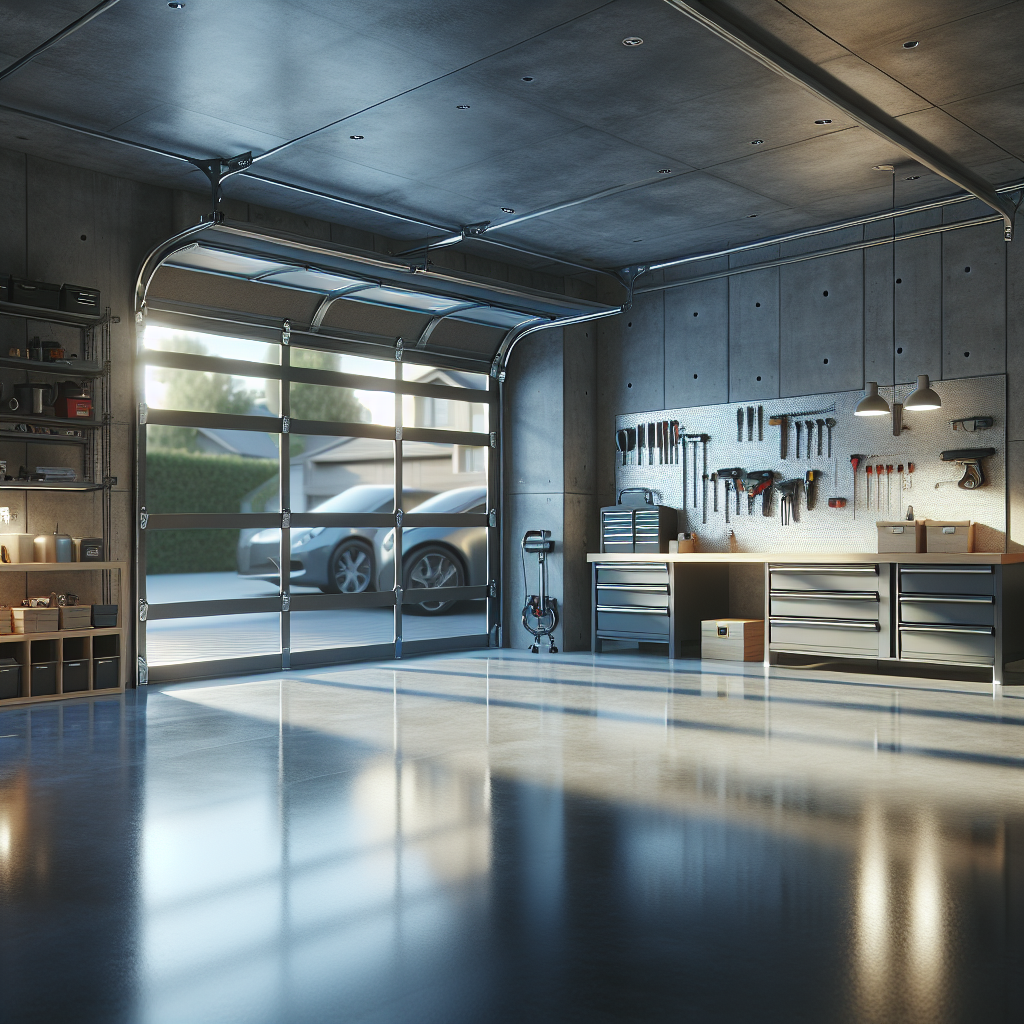
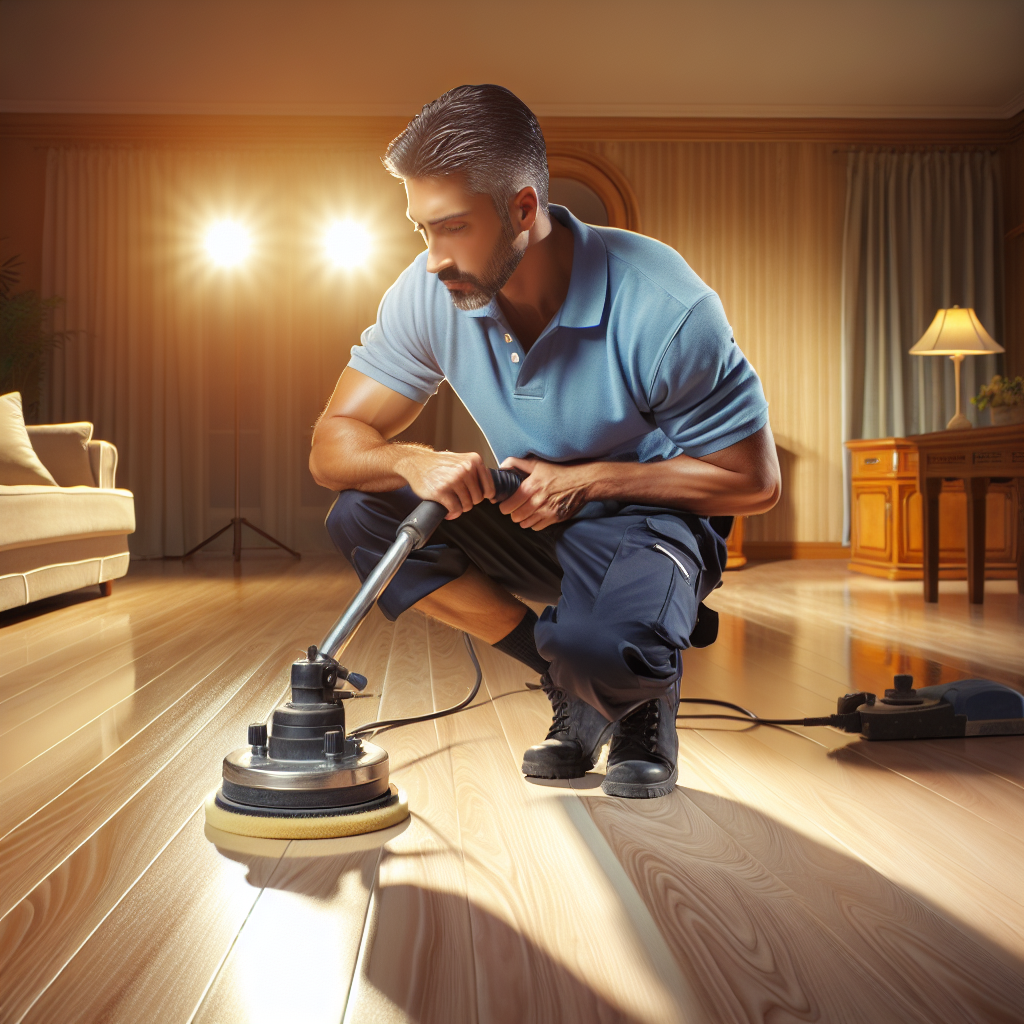
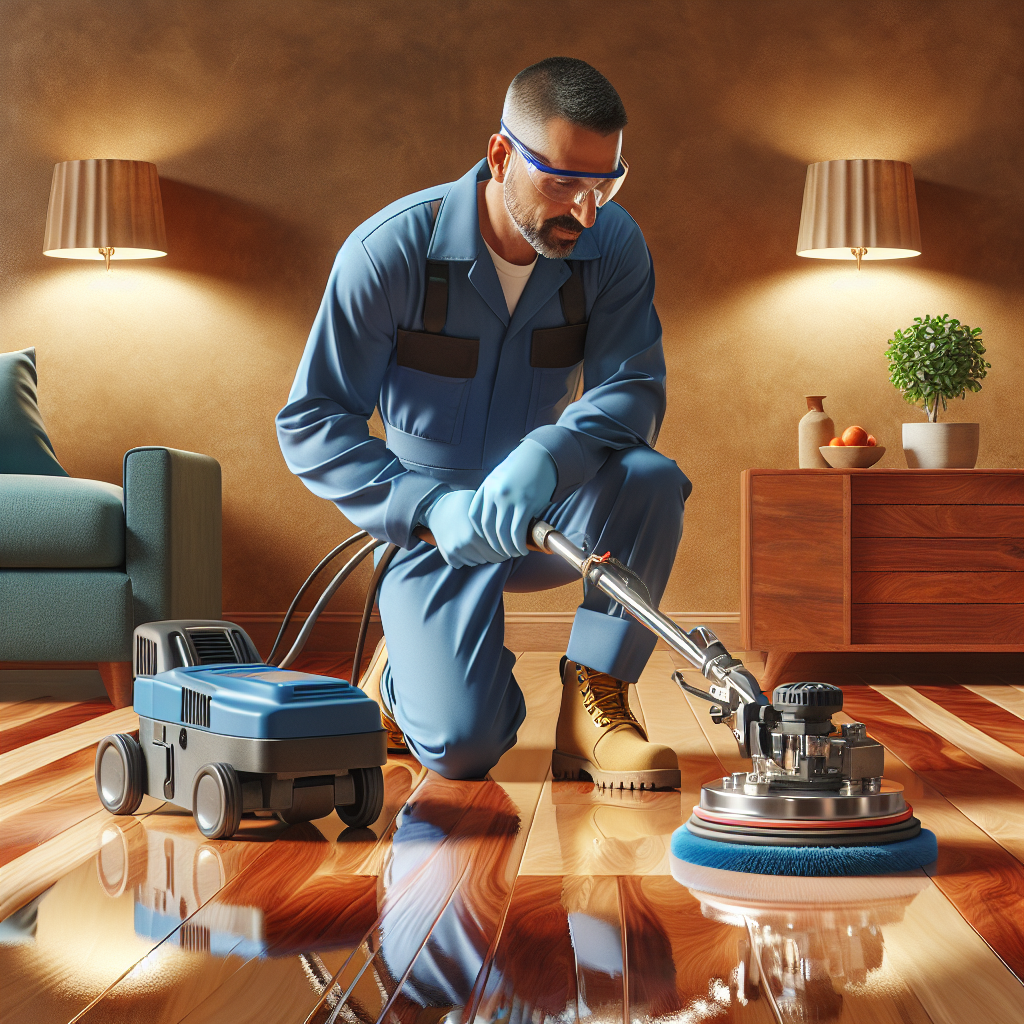
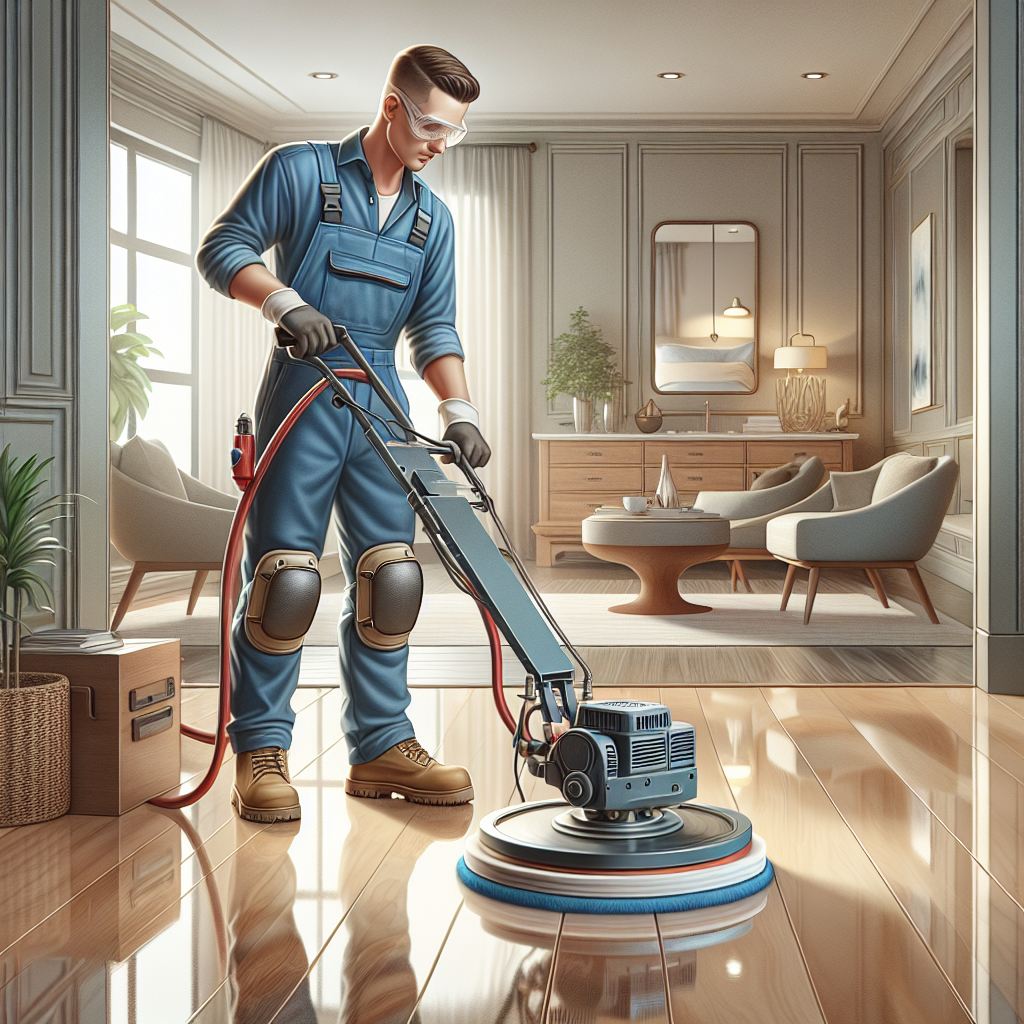
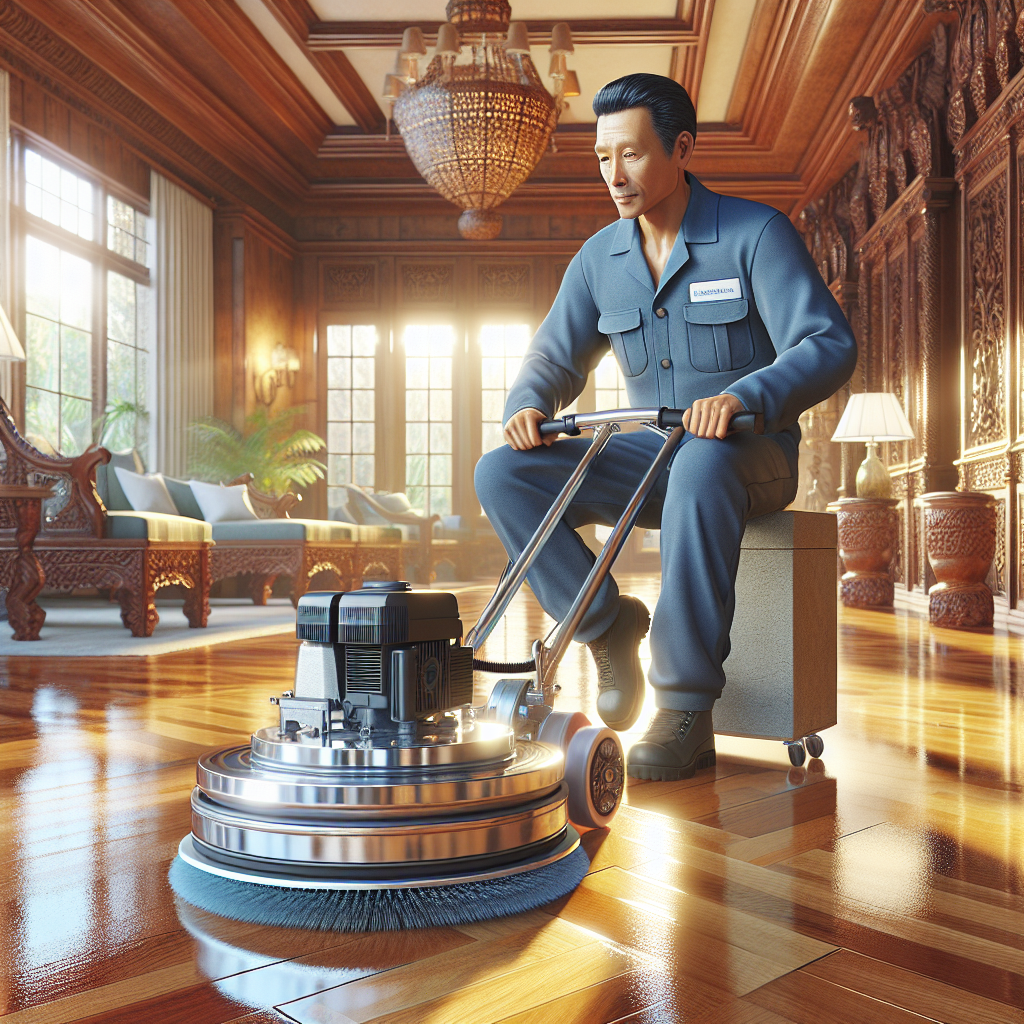
Installation Process for Metallic Epoxy Flooring
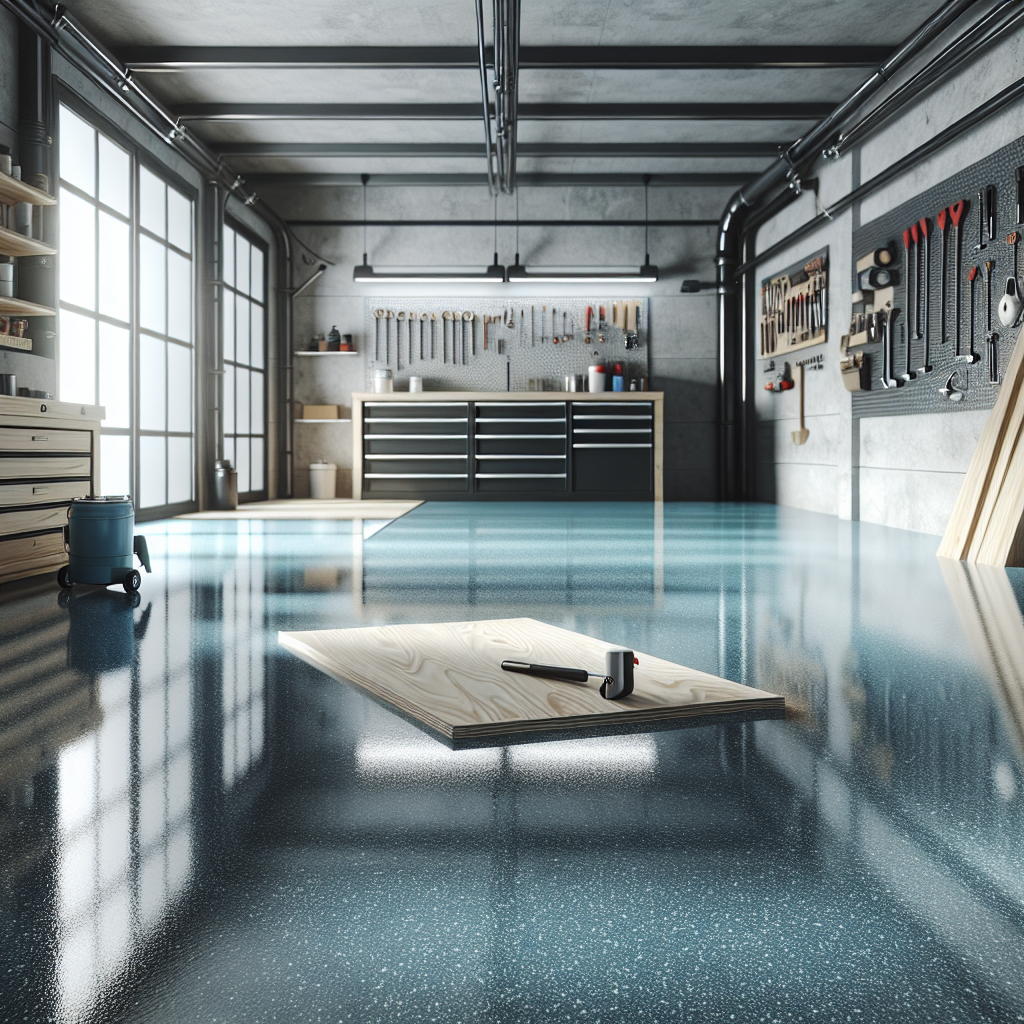
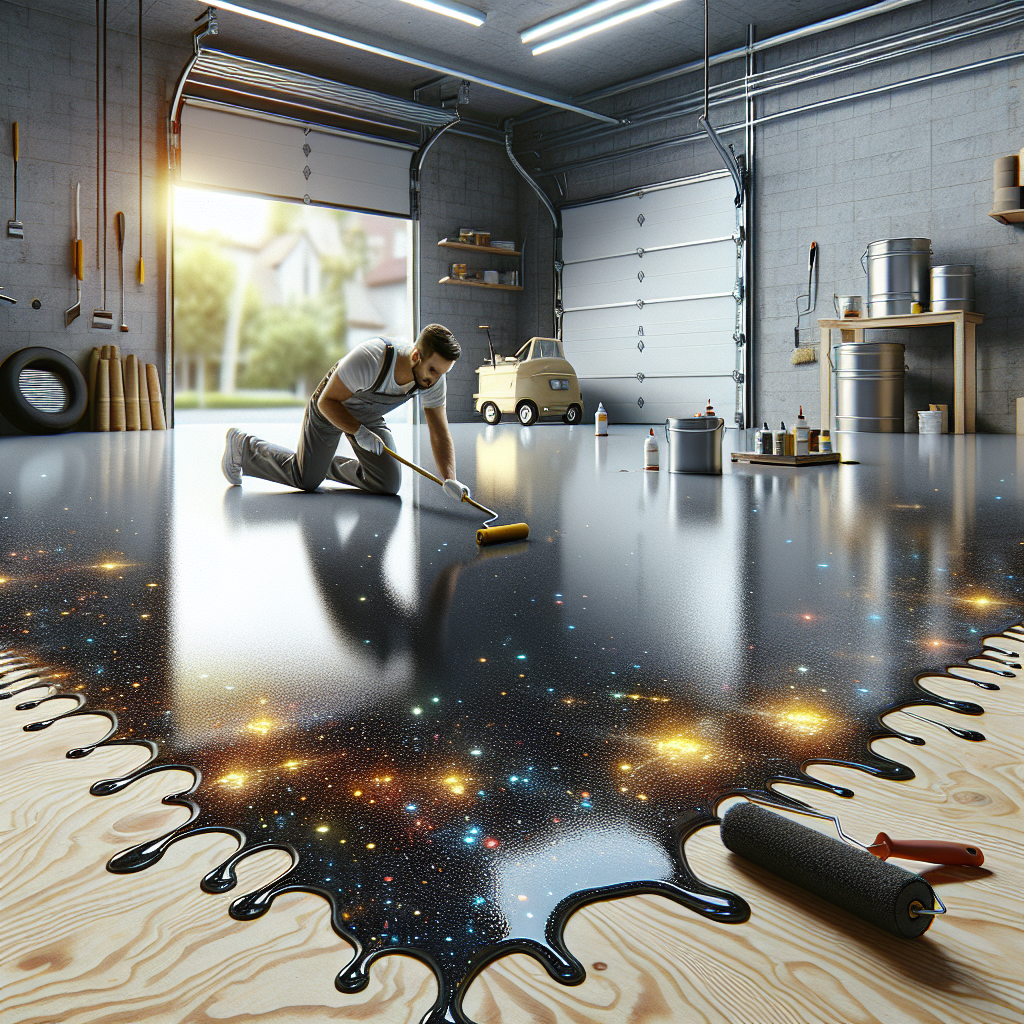
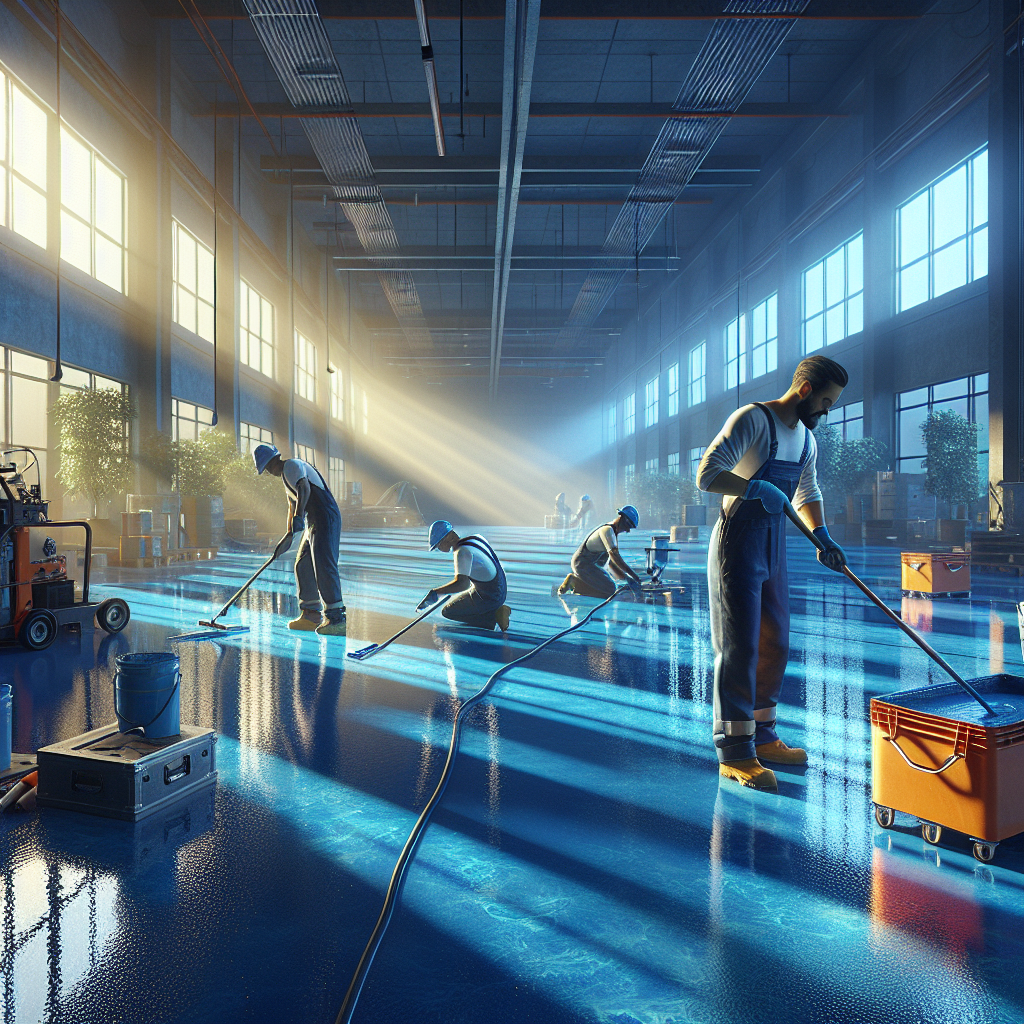
The installation process for metallic epoxy flooring is a meticulous procedure that ensures a beautiful and durable finish. Here’s a step-by-step overview of what to expect:
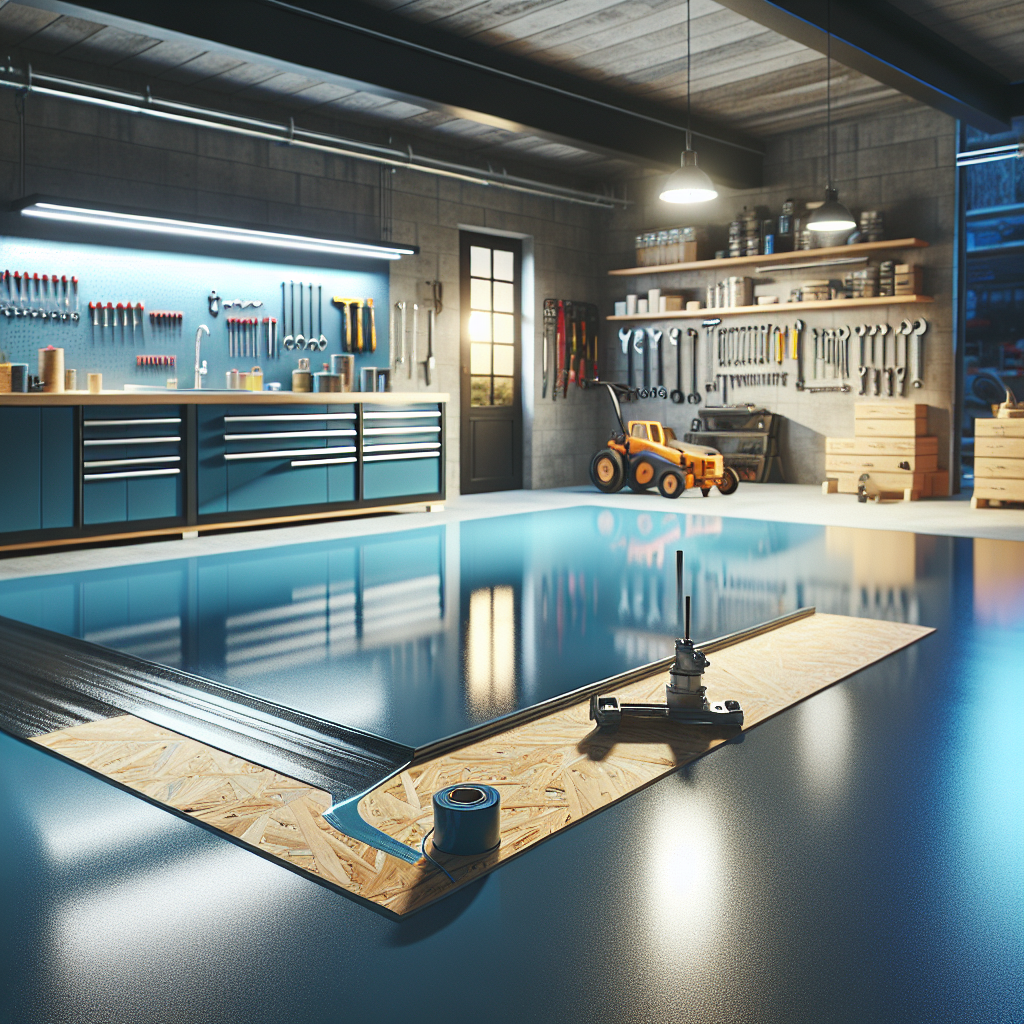
- Surface Preparation: The existing floor surface must be thoroughly cleaned and repaired. This involves removing any old flooring materials, patching cracks, and ensuring the surface is level and free of contaminants.
- Priming: A primer is applied to enhance adhesion. This step is crucial as it ensures that the metallic epoxy bonds effectively to the substrate.
- Mixing the Epoxy: The metallic epoxy components are mixed according to the manufacturer’s specifications. This often involves blending the resin and hardener with metallic pigments to achieve the desired look.
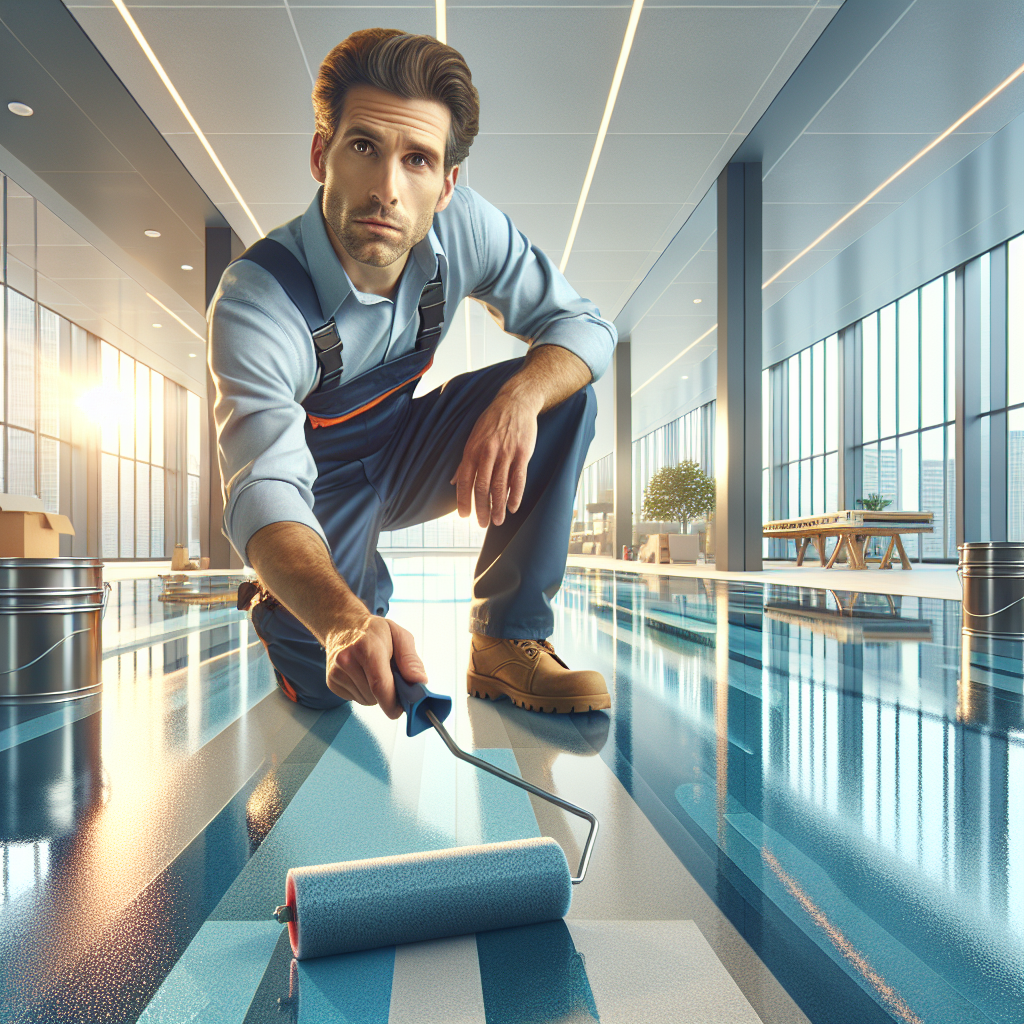
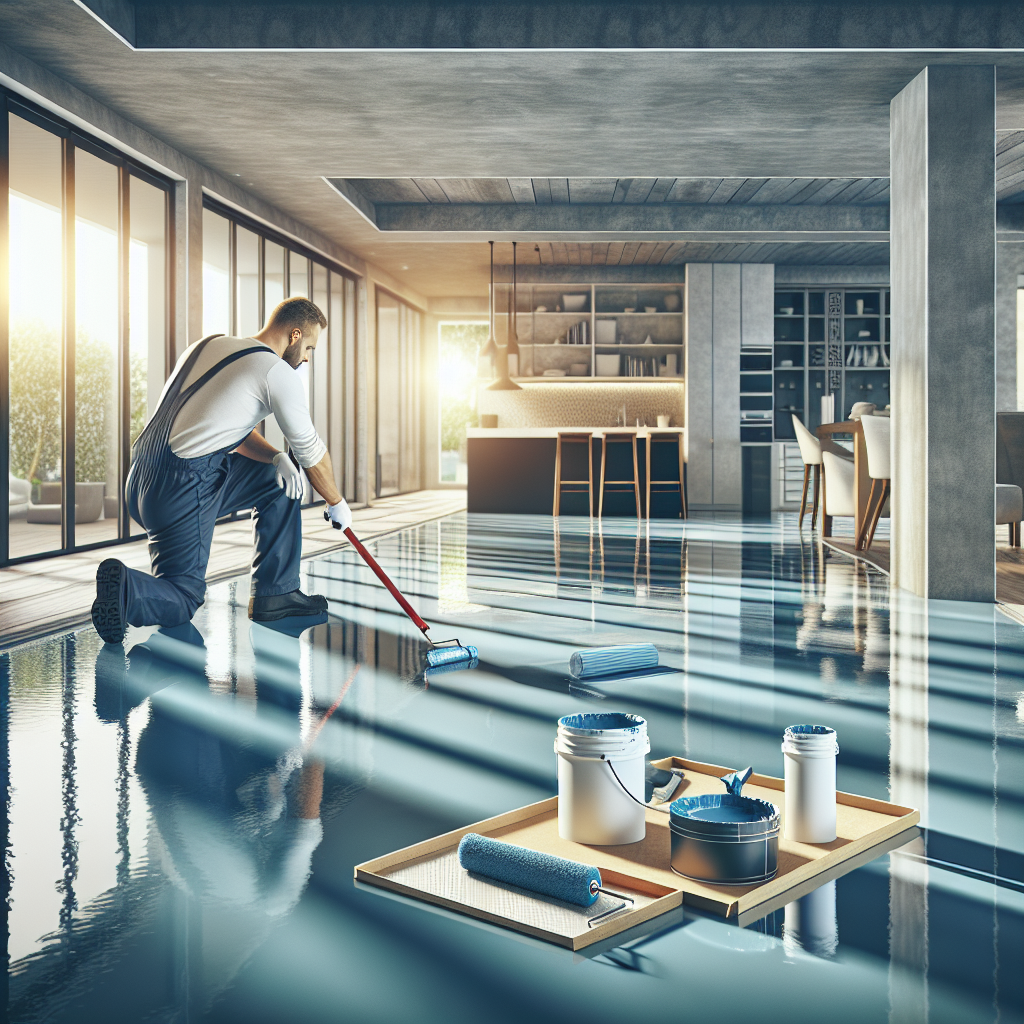
- Application: The mixed epoxy is poured onto the floor and spread evenly using a roller or a trowel. Skilled installers often use various techniques to create unique patterns and effects.
- Curing: After application, the floor needs to cure. This process can take several days depending on the product and environmental conditions, during which it’s essential to avoid foot traffic.
- Topcoat: Finally, a clear topcoat is applied to add extra durability and shine, enhancing the overall appearance and protecting the metallic finish.
Each of these steps is vital to achieving a high-quality metallic epoxy floor. Proper installation not only enhances aesthetics but also ensures longevity.
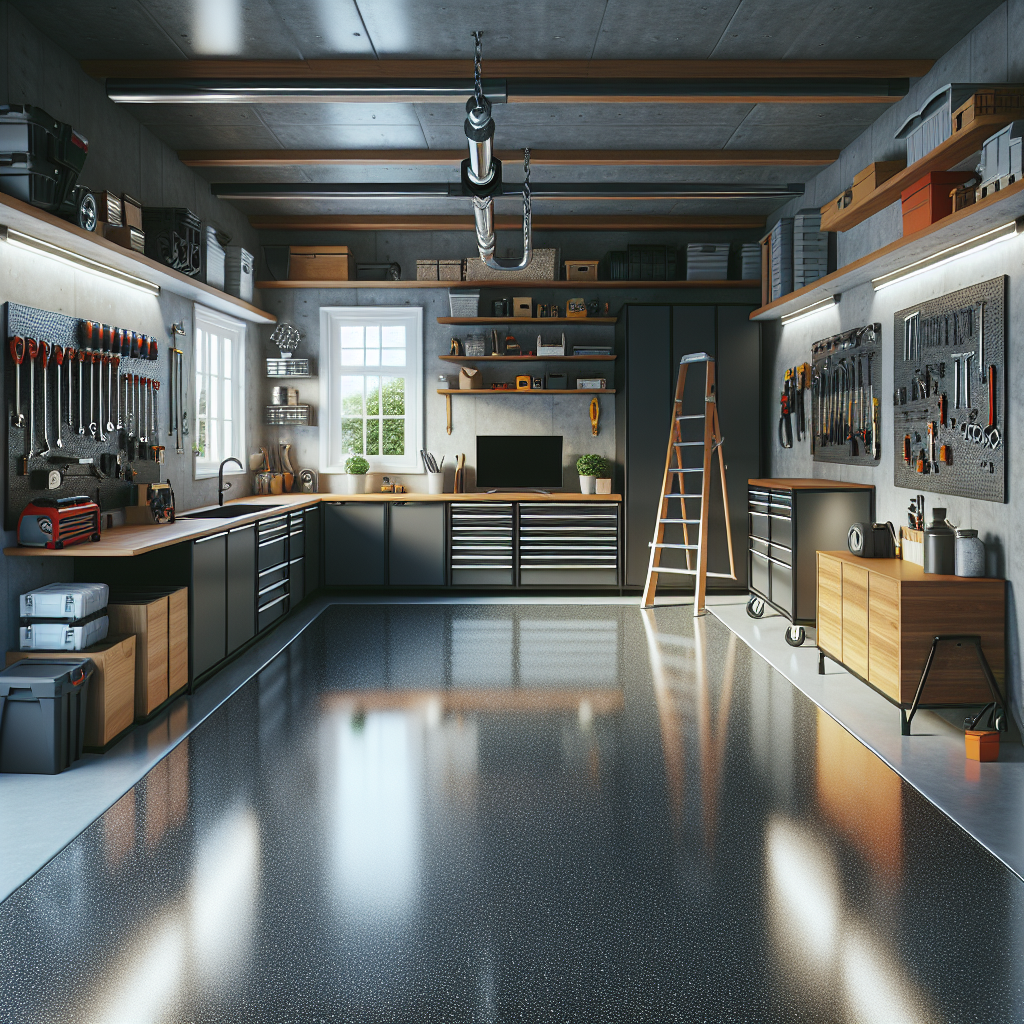
Maintenance Tips for Metallic Epoxy Flooring
Maintaining your metallic epoxy flooring is essential to preserve its stunning appearance and durability. Here are some effective maintenance tips to keep your floors looking their best:
- Regular Cleaning: Sweep or vacuum your floor regularly to remove dirt and debris. For deeper cleaning, use a damp mop with a pH-neutral cleaner specifically designed for epoxy surfaces.
- Avoid Harsh Chemicals: Stay away from abrasive cleaners or solvents that can damage the epoxy finish. Always opt for mild detergents that won’t harm the surface.
- Prompt Spillage Cleanup: Immediately clean up spills to prevent staining or slipping hazards. Use a soft cloth or mop to wipe up any liquids as soon as they occur.
- Use Floor Mats: Placing mats at entryways can help trap dirt and moisture, preventing them from being tracked onto your epoxy floors. This also reduces wear and tear.
- Periodic Inspections: Regularly check for any signs of wear, scratches, or damage. Early detection allows for timely repairs, ensuring the longevity of your flooring.
- Re-apply Topcoat: Depending on traffic levels and wear, consider reapplying a clear topcoat every few years to maintain the shine and protective barrier of your floor.
By following these straightforward maintenance tips, you can ensure that your metallic epoxy flooring remains not only beautiful but also functional for years to come.
Is Metallic Epoxy Flooring Right for You?
When considering whether metallic epoxy flooring is the right choice for your space, it’s essential to evaluate several factors. This flooring option is known for its striking aesthetics and robust durability, making it suitable for various environments, including residential, commercial, and industrial settings.
Ask yourself the following questions:
- Do you prioritize aesthetics? If you desire a unique and modern look, metallic epoxy flooring offers a stunning visual appeal with various customizable colors and effects.
- What is the expected foot traffic? For areas with high foot traffic, metallic epoxy flooring is an excellent choice due to its resilience and ability to withstand wear and tear.
- Are you looking for low maintenance? The ease of maintenance associated with metallic epoxy floors is a significant advantage, requiring only regular cleaning and occasional re-coating.
- Is your budget flexible? While metallic epoxy flooring can be more expensive upfront compared to other flooring options, its longevity and durability can result in cost savings over time.
If you answered positively to these questions, then metallic epoxy flooring could be an ideal fit for your needs. To explore this option further and receive personalized recommendations, Call Us Today for a Free Quote. Our experts at Americas Industrial Coatings are here to provide you with all the information you need to make an informed decision.