Garage floor epoxy is a popular choice for homeowners seeking a durable and attractive finish for their garage floors. However, even the best applications can encounter issues over time. The most common problems include peeling, cracking, and bubbling. **Peeling** often occurs when the surface wasn’t properly prepared before the epoxy application, or when moisture seeps into the concrete. **Cracking** can result from heavy impacts or shifts in the underlying concrete. **Bubbling** generally arises due to trapped air or moisture during the application process.
Understanding these issues is crucial for effective repair. With the right knowledge, you can prevent further damage and restore the seamless look of your epoxy floor. Start by identifying the problem areas and consider the factors that might have contributed to their occurrence. This step is essential for determining the appropriate repair method.
By comprehending the root causes of these problems, you can make informed decisions on how to repair your garage floor epoxy. This proactive approach not only enhances the lifespan of your flooring but also maintains its aesthetic appeal. For expert guidance and a flawless repair, Call Us Today for a Free Quote and ensure your garage floor remains in top condition.
Essential Tools and Materials Needed
Before embarking on the journey to repair your garage floor epoxy, it is vital to gather the essential tools and materials that will ensure a smooth and successful process. Having the right equipment not only simplifies the task but also guarantees a professional finish.
To start, you’ll need a high-quality epoxy repair kit, which typically includes epoxy resin and hardener. These components are crucial for patching up any defects and ensuring a durable repair. Additionally, a concrete cleaner or degreaser is essential for preparing the surface by removing any dirt, oil, or grease that may hinder the adhesion of the epoxy.
For application, invest in a set of application tools such as a roller, paintbrush, or squeegee. These tools will help you apply the epoxy uniformly across the damaged areas. A putty knife or trowel is also necessary for filling cracks and smoothing out the surface.
Protective gear is equally important. Ensure you have gloves, goggles, and a mask to safeguard yourself from the chemicals involved in the process. Lastly, include sandpaper or a sanding block to smoothen any rough patches before and after applying the epoxy.
By equipping yourself with these tools and materials, you set a solid foundation for executing a flawless garage floor epoxy repair, akin to a professional’s touch.
Step-by-Step Epoxy Repair Guide
Once you have gathered all the necessary tools and materials, you are ready to begin the step-by-step epoxy repair process. Following these instructions carefully will help you achieve a professional-grade finish.
- Preparation: Start by cleaning the garage floor thoroughly. Use a concrete cleaner or degreaser to eliminate any oil stains, dirt, or debris. Rinse the surface well and allow it to dry completely.
- Inspection: Examine the floor for cracks, chips, or any areas where the epoxy has worn away. Mark these areas, as they will need special attention during the repair process.
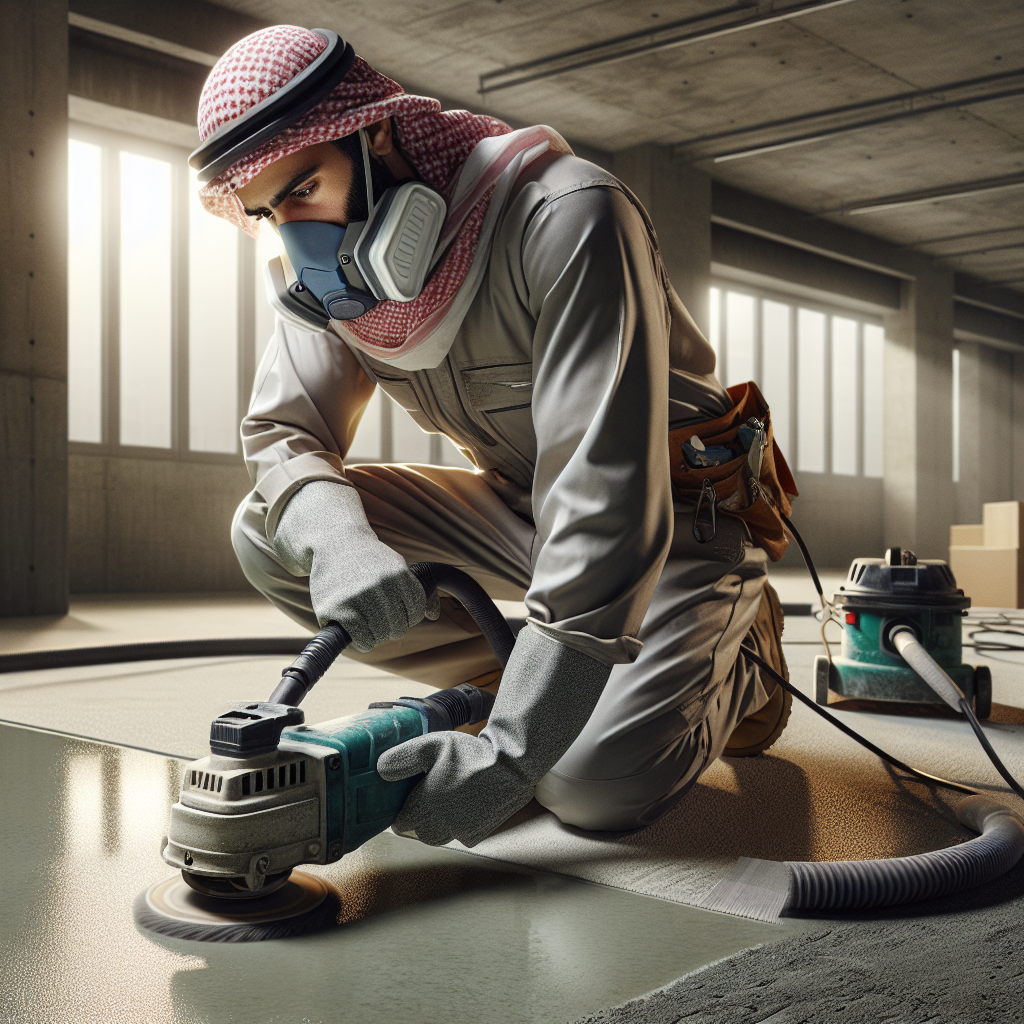
- Sanding: Lightly sand the damaged areas using sandpaper or a sanding block. This step is crucial for ensuring better adhesion of the epoxy to the existing surface.
- Mix the Epoxy: Following the manufacturer’s instructions, mix the epoxy resin and hardener. Ensure the mixture is well-stirred to achieve a consistent blend.
- Application: Apply the mixed epoxy to the prepared areas using a putty knife or trowel, filling cracks and smoothing out any uneven surfaces. Use a roller or paintbrush for larger areas to ensure even coverage.
- Curing: Allow the epoxy to cure as per the product’s guidelines. This step is vital for achieving a durable finish, so avoid walking or placing any objects on the floor during this time.
- Final Touches: Once the epoxy has cured, inspect the floor for any imperfections. Lightly sand any rough spots and clean the surface to reveal a pristine, repaired epoxy floor.
By following these steps meticulously, you can repair your garage floor epoxy efficiently, ensuring it looks as good as new.
Tips for a Long-Lasting Epoxy Finish
Achieving a long-lasting epoxy finish goes beyond just the initial application. Here are some expert tips to ensure your garage floor remains in top condition for years to come.
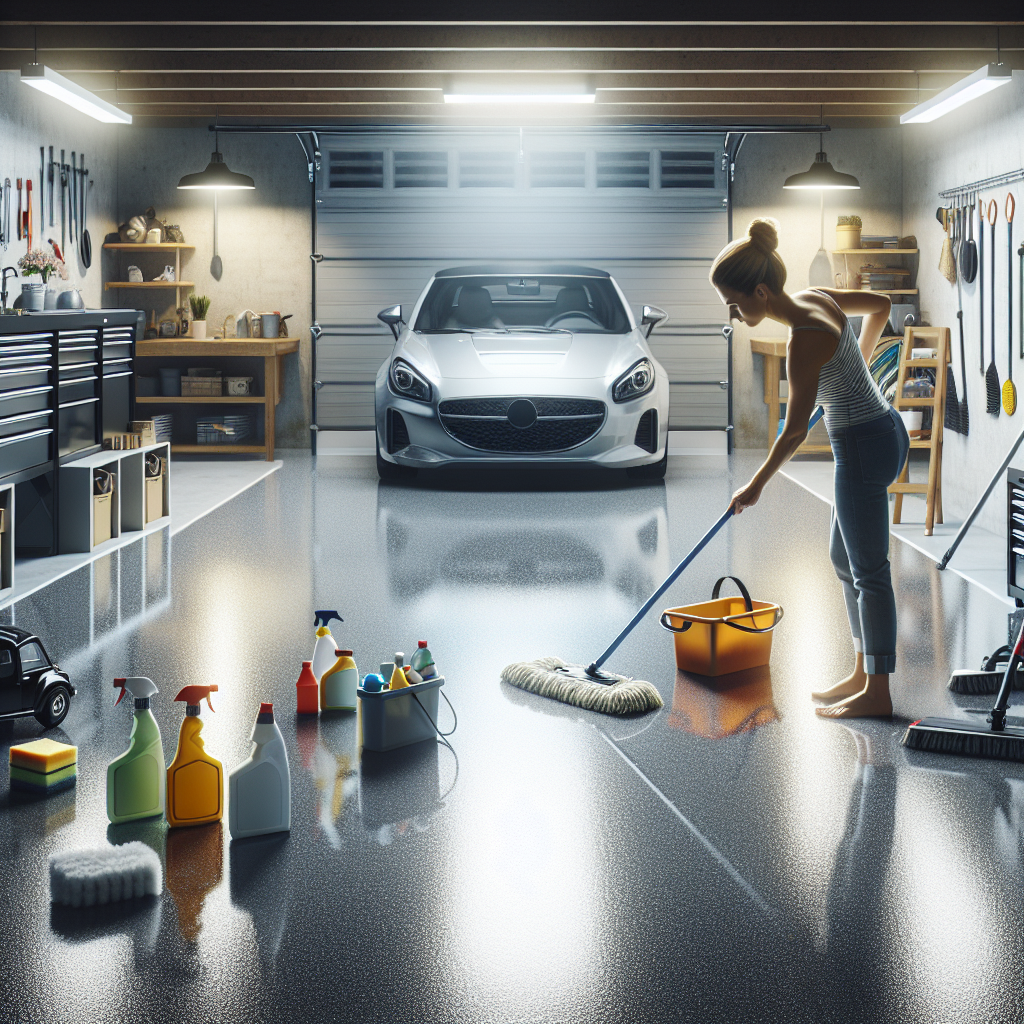
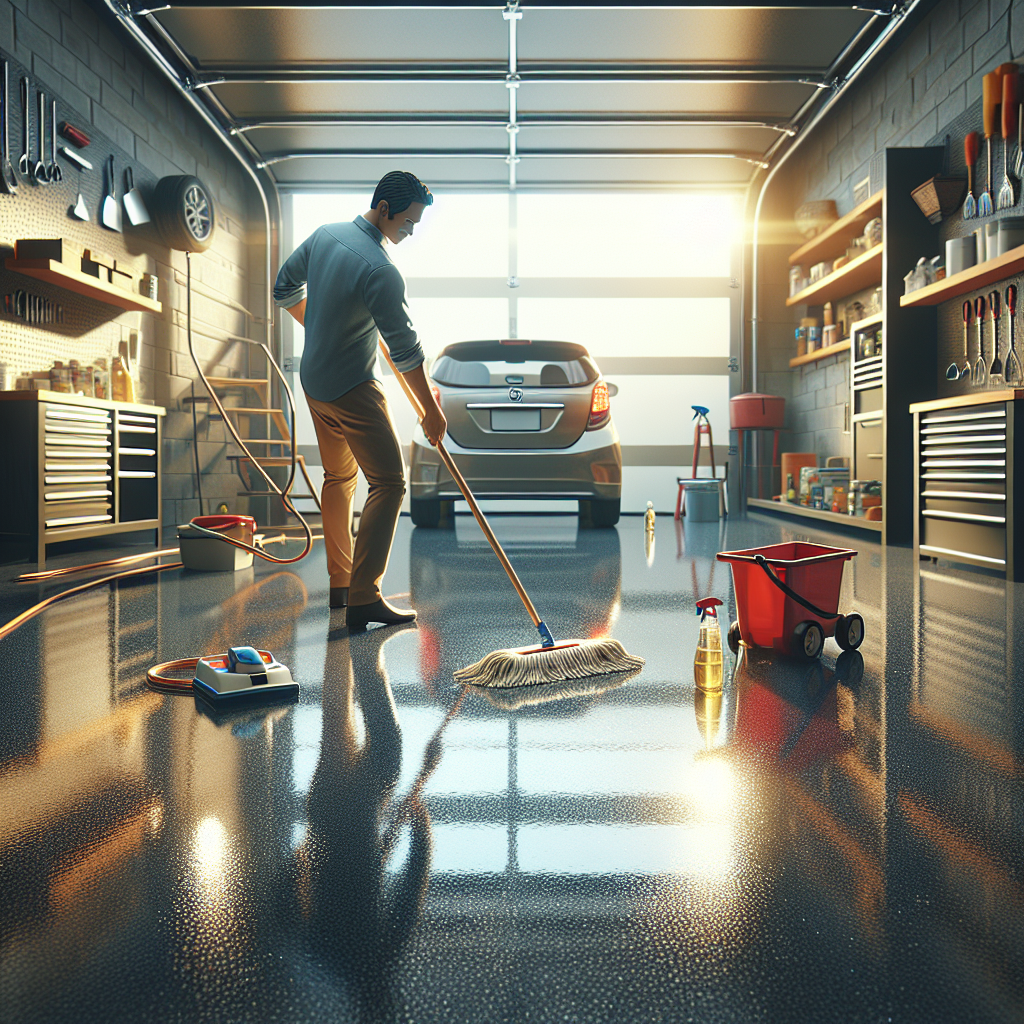
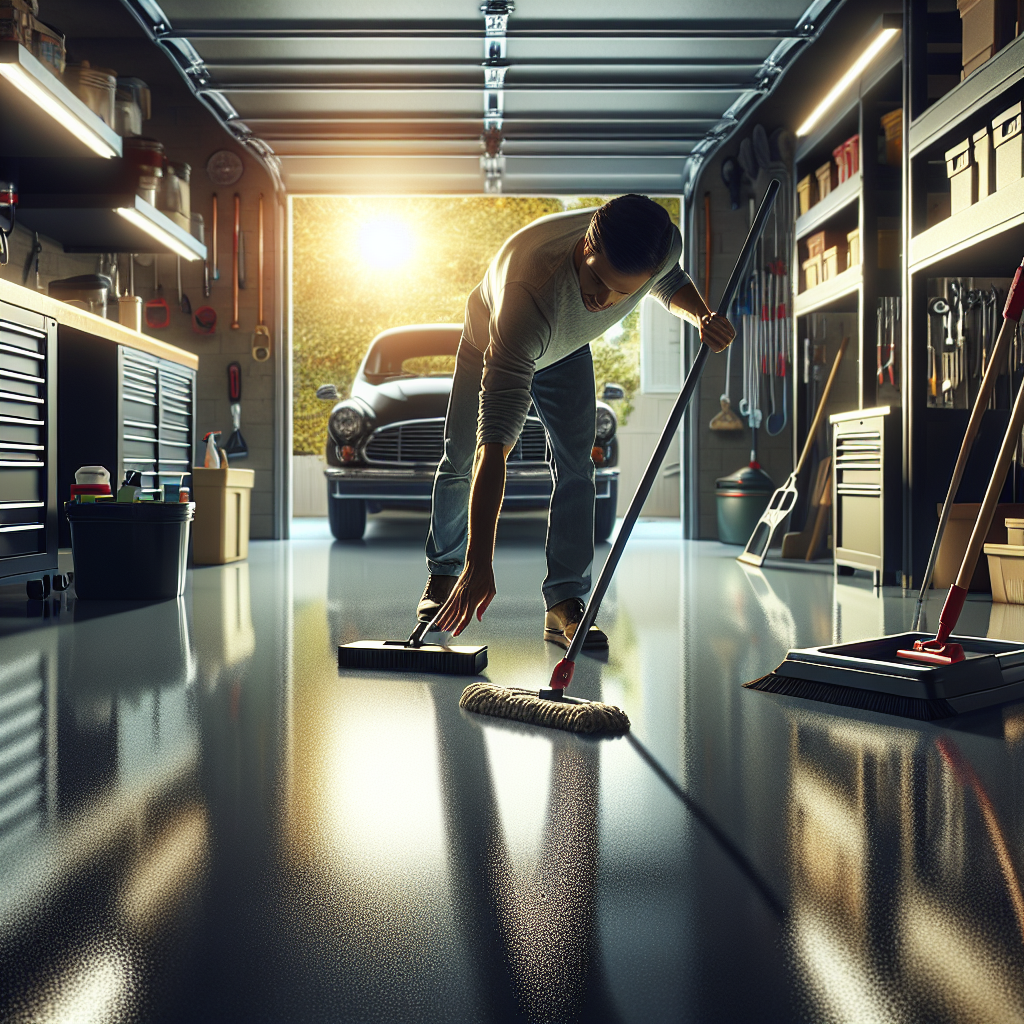
- Regular Cleaning: Keep your epoxy floor clean by sweeping it regularly to remove dirt and debris. Use a mild detergent with warm water for deeper cleaning, and avoid harsh chemicals that can damage the epoxy surface.
- Immediate Spill Cleanup: Epoxy is resistant to many chemicals, but it’s still best practice to wipe up any spills immediately to prevent staining or potential chemical reactions.
- Use Floor Mats: Place mats or rugs in high-traffic areas to minimize wear and tear. This is especially important in areas where vehicles are parked or moved frequently.
- Protective Coatings: Consider applying a protective topcoat to enhance durability and maintain the epoxy’s shine. This additional layer can provide extra protection against scratches and UV damage.
- Avoid Dragging Heavy Objects: When moving heavy items, lift them instead of dragging to prevent scratching or gouging the epoxy surface.
- Temperature Control: Maintain a consistent temperature in your garage. Extreme temperature fluctuations can cause expansion and contraction, potentially compromising the epoxy’s integrity.
By incorporating these maintenance practices, you can significantly extend the life of your epoxy floor, keeping it looking new and functioning perfectly.
Common Mistakes to Avoid
While applying or repairing epoxy flooring, certain mistakes are common but can be easily avoided with attention to detail and proper preparation. Here are some of the most frequent errors to watch out for:
- Poor Surface Preparation: One of the most critical steps in achieving a flawless epoxy finish is thorough surface preparation. Ensure that your garage floor is free of dust, grease, and any loose particles. Failing to do so can lead to poor adhesion and peeling.
- Ignoring Moisture Levels: Moisture is a significant enemy of epoxy. Applying epoxy over a damp surface can lead to bubbling and improper curing. Always check for moisture and consider using a moisture barrier if necessary.
- Incorrect Mixing: Epoxy is a two-part system that requires precise mixing. Follow the manufacturer’s instructions carefully for the correct mix ratio and ensure thorough mixing to avoid incomplete curing or weak spots.
- Rushing the Application: Allow adequate time for each stage of the application process. From mixing to curing, patience is key. Rushing can result in uneven application and a subpar finish.
- Skipping the Primer: A primer enhances the bond between the epoxy and the concrete. Skipping this step can lead to delamination and a less durable finish.
- Overlooking Environmental Factors: Temperature and humidity can significantly affect the application and curing of epoxy. Ensure that you are working within the recommended environmental conditions to ensure optimal results.
By being mindful of these common pitfalls, you can enhance the quality and durability of your epoxy floor, ensuring it remains an asset to your garage space.
When to Call a Professional
While minor repairs on your garage floor epoxy can often be tackled with a bit of DIY enthusiasm, there are instances when calling in a professional is the wisest choice. Recognizing these situations can save time, money, and frustration in the long run.
- Extensive Damage: If your epoxy floor has widespread cracking, peeling, or bubbling, it might indicate an underlying issue, such as moisture intrusion or incorrect initial application. A professional can assess and address these complex problems effectively.
- Lack of Equipment: Professional repair and installation often require specialized tools and equipment that are typically not available to the average homeowner. Professionals come equipped with everything necessary to ensure a quality finish.
- Time Constraints: Epoxy application and repair can be time-consuming, especially for those unfamiliar with the process. If you are short on time, a professional can complete the job more efficiently and with fewer disruptions.
- Desire for a High-Quality Finish: Achieving a flawless and aesthetically pleasing epoxy floor requires expertise and precision. Professionals have the experience to deliver a superior finish that enhances the look and longevity of your floor.
When in doubt, consulting with a professional can provide peace of mind and ensure your garage floor is in top condition. Call Us Today for a Free Quote and let our experts at Americas Industrial Coatings handle your epoxy floor repair needs with skill and precision. With our expertise, you can trust that your garage floor will be both beautiful and durable for years to come.